Table of Contents
Advertisement
Installation
Start-Up
Maintenance
Parts
Warranty
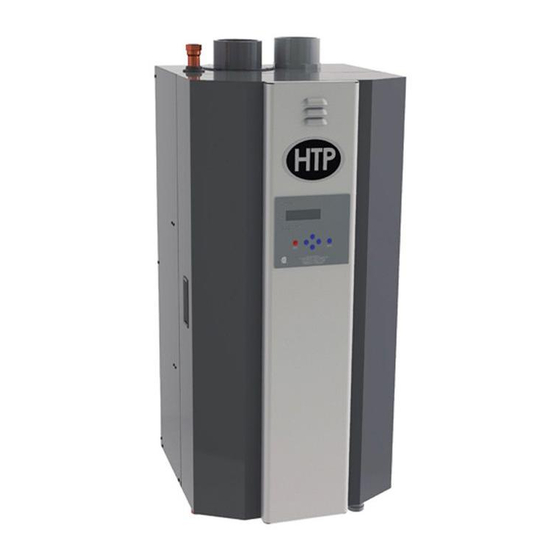
EFT-285 / EFT-399*
Models Manufactured On or After 10/30/17
with 10:1 Turndown Ratio
* "LP" Denotes Propane Gas Operation
"PU" Denotes Included Pump
This manual must only be used by a qualified installer / service technician. Read all instructions in this manual before installing. Perform
steps in the given order. Failure to do so could result in substantial property damage, severe personal injury, or death.
Improper installation, adjustment, alteration, service, or maintenance could void product warranty and cause property damage, severe
personal injury, or death.
California Proposition 65 Warning: This product contains chemicals known to the State of California to cause cancer, birth defects, or other
reproductive harm.
The manufacturer reserves the right to make product changes or updates without notice and will not be held liable for
typographical errors in literature.
NOTE TO CONSUMER: PLEASE KEEP ALL INSTRUCTIONS FOR FUTURE REFERENCE.
272 Duchaine Blvd.
Commercial Models
New Bedford, MA 02745
Elite FT
Residential and
Heat Exchanger Bears the ASME "H" Stamp
www.htproducts.com
lp-657 Rev. 001 Rel. 000 Date 12.10.18
Advertisement
Table of Contents


Need help?
Do you have a question about the Elite FT EFT-285 and is the answer not in the manual?
Questions and answers