Table of Contents
Advertisement
Quick Links
Advertisement
Table of Contents

Subscribe to Our Youtube Channel
Related Manuals for Garmin ASTRO 900/T9


Summary of Contents for Garmin ASTRO 900/T9
- Page 1 ASTRO 900/T9 ® Owner’s Manual...
- Page 2 © 2018 Garmin Ltd. or its subsidiaries All rights reserved. Under the copyright laws, this manual may not be copied, in whole or in part, without the written consent of Garmin. Garmin reserves the right to change or improve its products and to make changes in the content of this manual without obligation to notify any person or organization of such changes or improvements.
-
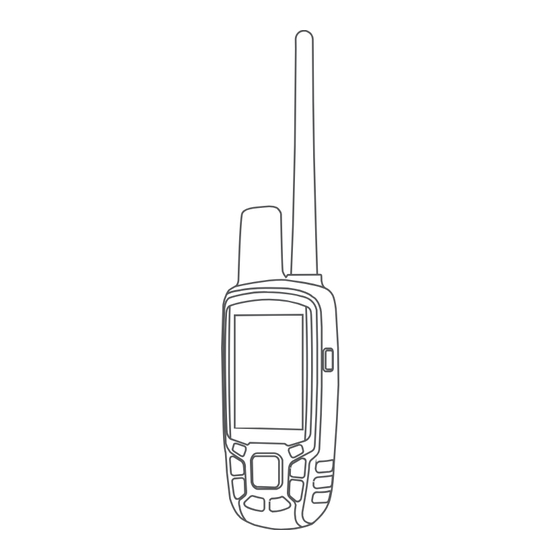
Page 3: Device Overviews
Introduction Select to zoom in on the map. Select to zoom out on the map. WARNING Select to view the map. See the Important Safety and Product Information guide in the MENU Select to open the menu for the active page. product box for product warnings and other important Select twice to open the main menu. -
Page 4: Acquiring Satellite Signals
You should fully charge the battery before you use the device for Before you can put the collar on the dog, you must pair the the first time. Charging a fully depleted battery takes about five handheld device and collar (Adding a Dog to the Astro 900 hours. -
Page 5: Location Alerts
From the main menu, select DOG to view the dog tracking hunt metrics reset automatically at the beginning of each new page. hunt. If you have additional dogs, scroll through the list to find the Data Fields dog. Distance: The total distance the dog traveled. The handheld device can track up to 20 dogs. -
Page 6: Communication With The Collar
NOTE: You can only add a dog collar device of the same Select an update rate. communication protocol to your handheld device. Go to support.garmin.com/collars for compatibility information. Communication with the Collar Bring your dog collar device within range of the handheld You should keep an unobstructed line of sight between your device. - Page 7 Marking a Covey Select an option: You can mark a covey location and enter the estimated number • To save the waypoint information, select Save. of birds flushed and the number of birds taken. • To save and edit the waypoint information, select Save Select MARK >...
-
Page 8: Recording Track Logs
Auto. Before you can share data wirelessly, you must be within 3 m • To record tracks at a specified distance, select Distance. (10 ft.) of a compatible Garmin device. ® • To record tracks at a specified time, select Time. -
Page 9: Viewing The Elevation Plot
Compass The list includes waypoints near the original waypoint. The handheld device has a 3-axis, tilt-compensated compass. Navigating with Sight 'N Go You can use a bearing pointer or a course pointer to navigate to your destination. You can point the device at an object in the distance, lock in the direction, and navigate to the object. -
Page 10: Viewing The Calendar And Almanacs
™ A chirp is a small Garmin accessory that is programmed and left Setting an Alarm in a geocache. You can use your device to find a chirp in a Select Tools > Alarm Clock. -
Page 11: Customizing Your Device
® The VIRB remote function allows you to control your VIRB System Settings action camera using your device. Go to www.garmin.com/VIRB Select Setup > System. to purchase a VIRB action camera. GPS: Sets the GPS to Normal, WAAS/EGNOS (Wide Area... -
Page 12: Display Settings
Display Settings Select a unit of measure for the setting. Select Setup > Display. Time Settings Backlight Timeout: Adjusts the length of time before the Select Setup > Time. backlight turns off. Time Format: Sets the device to show time in a 12-hour or 24- Battery Save: Saves the battery power and prolongs the battery hour format. -
Page 13: Routing Settings
On your computer, install Garmin Express (www.garmin.com Geocache Filter, page /express). chirp Searching: Allows the device to search for a geocache This provides easy access to these services for Garmin devices: containing a chirp accessory (Enabling chirp Searching, • Software updates page •... -
Page 14: Battery Information
Snap the charging clip onto the collar. • GPX geocache files. Go to www.geocaching.com/play. Plug the small end of the USB cable into the mini-USB port on the charging clip cable. • GPI custom POI files from the Garmin POI Loader. Go to www.garmin.com/products/poiloader. Device Information... -
Page 15: Accessories And Replacement Parts
Connect the dog collar device to the computer (Connecting accessories. the Collar to a Computer, page 12). • Bring the Garmin device within range 3 m (10 ft.) of the ANT+ The dog collar device turns on automatically. accessory. Select on the dog collar device. -
Page 16: Data Fields
After you remove the old battery, contact your local waste disposal department to properly recycle the battery. Installing the New Battery Before you replace the battery, you must remove the old battery (Removing the Old Battery, page 13). You also must have a small Phillips screwdriver. -
Page 17: Troubleshooting
You must be navigating for this data to today. appear. • Go to garmin.com/express. Time to Next: The estimated time remaining before you reach the next waypoint in the route. You must be navigating for • Keep the original sales receipt, or a photocopy, in a safe this data to appear. - Page 18 August 2018 190-02415-00_0A...
Need help?
Do you have a question about the ASTRO 900/T9 and is the answer not in the manual?
Questions and answers