Sign In
Upload
Download
Table of Contents
Contents
Add to my manuals
Delete from my manuals
Share
URL of this page:
HTML Link:
Bookmark this page
Add
Manual will be automatically added to "My Manuals"
Print this page
×
Bookmark added
×
Added to my manuals
Manuals
Brands
Curtis Manuals
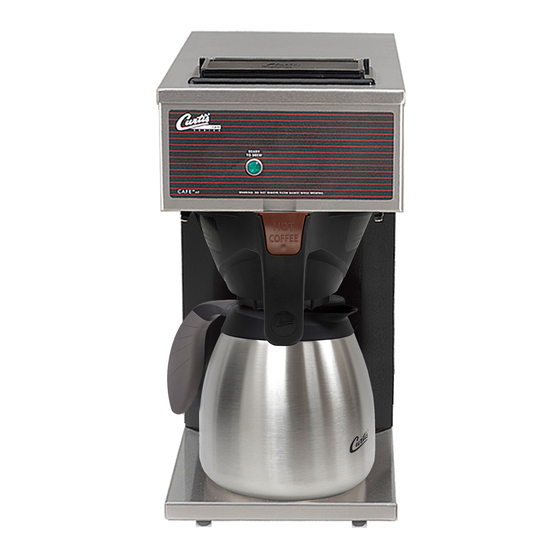
Coffee Maker
CAFE0AP10A000
User manual
Curtis CAFE0AP10A000 User Manual
Cafe series airpot/ thermal decanter pourover coffee brewing system
Hide thumbs
1
Table Of Contents
2
3
4
5
6
7
8
9
10
11
12
13
14
15
16
17
18
19
20
21
22
23
24
25
page
of
25
Go
/
25
Contents
Table of Contents
Bookmarks
Table of Contents
Table of Contents
Fs36
Is2
Ii4
Ii5
Oi29
Ci1
Ci9
Ci12
Ip65
Ip66
Ip67
Es68
Es69
Advertisement
Quick Links
1
Table of Contents
2
Oi29
3
Ci1
4
Ip65
5
Es69
Download this manual
USER GUIDE
CAFE Series Airpot/ Thermal Decanter
Pourover Coffee Brewing System
READ AND SAVE THESE INSTRUCTIONS
NOTICE TO INSTALLER: Please leave this booklet with the machine.
Table of
Contents
Previous
Page
Next
Page
1
2
3
4
5
Advertisement
Table of Contents
Need help?
Do you have a question about the CAFE0AP10A000 and is the answer not in the manual?
Ask a question
Questions and answers
Related Manuals for Curtis CAFE0AP10A000
Coffee Maker Curtis CAFE 1DB Service Manual
Cafe pourover (6 pages)
Coffee Maker Curtis CAFE AP Service Manual
(6 pages)
Coffee Maker Curtis CAFEPC4CS10000 User Manual
4 station dispensing system (31 pages)
Coffee Maker Curtis CAFEPC2CS10000 User Manual
2 station dispensing system (31 pages)
Coffee Maker Curtis CAFE0PP10A000 User Manual
Cafe series airpot/ thermal decanter pourover coffee brewing system (25 pages)
Coffee Maker Curtis CAFEOAT3 Service Manual
(8 pages)
Coffee Maker Curtis CAFE Series User Manual
Glass decanter pourover coffee brewing system (27 pages)
Coffee Maker Curtis CAFE3DB10A000 User Manual
Glass decanter pourover coffee brewing system (27 pages)
Coffee Maker Curtis C1000AP Service Manual
Dual airpot brewers (12 pages)
Coffee Maker Curtis C500AP Service Manual
Airpot coffee brewer (12 pages)
Coffee Maker Curtis CBS Service Manual
Combo brewer (13 pages)
Coffee Maker Curtis CBHT Service Manual
Combo brewer twin (12 pages)
Coffee Maker Curtis CBHS Service Manual
Combo brewer single (16 pages)
Coffee Maker Curtis CGC Service Manual
Curtis cgc; cgc1 coffee brewer (22 pages)
Coffee Maker Curtis CGC Service Manual
(24 pages)
Coffee Maker Curtis G4 CGC Series User Manual
Digital coffee brewing system (32 pages)
This manual is also suitable for:
Cafe0pp10a000
Cafe0pp30a000
Cafe0ap30a000
Table of Contents
Print
Rename the bookmark
Delete bookmark?
Delete from my manuals?
Login
Sign In
OR
Sign in with Facebook
Sign in with Google
Upload manual
Upload from disk
Upload from URL


Need help?
Do you have a question about the CAFE0AP10A000 and is the answer not in the manual?
Questions and answers