Advertisement
Quick Links
Advertisement

Subscribe to Our Youtube Channel
Related Manuals for Casio TK-T200


Summary of Contents for Casio TK-T200
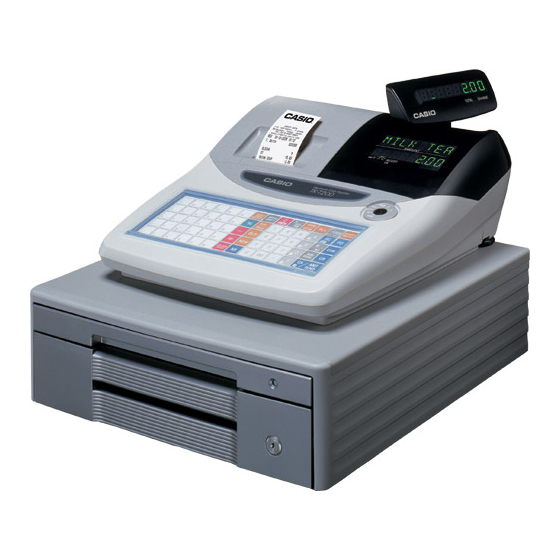
- Page 1 CASIO TK-T200 OPERATION MANUAL...
-
Page 2: Table Of Contents
BASIC FUNCTIONS INDEX Making a Sale Multiple Tender Multiple Sales of Same Product Corrections Refunds Multiple Refunds Percentage Discount Dollar Discount Whole Transaction Discount 10. Receipts 11. EFTPOS Cash Out 12. PLU’s 13. Clerks 14. Correction Keys... -
Page 3: Making A Sale
Ensure register is turned to REG mode. Enter clerk number (1) and then press CLERK # if asked to sign on. 1. Making a Sale 1. Either press the item button or (if no price is assigned to the item, e.g. -
Page 4: Multiple Sales Of Same Product
3. Making Multiple Sales Of Same Product 1. Enter the number of items you are selling (eg 4) 2. Press the X key 3. Proceed as in step 1.1 above 4. Making Corrections To A Transaction 1. To clear the last transaction (before the subtotal key is entered) press the ERR CORR/CANCEL key. - Page 5 7. To Give A % Discount (eg 15%) 1. Enter the price of the item then press the PLU the item belongs to. If the prices are programmed in for specific items then the corresponding PLU key will be pressed, not the price then the PLU key.
-
Page 6: Corrections
10. To Print A Receipt 1. Push the receipt on/off key twice to print receipts for every transaction. When receipts are set to print a light will be displayed on the screen. If the receipt function is switched off a receipt can still be printed by pressing the GUEST RECEIPT key 11. -
Page 7: Plu's
7. Reports Programming Notes: The new Casio range of cash registers are the most advanced ECR system on the market, it incorporates easy programmability with complex functions, to form a system that can suit any retail requirements. While basic programming changes can be performed by the end user (price changes and descriptions), it is advised that more advanced features should be programmed by an authorised CASIO dealer. - Page 8 1. Changing Prices TURN Turn key to the PROGRAM position DISPLAY Should show P1 ENTER New price (without using decimal point) PRESS Preset item button that you wish to change REPEAT Steps 3 to 4 until finished PRESS Subtotal button to finish TURN Key back to REG1...
- Page 9 2. Name Changes ( and button adds ) TURN Turn key to the PROGRAM position ENTER PRESS Subtotal button DISPLAY Should show P2 TYPE New description (using the keysheet under the keyboard) up to 16 characters. PRESS 00 button PRESS Preset item button that you wish to change REPEAT Steps 5 to 7 until finished...
-
Page 10: Clerks
Department Linking TURN Turn key to the PROGRAM position IF YOU HAVE CLERK SIGN ON, SIGN ON NOW ENTER PRESS Subtotal button DISPLAY Should show P3 ENTER 1166 PRESS Subtotal ENTER XX00 XX = Dept ( eg to set as linking to department 2, enter 0200 ) PRESS Item button to be linked... - Page 11 4. Clerk Name Changing TURN Turn key to the PROGRAM position ENTER PRESS Subtotal button DISPLAY Should show P2 ENTER XX07 Where XX stands for the memory number of each clerk. Ie. 01 Jeannie, 02 Leanne, 03 Holly, 04 Tania PRESS Subtotal button using keysheet...
- Page 12 5. Adding / Changing PLU’s This job will enable you to add & change PLU’s (NOTE: PLU’s must start from 31 and can go up to 1200) TURN THE KET TO PGM POSITION 01. ENTER 02. PRESS SUBTOTAL 03. ENTER PLU# (eg 31-1200) 04.
- Page 13 (This part enters the price for the PLU) TURN KEY TO PGM PRESS 1 then SUBTOTAL 10. ENTER PLU# (eg 31 to 1200) 11. PRESS PLU# Button 12. ENTER $ Price without Decimal Point 13. PRESS CASH Button 14. REPEAT Steps 12 to 13 as required for sequencial PLU’s.
- Page 14 6. Date and Time Programming TURN Turn key to the PROGRAM position DISPLAY Should show P1 ENTER Date in the following format:- (for days 1 to 9, be sure to enter them as 01 to 09. Enter months 1 to 9 as 01 to 09) YYMMDD YY = Year MM = Month...
- Page 15 7. Reports **Important** The reset operation issues a report and also clears all sales data from the cash register’s memory. Be sure to perform the reset operations at the end of each business day. Otherwise, you will not be able to distinguish between the sales data for different dates.
- Page 16 Weekly Reports TURN Key to the Z position (reset) or X for read ENTER 200 in Z position or 100 in X position PRESS CASH Monthly Reports TURN Key to the Z position (reset) or X for (read) ENTER 400 in Z position or 300 in X position PRESS CASH...
Need help?
Do you have a question about the TK-T200 and is the answer not in the manual?
Questions and answers