Advertisement
Quick Links
TVP-CBB Compact PTZ Back Box Installation
Instructions
Specifications
Dimensions:
157.73 × 39.73 mm (6.21 × 1.56 in.)
Metal adapter plate (included with the PTZ), 1 cable gland
(located on the side of the back box), and 1 plug (located
on the base of the back box) are included.
Weight: 450 g (0.99 lbs.)
Accessories:
Drill template: 1 pcs
Drywall anchors: 4 pcs
Used to install the back box to the mounting surface.
Screw A: 4 pcs
Used to install the back box to the mounting surface.
© 2018 United Technologies Corporation. All rights reserved.
Interlogix is part of UTC Climate, Controls & Security, a unit of United Technologies Corporation.
Screw B: 4 pcs
Used to install the metal adapter plate to the back box.
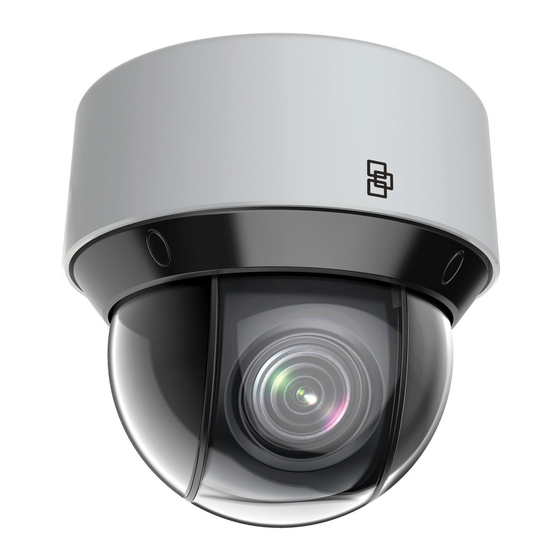
Supported cameras
The compact PTZ camera back box can be used with following
cameras:
IP Compact PTZ Camera:
Installation
The PTZ was not designed to be mounted to a wall. It should
be mounted to a ceiling. The bubble assembly should be
pointing towards the ground.
To install the TVP-5103 PTZ camera on a ceiling using the
TVP-CBB:
1.
Using the Torx wrench that is supplied with the PTZ,
loosen the locking screw at the base of the PTZ. Loosen
slightly the three screws/standoffs on the base of the PTZ
camera and rotate the metal adapter plate
counterclockwise to separate it from the PTZ camera.
Open
2.
Prior to drilling the mounting holes, decide where the
interconnect cable access is to be located. If exiting the
side of the back box, positioning the back box may vary.
Align the cable access/cable gland in the desired direction.
If the interconnect cables will be exiting the bottom of the
back box, also provide a hole in the mounting surface for
cable exit.
P/N 1073435-EN • REV B • ISS 15MAY18
TVP-5103
Advertisement

Related Manuals for Interlogix TVP-CBB


Summary of Contents for Interlogix TVP-CBB
-
Page 1: Specifications
Used to install the back box to the mounting surface. cable exit. © 2018 United Technologies Corporation. All rights reserved. P/N 1073435-EN • REV B • ISS 15MAY18 Interlogix is part of UTC Climate, Controls & Security, a unit of United Technologies Corporation. - Page 2 For contact information and to download the latest manuals, and manuals / tools / tools, and firmware, go to the web site of your region. firmware Americas: www.interlogix.com Route the cables through the cable access hole. EMEA: www.firesecurityproducts.com Manuals are available in several languages Align the PTZ camera with the standoffs on the mounting Australia/New Zealand: www.utcfs.com.au...
Need help?
Do you have a question about the TVP-CBB and is the answer not in the manual?
Questions and answers