Table of Contents
Advertisement
Quick Links
Before you start
1.
Make sure that the system is suitable for the local mains voltage. Refer to the type
plate.
2.
The power connection must be easily accessible. Place the system near a socket
outlet with protective earth connection.
Unpacking instructions
1.
Slide the foam blocks with the system out of
the box. Use the grips in the foam blocks to pull
the blocks.
2.
Lift the catch tray parts out of the foam blocks.
3.
Turn the foam blocks on its side.
4.
Remove the upper foam block.
5.
Make sure that the following parts are
delivered:
-
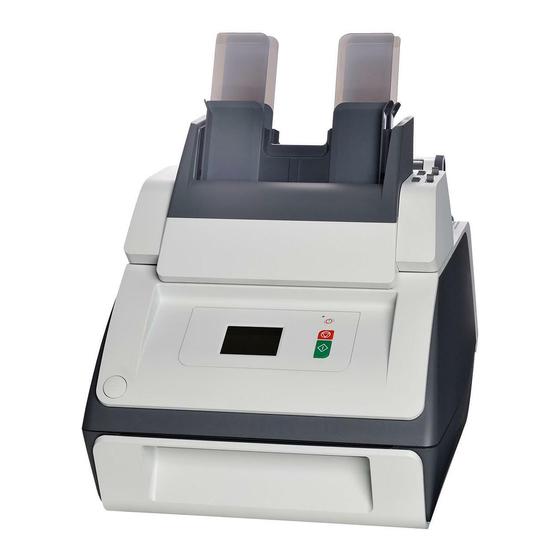
Document system
-
Document feeder block
-
Catch tray
-
Accessory box
The accessory box contains:
-
Power lead
-
4 supports for the document feeder
-
2x paper guide LH
-
2x paper guide RH
-
4x short (sharp) insert fingers*
-
4x long (sharp) insert fingers*
-
Operator Manual
-
Quick start guide
-
This guide
* Note: These insert fingers (black plastic
parts) are not required during installation.
Please store these parts with the machine.
6.
Lift the system and place it for example on the
optional furniture.
1
Advertisement
Table of Contents

Related Manuals for Neopost DS-35


Summary of Contents for Neopost DS-35
- Page 1 Before you start Make sure that the system is suitable for the local mains voltage. Refer to the type plate. The power connection must be easily accessible. Place the system near a socket outlet with protective earth connection. Unpacking instructions Slide the foam blocks with the system out of the box.
- Page 2 Install the feeder block Hold the feeder block slightly inclined as shown in the figure. Lower the block until the grips click on the pins. Rotate the feeder block until it clicks on the system.
- Page 3 Install the four document supports on the feeder trays. Connect the connector. Install the two paper guides LH and two paper guides RH on the feeder trays. Install the envelope catch tray To install the envelope catch tray: Hold support A inclined and slide the arms into the slots.
- Page 4 Fill the sealing liquid reservoir When you want to seal envelopes, the sealing liquid reservoir must be filled. Open the system with the button on the left side. Lift the sealing liquid reservoir D with the blue handles A carefully out of the system. Remove the strip C from the reservoir.
- Page 5 Test the system Load the document feeder trays. Load the envelope hopper. In the home menu, press the (new job) button. Configure the job to feed a sheet from every feeder. Press the button. If necessary adjust address position, insert position (supervisor menu) and sealing position (supervisor menu).
Need help?
Do you have a question about the DS-35 and is the answer not in the manual?
Questions and answers