Sign In
Upload
Download
Table of Contents
Contents
Add to my manuals
Delete from my manuals
Share
URL of this page:
HTML Link:
Bookmark this page
Add
Manual will be automatically added to "My Manuals"
Print this page
×
Bookmark added
×
Added to my manuals
Manuals
Brands
Franke Manuals
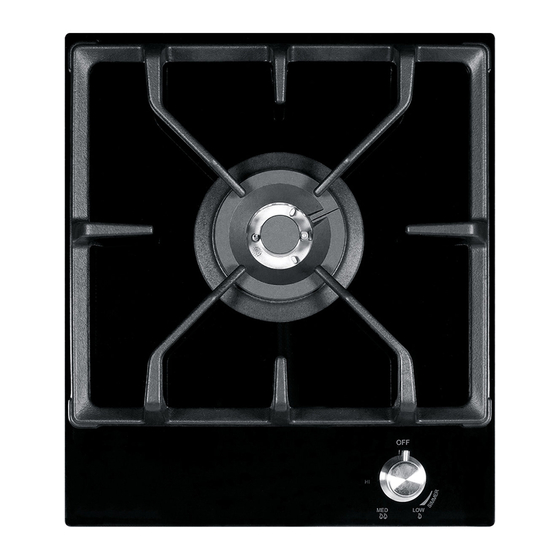
Cooktop
FIG301S1
Operation manual
Franke FIG301S1 Operation Manual
Hide thumbs
1
2
3
Table Of Contents
4
5
6
7
8
9
10
11
12
13
14
15
16
17
18
19
20
21
22
23
24
25
26
27
28
29
30
31
32
33
34
page
of
34
Go
/
34
Contents
Table of Contents
Bookmarks
Table of Contents
Table of Contents
General Information
Safety When in Use
Safety
General Assembly
General Assembly
To Use Your New Franke Cooktop
Electric Induction Cooking
Electric Induction Cooking
Description of the Appliance
Starting-Up and Appliance Management
Cooking Advice
Maintenance and Cleaning
What to Do in Case of a Problem
Environment Preservation
Installation Instructions
Electrical and Gas Connection
Legend and Manual Ignition for Gas Burners
Care and Maintenance
Fault Finding / Abnormal Operation
Installation Instructions
Installation Instructions
Advertisement
Quick Links
1
Table of Contents
2
General Assembly
3
To Use Your New Franke Cooktop
4
Electric Induction Cooking
5
Installation Instructions
6
Electrical and Gas Connection
7
Installation Instructions
8
Installation Instructions
Download this manual
COOKTOP OPERATION MANUAL
Table of
Contents
Previous
Page
Next
Page
1
2
3
4
5
Advertisement
Table of Contents
Need help?
Do you have a question about the FIG301S1 and is the answer not in the manual?
Ask a question
Questions and answers
Related Manuals for Franke FIG301S1
Cooktop Franke PROFESSIONAL Series Operation Manual
Dual fuel (32 pages)
Cooktop Franke FIG604B1 Operation Manual
(34 pages)
Cooktop Franke FIG906S1 Operation Manual
(34 pages)
Cooktop Franke FIG906B1 Operation Manual
(34 pages)
Cooktop Franke FIG301S1N Operation Manual
(20 pages)
Cooktop Franke FIG604B1N Operation Manual
(20 pages)
Cooktop Franke FIG903S1N Operation Manual
(20 pages)
Cooktop Franke FIG906S1N Operation Manual
(20 pages)
Cooktop Franke FIG906B1N Operation Manual
(20 pages)
Cooktop Franke FIX906B1 Use And Care Manual
(20 pages)
Cooktop Franke FIG903S1N/L Operation Manual
(20 pages)
Cooktop Franke FRI604B1 User Manual
60cm induction cooktop (20 pages)
Cooktop Franke FCE604B1 Instructions Of Use
(16 pages)
Cooktop Franke FHR 604 C T BK User Manual
(44 pages)
Cooktop Franke FRE604B1 Manual
60cm ceramic cooktop (21 pages)
Cooktop Franke FCI905B1 Use And Care Manual
(20 pages)
This manual is also suitable for:
Fig301b1
Fig604s1
Fig604b1
Fig903s1
Fig903b1
Fig906s1
...
Show all
Fig906b1
Fig905b1
Fixg905b1
Fixg903b1
Fixg9041b1
Table of Contents
Print
Rename the bookmark
Delete bookmark?
Delete from my manuals?
Login
Sign In
OR
Sign in with Facebook
Sign in with Google
Upload manual
Upload from disk
Upload from URL


Need help?
Do you have a question about the FIG301S1 and is the answer not in the manual?
Questions and answers