Table of Contents
Advertisement
Advertisement
Table of Contents

Related Manuals for Optima Scale OPF-N


Summary of Contents for Optima Scale OPF-N
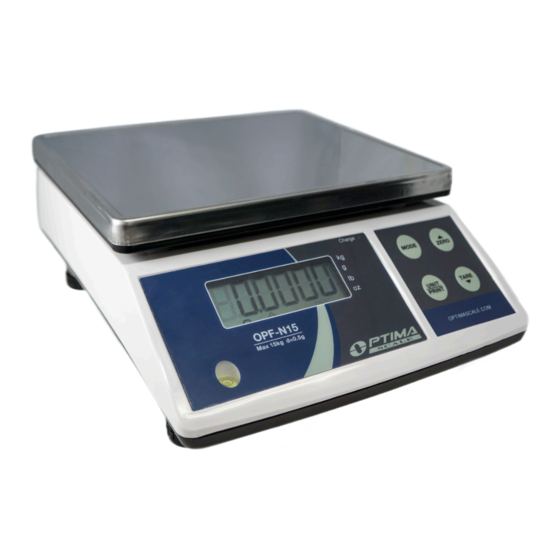
- Page 1 OPF-N Weighing Scale USER’S MANUAL optimascale.com...
-
Page 2: Table Of Contents
TABLE OF CONTENTS Safety Precautions Preparations and Set Up Display and Key Description Operating Instructions Battery Alarms Specifications User Settings Attachment Scale Settings Calibration Contact Us... -
Page 3: Safety Precautions
SAFETY PRECAUTIONS • To avoid damaging the battery do not keep charger plugged in once battery is fully charged. • Avoid installing the balance in direct sunlight. This may cause poor performance or malfunctions. • If the balance will not be used for a long period of time, remove all bat- teries from the battery compartment to avoid leakage, which may cause damage to the instrument. -
Page 4: Display And Key Description
DISPLAY AND KEY DESCRIPTION LCD DISPLAY Indication sign: Stable Zero Tare Low Battery MODE In weighing mode: shift weighing and counting function In settings mode: it toggles between the mode options ZERO In weighing mode: it zero’s the scale In counting mode: it’s the add key UNIT/PRINT In weighing mode: it shifts between weighing units In the manual printing mode: it prints the weight data... -
Page 5: Operating Instructions
OPERATING INSTRUCTIONS Power On • Turn on the power by flipping the switch located on the underside of the scale to the left. Once on, the scale with auto-check and count down from 0-9 sequentially. It will then show the voltage for 2 seconds before entering the weighing mode Zeroing •... -
Page 6: Battery
FEATURES • Large removable stainless steel weighing platform • Comes with a 9V rechargeable battery • Large high contrast back-lit liquid crystal display (LCD) • Splash proof keyboard and display • Anti-static stainless steel weighing pan and glass windshield • Automatic zero-tracking and full range tare •... -
Page 7: Specifications
SPECIFICATIONS UNIT\MODEL OPF-N1.5 OPF-N3 OPF-N7.5 OPF-N15 OPF-N30 Capacity 1.5kg (3.3 lb) 3kg (6.6 lb) 7.5kg (16.5 lb) 15kg (33 lb) 30kg (66 lb) Resolution 0.05g/0.1g 0.1g/0.2g 0.2g/0.5g 0.5g/1g 1g/2g Division 1:15,000 ~ 1:30,000 Response 2 seconds Display LCD display with backlight Tare Equal to Max capacity Overload alarm... -
Page 8: User Settings
USER SETTINGS • Hold [TARE] key and turn on the scale to enter the setting mode. • It will show the selection of parameter. Press the [MODE] key to go to the selection Unit Setting • If you wish to disable one of the unit options (kg, g, lb) from showing in weighing mode, you can do so by holding the [TARE] key while turning the scale on. - Page 9 Transmission Setting (Optional) • This function is for selecting a communication mode that is active when the scale is connected to a printer/computer and the relative equipment. There are four modes selectable You can choose your communication setting by: • Holding the [TARE] key while turning on the scale •...
- Page 10 Selection of Indicator (Scale) Address • You can set an address for your scale to better communicate with its PC or printer (especially if multiples scales are in use). Doing so will help the scale know when a command from the PC is meant for it versus another scale To set your indicator address: •...
-
Page 11: Attachment
ATTACHMENT Continuous Transmission (mode 1) & Stable Transmission (mode 3) • All the data is in ASCII code except the Start bit. This is the format: Byte Notes Contents Start of text 02H(STX) Indicator Add Stable Status 0 stable / 1 unstable Data Sign 5~10 Data Sign... -
Page 12: Scale Settings
SCALE SETTINGS To Enter the Settings Mode: • While pressing [MODE] and [TARE], turn on the power. The scale will enter the setting mode. Press [MODE] to select different settings which you can set using the [UNIT] key Filtering Range •... -
Page 13: Calibration
Selection of Division • To change the max capacity, in the settings mode press [MODE] until the display reads “D0.00##” ex. “d0.0002” means the division is 0.2g • The default number is the actual division of the scale • Use the [UNIT] key to toggle between options •... -
Page 14: Contact Us
CONTACT US Please e-mail sales@optimascale.com for any sales related question Please e-mail support@optimascale.com for any support related questions Don’t forget to visit our website at: optimascale.com...
Need help?
Do you have a question about the OPF-N and is the answer not in the manual?
Questions and answers