Advertisement
SXT LTE
Quick Setup Guide and Warranty Information
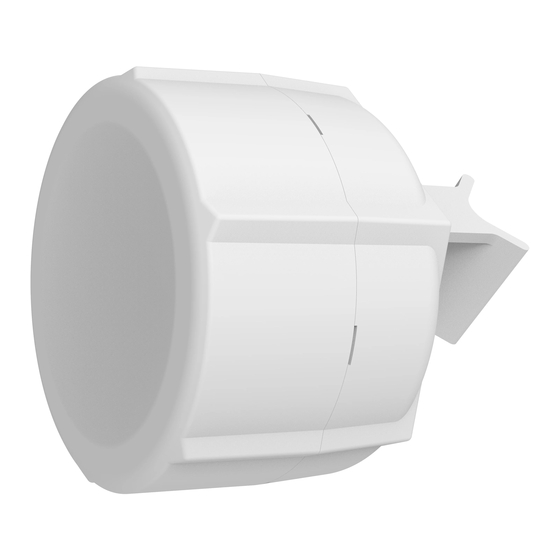
The SXT LTE comes as a complete set, and includes a built in LTE modem, connected to a built in LTE antenna. It
has one 10/100 Ethernet connector which supports MDI-X auto detection. The LTE module supports only FDD
bands 3 and 7 (1800 and 2600MHz), there is a SIM card slot available where a LTE supporting SIM card should be
inserted. The device does not support 3G and older networks, it will connect only to LTE.
We recommend you to set up a password to secure your device. To configure the device, follow these steps
First use
1. Insert the SIM card into the SIM slot, the card and your operator must support LTE and you must be within
LTE coverage area. The device will not connect to 3G and Edge networks
2. The SXT accepts 11-57V PoE from the supplied PoE injector
3. Use the "PoE+Data" end of the injector to connect an Ethernet cable to the port behind the small plastic
door, plug the other end of the PoE injector into your computer or switch
4. Default IP address from the local network is 192.168.88.1, open this address in your web browser to start
configuration. The username is admin and there is no password
5. In the Webfig configuration interface, open the Interface → LTE menu to set your APN. The LTE interface
already has automatic IP acquisition configured and has a NAT rule, we recommend you to set a Password
for accessing the device
Powering
The device accepts passive PoE powering from the Ethernet port 11-57V DC. Package contains a 24V
adapter and a passive PoE injector.
Booting process
RouterOS is the operating system of all RouterBOARD routers. Please see detailed configuration
guide here:
http://wiki.mikrotik.com/wiki/Category:Manual
This device doesn't come fitted with a Serial Port connector, so initial connection has to be done via the
Ethernet cable, using the MikroTik Winbox utility. Winbox should be used to connect to the default IP
address of 192.168.88.1 with the username admin and no password.
In case IP connection is not available, Winbox can also be used to connect to the MAC address of the
device. More information here:
In case you wish to boot the device from network, for example to use MikroTik Netinstall, hold the
RESET button of the device when starting it until the LED light turns off (behind the small door), and SXT
will start to look for Netinstall servers.
Mounting
With the clip pointed forward, slide the mounting bracket into the rail on the bottom of the case, until the
clip clicks into place. The SXT comes bundled with a hose clamp - guide the clamp through the opening
in the bracket and around the pole where it will be mounted. Tighten the hose clamp screw when
See
www.routerboard.com
for more information. Contact
http://wiki.mikrotik.com/wiki/First_time_startup
support@mikrotik.com
for support questions.
04/03/15
Advertisement
Table of Contents

Related Manuals for MikroTik SXT LTE


Summary of Contents for MikroTik SXT LTE
- Page 1 Quick Setup Guide and Warranty Information The SXT LTE comes as a complete set, and includes a built in LTE modem, connected to a built in LTE antenna. It has one 10/100 Ethernet connector which supports MDI-X auto detection. The LTE module supports only FDD bands 3 and 7 (1800 and 2600MHz), there is a SIM card slot available where a LTE supporting SIM card should be inserted.
-
Page 2: Operating System Support
ONLY if you purchased your equipment directly from MikroTik in Latvia. 2. MikroTik does not offer repairs for products that are not covered by warranty. Exceptions can be made for: CCR1016-12G, CCR1016-12G-BU, CCR1036-12G-4S, RB1100, RB1100AH, RB1100AHx2, RB1200, RB600, RB600A and RB800 as a paid service (fees apply). -
Page 3: Ce Declaration Of Conformity
[NO] Norwegian MIKROTĪKLS SIA Erklærer herved at ROUTERBOARD er i samsvar med de grunnleggende krav og øvrige relevante krav i direktiv 1999/5/EF. EN. Instruction manual: Connect the power adapter to turn on the device. Open 192.168.88.1 in your web browser, to configure it. More information on http://wiki.mikrotik.com Инструкция: Свържете адаптера на захранване, за да включите...
Need help?
Do you have a question about the SXT LTE and is the answer not in the manual?
Questions and answers