Table of Contents
Advertisement
Quick Links
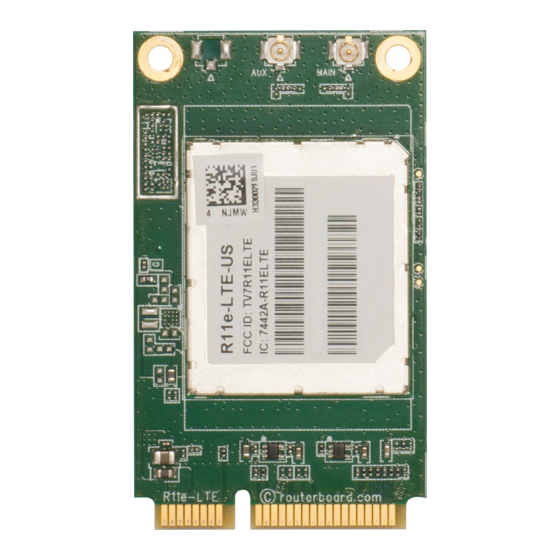
LHG LTE kit
LHG LTE with factory installed R11e-LTE modem.
Quickstart
1. While holding the unit by its central column, apply force to the tab, which holds the latch closed, until the
latch pops open.
2. Insert the SIM card into the slot.
3. Assemble case by attaching legs to the base of the unit, please see
4. Mount unit in your desired place, please see
5. Connect an Ethernet cable to the Ethernet port, connect the other end of the Ethernet cable to the included
PoE injector.
6. Plug the PoE injector into your network switch or ISP internet outlet.
7. Plug the included power supply into the PoE injector to start up the device. please see
paragraph.
8. Set LAN computer IP configuration to automatic (DHCP).
9. Once connected to the wireless network, open http://192.168.88.1 in your web browser to start
Configuration, since there is no password by default, you will be logged in automatically.
10. We recommend clicking the "Check for updates" button and updating your RouterOS software to the latest
version to ensure the best performance and stability.
11. Choose your country, to apply country regulation settings (if applicable) and set up your password in the
screen that loads.
Case assembly
1. Attach the two legs to the LHG case by sliding them onto the respective sides, legs are different and
cannot be exchanged (when looking at the product place it that cover for Ethernet port is in front of you, leg
marked R is for the right side, leg marked L is for the left side).
2. Snap the assembled LHG unit to the grid in the appropriate central location.
3. Fix the two legs in place with included two self thread screws (Phillips screwdriver PH2).
The package also contains a grounding cable connector and a 5-degree angle adapter, for easier up or downward
tilt adjustment. See
Accessories
Package includes the following accessories that come with the device:
DC ⎓ EU/US Switching Power Supply 24 V, 0.38 A, 9 W, Level VI, cable:1.5 m.
•
LHG-390 shim T=2,85 mm with 5-degree angle mark, grounding connector and self thread screws.
•
Hose Clamp SUS304 (Philips type; clamping diameter range 35-70 mm) 2 pcs.
•
Gigabit POE injector.
•
LHG-5G-390 mm Dish 3,0x2.5x0,5 mm.
•
Expansion slots and ports
One 10/100 Ethernet port, supporting automatic cross/straight cable correction (Auto MDI/X). Either straight
•
or crossover cable can be used for connecting to other network devices. The Ethernet port accepts 9-30 V
DC powering from a passive PoE injector.
MiniPCIe slot and SIM slot (can't be used separately) to be used with a 3G/4G/LTE modem.
•
See mikrotik.com/products for the latest version of this document.
paragraph.
Mounting
paragraph.
Case assembly
paragraph.
Document #49088 Modified on: 02.JUL.2019
Advertisement
Table of Contents

Subscribe to Our Youtube Channel
Related Manuals for MikroTik R11e-LTE


Summary of Contents for MikroTik R11e-LTE
- Page 1 The Ethernet port accepts 9-30 V DC powering from a passive PoE injector. MiniPCIe slot and SIM slot (can’t be used separately) to be used with a 3G/4G/LTE modem. • See mikrotik.com/products for the latest version of this document. Document #49088 Modified on: 02.JUL.2019...
- Page 2 3. Turn the screwdriver, until one side pops open. Continue in the above order. Additional Caution when lifting up the cover, do not force it with sharp objects. See mikrotik.com/products for the latest version of this document. Document #49088 Modified on: 02.JUL.2019...
- Page 3 2. Connect an Ethernet cable from your LAN to the LAN port of the POE adapter, please mind arrows for data and power flow. 3. Connect the power cord to the adapter, and then plug the power cord into a power outlet. See mikrotik.com/products for the latest version of this document. Document #49088 Modified on: 02.JUL.2019...
- Page 4 (all access is blocked from the Internet port by default). For recovery purposes, it is possible to boot the device from the network, see a section Reset button. See mikrotik.com/products for the latest version of this document. Document #49088 Modified on: 02.JUL.2019...
- Page 5 MikroTik mobile app Use the MikroTik smartphone app to configure your router in the field, or to apply the most basic initial settings for your MikroTik home access point.
- Page 6 Cet équipement doit être installé et utilisé à une distance minimale de 120 cm entre le radiateur et toute partie de votre corps. CAN ICES-3 (B)/NMB-3(B) See mikrotik.com/products for the latest version of this document. Document #49088 Modified on: 02.JUL.2019...
- Page 7 BG С настоящото Mikrotīkls SIA декларира, че този тип радиосъоръжение RouterBOARD е в съответствие с Директива 2014/53/ЕС. Цялостният текст на ЕС декларацията за съответствие може да се намери на следния интернет адрес: https://mikrotik.com/products CS Tímto Mikrotīkls SIA prohlašuje, že typ rádiového zařízení RouterBOARD je v souladu se směrnicí 2014/53/EU. Úplné znění EU prohlášení o shodě...
- Page 8 RU. Руководство по эксплуатации: подключите адаптер питания чтобы включить устройство. Откройте 192.168.88.1 в своем веб-браузере для конфигурации. Дополнительная информация http://mt.lv/help-ru 的更多信息 CN. 说明书。 连接电源适配器以打开设备。 在Web 浏览器中打开192.168.88.1 进行配置。 有关http://mt.lv/help-zh See mikrotik.com/products for the latest version of this document. Document #49088 Modified on: 02.JUL.2019...
Need help?
Do you have a question about the R11e-LTE and is the answer not in the manual?
Questions and answers