Advertisement
Table of Contents
Hand Pinching
Do not place your hands near the "scissor" part of
the desk. The lifting mechanism will change when
raising or lowering the desktop. Please be aware
of all moving parts to avoid hurting your hands.
Please do not place your hand near the scissor lift.
The scissor lift angle will change when lifting or lowering
the desktop and it may hurt your hands.
Warning!
Warning!
Warning!
Warning!
Website: www.flexispot.com
08
Warning!
Please make sure to install all equipment
on a level surface.
Cable management tie is included to help organize
your cables. When organizing cables, make sure you
have sufficient cord length to reach the top height
when the desktop unit is fully extended upwards.
Failure to do so may result in damage to corded device.
If the device placed on your desktop weighs less
than 6.6 lbs, press the handle grips and force down
the desktop to prevent the workstation from bouncing
up. Failure to do so may result in damage to the
device of physical injury.
Tel: 1-855-421-2808
Model:F3B
Installation Guide
Warning!
No Climbing
Warning!
No Climbing
Specifications
≤33 Ibs (15 KG)
Desktop Weight Capacity
≤4.4 Ibs (2 KG)
Keyboard Tray Weight Capacity
6.7" - 17" (170 - 430mm)
Height Adjustable Range
01
Advertisement
Table of Contents

Related Manuals for Flexispot F3B


Summary of Contents for Flexispot F3B
- Page 1 Warning! Model:F3B Installation Guide Hand Pinching Do not place your hands near the "scissor" part of Warning! the desk. The lifting mechanism will change when No Climbing raising or lowering the desktop. Please be aware of all moving parts to avoid hurting your hands.
- Page 2 Step 1: Place the desktop body on an even surface Parts Included: The diagram shown is for reference only and may not accurately depict all parts. Please contact customer service if there is any part missing. Qty Part# Qty Part# Part# Part Name Part Name...
- Page 3 Step 2: Unlock the handle to release the main body part Step 3: Connect the Keyboard Tray Connect the keyboard tray (2) to the desktop plate. Note: The keyboard tray can be added or removed Unlock the handle to release the main body part. depending on your preference.
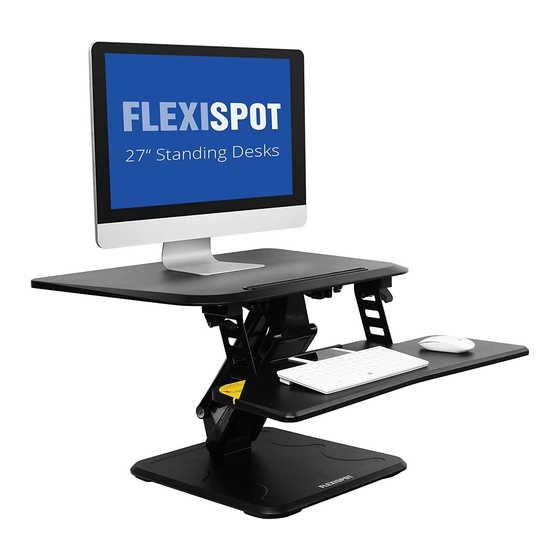
- Page 4 Step 4: Place Your Devices Onto The Workstation Step 5: Use stickers to attach monitor to your desktop unit Press the handle grips on both sides simultaneously, and adjust the workstation to the proper height. The height adjustable range is 6.7" - 17" (170 - 430mm). Caution: Please make sure the desk surface is bigger than the base plate of the workstation.
Need help?
Do you have a question about the F3B and is the answer not in the manual?
Questions and answers