
Subscribe to Our Youtube Channel
Related Manuals for HELLER HPAC12


Summary of Contents for HELLER HPAC12
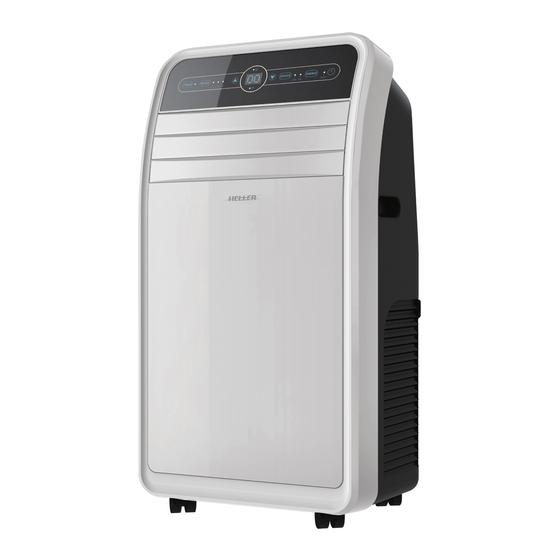
- Page 1 Instruction Manual 12,000 BTU Portable Air Conditioner Model: HPAC12 READ AND SAVE THESE INSTRUCTIONS...
-
Page 2: Important Safeguards
Please read and follow the instructions in this user manual even if you feel you are familiar with the product, and find a place to keep it handy for future reference. For your convenience record the complete model number (located on the product identification plate) and the date you received the product, together with your purchase receipt and attach to the warranty and service information. -
Page 3: Special Recommendations
• Never immerse the appliance in water or any other liquid. • If the power cord is not long enough, an extension cord can be used. The cord should not be in a well trafficked area as people can trip over the cord and pull the plug out of the socket. •... -
Page 4: Control Panel & Remote Control
Identification 1. Handle 2. Air inlet (L) 3. Control panel 4. Louver 5. Castor 6. Remote control 7. Air inlet (R) 8. Air outlet 9. Dehumidification drainage nozzle 10. Air inlet grille 11. Exhaust pipe assembly 12. Window slider kit Control Panel &... -
Page 5: Installation
Installation Placement Place it on an even dry surface, and keep it at least 50cm away from any surroundings. Screw the exhaust pipe assembly into the air outlet in the back panel (anticlockwise). Insert the air exhaust hose into the window slider kit, adjust the opening width of the window so that the window slider kit width matches properly;... -
Page 6: Operation
Incorrect installation: It’s important to keep the exhaust pipe smooth, and with no bends. Incorrect mounting can contribute to the efficiency of the air conditioner. Ensure that the air can flow freely through the pipe. Warning: The exhaust pipe is designed especially for this model. Do not replace or lengthen it; otherwise it will result in failure. -
Page 7: Water Drainage
NOTE: When choosing the dehumidifying mode, please remove the exhaust pipe, otherwise it will affect the dehumidifying performance and make the display window show “FL”. Auto-mode • When pressing the mode button or choosing auto-mode by pressing the remote control, the auto indicator will light up. -
Page 8: Maintenance
Maintenance Note: in order to avoid electric shock, please turn off the A/C and unplug the plug before maintenance or repair. Cleaning • Switch off and unplug the appliance before cleaning. • Wipe with a soft damp cloth. Do not use chemical solvents, such as benzene, alcohol and gasoline etc; otherwise the surface of the A/C will be damaged. -
Page 9: Error Detection
Error Detection Error Code Multi-functional defection Error of the coil’s temperature sensor Error of indoor temperature sensor Anti-frozen protection: temperature of the coil is too low and the A/C is off. When the temperature increases to 8℃, the protection is released and will start to work again as normal. -
Page 10: Specifications
Specifications Model: HPAC12 Permissible excessive operating pressure (Suction/Discharge): 1.0MPa/3.5MPa Cooling capacity: 3.5kW Maximux allowable pressure (Low pressure side/High pressure side): 1.7MPa/5.5MPa Refrigerant/Charge: R410a/565g Air Flow: 420m3/h Power Supply: 220-240V/50Hz Noise: 55dB(A) Rated input (cooling): 1450W Net weight: 28.5kg Dimensions (WxHxD): 443x830x340mm...
Need help?
Do you have a question about the HPAC12 and is the answer not in the manual?
Questions and answers