Advertisement
www.thegaragedoorcentre.co.uk
safelift
This garage door has been designed to be as easy as possible to use, service and automate
when installed correctly. Please therefore take time to read these instructions fully before
beginning any work. Note: This door is recommended for fitment to a 70mm × 70mm
timber goalpost frame (not supplied). A separate set of instructions should be used if the
door has been supplied pre-fitted to a quick-fit steel frame.
▲
SAFETY FIRST Please read instructions right through before
commencing installation.
!
CAUTION The spring is under tension – follow instructions carefully
to avoid any chance of personal injury.
IMPORTANT INFORMATION
1 This garage door is intended for domestic use only.
2 Garage doors are heavy and may have sharp edges.
Wear protective gloves. Installation should not be undertaken alone.
Care must be taken when handling.
3 Ensure the door is continuously supported before it is secured and
avoid installing in windy conditions.
4 Do not attempt to install or adjust this door if you are unsure of
any of the instructions below.
5 Wear eye protection.
WARNING
When fitting the multi-point latching do not
shut the door whilst you are outside the
garage until all latches have been correctly
set and tested (See instructions 8 & 9)
Failure to comply could result in being
locked out of the garage and a chargeable
service call will be required.
IMPORTANT NOTES
BEFORE COMMENCING WORK:
a Remove all wrapping including plastic sleeve
from spring. Ensure that your door has been
supplied with the correct main fixing pack
(fixing pack codes are on the identification
label on reverse of door).
Remove lock pack, fixing pack and the black
plastic weather strips from their transit
positions on the rear of the door.
www.thegaragedoorcentre.co.uk
0800 525 442
Trackless Door Gear
INSTALLATION INSTRUCTIONS
b Before fitting the door, check opening size and
squareness of the timber frame. The door is
made smaller to give correct clearance within
the frame.
Also check that the existing timber goalpost
frame is securely fitted to the surrounding
brickwork and is structurally sound.
c There must be a minimum of 65mm (2
headroom above lower face of top timber, or
lintel. This must reach back into the garage for at
least 1300mm (4'3").
d A 70mm × 70mm (2
frame is recommended but the gear only
requires a fitting clearance of 45mm per side.
e All the initial work is carried out from inside
the garage so tools and parts should be to hand
before door is placed in the opening.
f Slots are provided in all key components to
allow for final adjustment, when door has
been installed.
0800 525 442
www.thegaragedoorcentre.co.uk
3
/
") timber 'goalpost'
4
www.thegaragedoorcentre.co.uk
1
/
")
2
Advertisement
Table of Contents

Related Manuals for Cardale safelift


Summary of Contents for Cardale safelift
- Page 1 0800 525 442 www.thegaragedoorcentre.co.uk safelift Trackless Door Gear INSTALLATION INSTRUCTIONS This garage door has been designed to be as easy as possible to use, service and automate when installed correctly. Please therefore take time to read these instructions fully before beginning any work.
- Page 2 www.thegaragedoorcentre.co.uk 0800 525 442 www.thegaragedoorcentre.co.uk www.thegaragedoorcentre.co.uk 0800 525 442 www.thegaragedoorcentre.co.uk...
- Page 3 www.thegaragedoorcentre.co.uk 0800 525 442 www.thegaragedoorcentre.co.uk Stand door centrally between side timbers on packers ensuring that the bottom edge of the Spring Mounting Brackets are set level with the underside of the top timber. NOTE: For fixing the spring mounting brackets use the special GOLD coloured screws provided.
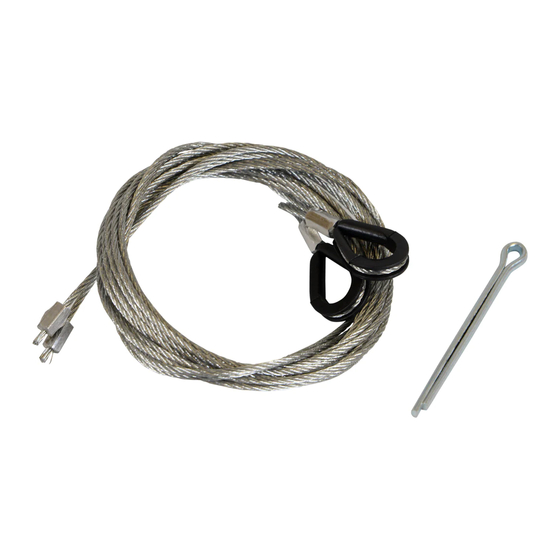
- Page 4 www.thegaragedoorcentre.co.uk 0800 525 442 www.thegaragedoorcentre.co.uk Remove the retaining pin from the Spring Anchor Bush with assistance of spanner on With door slightly open insert Self pulley (see fig. 4). You now have tension tapping screws on the door. Take out 2 transit screws and spacer from each upper weather strip.
- Page 5 www.thegaragedoorcentre.co.uk 0800 525 442 www.thegaragedoorcentre.co.uk Nylon latch Side timber Outside To other side latch Park pin Setting DOOR mark " No. 8 × 1 Cable clamp self tapping and screw Black plastic screws 18 REF weather strip Latch lever FIG 8 FIG 9 runners by approx.
- Page 6 The door can now be carefully removed from the opening. Seek assistance in lifting. IN THE EVENT OF DIFFICULTY PLEASE CONTACT YOUR LOCAL GARAGE DOOR SPECIALIST – SEE YELLOW PAGES FOR DETAILS Cardale Group Ltd, Brackley, Northants Issue A 9/04 DPIN 045105 www.thegaragedoorcentre.co.uk 0800 525 442...
Need help?
Do you have a question about the safelift and is the answer not in the manual?
Questions and answers