Advertisement
Advertisement
Table of Contents

Related Manuals for Laser DVD-HD011


Summary of Contents for Laser DVD-HD011
- Page 1 QUICK USER GUIDE DVD-HD011...
-
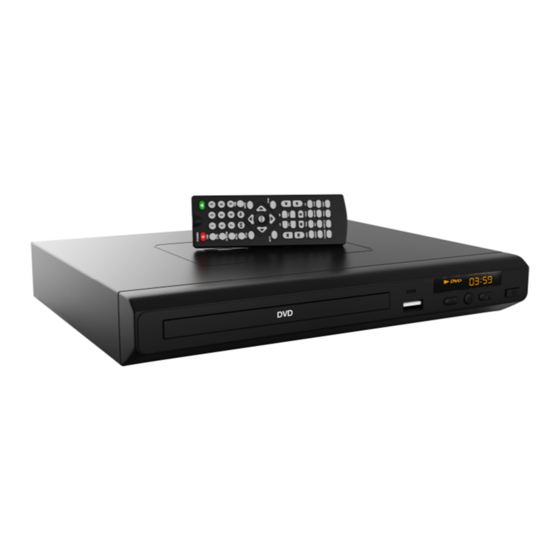
Page 2: The Front Panel
QUICK USER GUIDE DVD-HD011 THE FRONT PANEL THE REAR PANEL 1: HDMI OUT 2: COMPONENT OUT (GREEN) 3: COMPOSITE OUT (RED) 4: COMPONENT OUT (BLUE) 5: COMPOSITE OUT (WHITE) 6: COMPONENT OUT (RED) 7: COMPOSITE OUT (YELLOW) 8: MAINS POWER INPUT... -
Page 3: Remote Control
QUICK USER GUIDE DVD-HD011 REMOTE CONTROL OPEN/CLOSE Open and close disc tray POWER Turn player ON or OFF AUDIO Select a different language MENU Enter MENU settings screen MUTE Turn sound ON/OFF Turn ON/OFF subtitles as SUBTITLE supported by your file or disc... -
Page 4: Other Connection Examples
QUICK USER GUIDE DVD-HD011 SUGGESTED CONNECTIONS COMPOSITE HDMI COMPONENT Red, White, Yellow RCA (EASIEST) (EASY) (EASY) CONNECTING THE HDMI CABLE TO A HOME THEATRE SYSTEM Plug the first HDMI cable into the HDMI OUTPUT on the player and into the HDMI input on the Home Theatre System. -
Page 5: Connecting The Player
QUICK USER GUIDE DVD-HD011 CONNECTING THE PLAYER HDMI can transmit both audio and video signals over a single cable. If you have an HDMI capable receiver that can support HDMI audio, you can simply run an HDMI cable from the player to your receiver and enable HDMI audio on the receiver (see your receiver’s owners’... -
Page 6: System Settings Layout
QUICK USER GUIDE DVD-HD011 SYSTEM SETTINGS (LAYOUT) Press the SETUP button to enter the SETUP menu. Scroll down and left using the ARROW buttons and the OK button to confirm your selections. When you have finished, repeatedly press the LEFT arrow until the cursor returns to the top MENU tab, otherwise press SETUP again to exit. -
Page 7: File Playback From Disc/Usb
QUICK USER GUIDE DVD-HD011 FILE PLAYBACK FROM DISC OR USB The files supported for playback are: Video – AVI (Xvid), VOB, Music – MP3, Image – JPG. Insert your disc or connect your USB thumb drive and press the USB button. The following screen/s will be displayed which will allow you to select a file for playback or for viewing, then press the confirm button to begin. -
Page 8: Faqs
QUICK USER GUIDE DVD-HD011 FAQS No Video displayed on TV • Make sure TV is turned on. • Check the cable connections. • Check the input selection on the TV is correct. Eg. HDMI1, HDMI2, AV1 or AV2 etc Player does not respond to remote •... -
Page 9: Specifications
QUICK USER GUIDE DVD-HD011 SPECIFICATIONS Level Surface 22.5 x 18.8 x 4.5cm 730g Supported Files Video: AVI (Xvid), VOB Audio: Image: For further product information and instructions please visit our product web page at www.laserco.com.au www.laserco.com.au/support Please note: As continuous improvements are made to this product, slight operational... - Page 10 Laser will cover the cost of the return delivery. Step 4: Wait for us to contact you. Once we have received your defective Laser product for inspection, we will inform you of our assessment of your claim within 7 days. When we contact you, we will firstly let you know whether you have a valid claim under this Warranty, and if so, we will inform you whether your defective Laser product will be replaced or repaired, together with the number of days you can expect to wait to receive your replaced or repaired Laser product.
Need help?
Do you have a question about the DVD-HD011 and is the answer not in the manual?
Questions and answers