Advertisement
Advertisement
Table of Contents

Related Manuals for Waterway pro clean plus


Summary of Contents for Waterway pro clean plus
- Page 1 CARTRIDGE FILTER SYSTEM OWNER’S MANUAL Installation • Operation • Parts Designed, Engineered & Manufactured in the USA. 2200 East Sturgis Road, Oxnard CA 93030 • Phone 805.981.0262 • Fax 805.981.9403 www.waterwayplastics.com • waterway@waterwayplastics.com ©2018 Waterway Plastics 810-0183-N.0618...
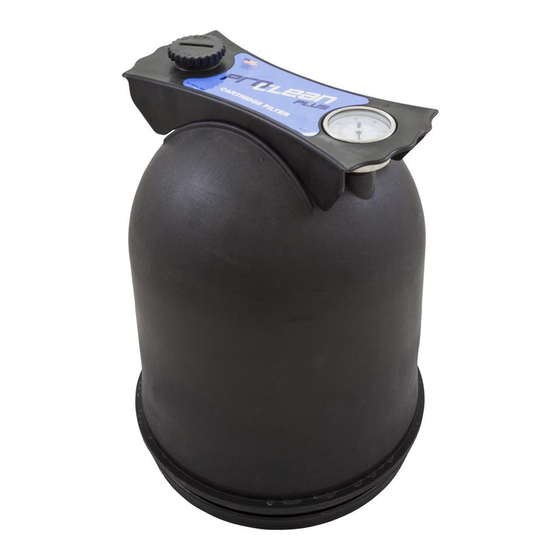
- Page 2 ASSEMBLY INSTRUCTIONS FOR PROCLEAN PLUS FILTERS Position of tube in body Pre-assembled filter Pressure Gauge Tube Cartridge Body Position of cartridge and tube Install pressure gauge following “Start/Service Dial Installation Instructions” in separate bag inside fitting package.
- Page 3 ASSEMBLY INSTRUCTIONS FOR FILTER SYSTEM WITH ONE-PIECE BASE 1. Put the base on level ground. Place pump on base. 2. Attach pump to base with included screw. Teflon taped 2" tailpiece threaded into “inlet” 3. Place filter inside base. Wrap 3 or 4 turns of Teflon tape on 2" tailpiece and thread into “inlet”...
- Page 4 Gasket 4. Make sure gasket is in place on elbow assembly and install onto tailpiece. Elbow side has label “inlet.” Place gasket in pump end of elbow assembly and attach to discharge on pump. Insert snap pins through motor base and into filter base. Place gasket in split-nut 5.
-
Page 5: General Information
Carefully read and follow all safety instructions in this manual The Waterway Cartridge Filter is designed to filter water for swimming and on equipment. Keep safety labels in good condition; replace if pools and hot tubs only. -
Page 6: Installation
INSTALLATION Air Relief Valve Pressure FILTER MOUNT MUST: Gauge • Provide weather and freezing protection. • Provide space and lighting for easy access for routine maintenance. • Provide ventilation and drainage for pump. • Be on a reasonably level surface and provide adequate drainage. -
Page 7: Safety Latch
with silicone base grease, as other lubricants may cause the ring to swell. DO NOT lubricate the filter ring or the threads on the tank shell as this may collect grit and make removal difficult. 3. Install the O-ring in the tank lid assembly O-ring groove. Be sure that the O-ring is clean and not twisted. -
Page 8: Troubleshooting Guide
SYSTEM INSPECTION B. Filter cartridge is dirty or plugged; thoroughly clean the filter (see no. 4, “Plugged Cartridge”, and “Cleaning Cartridge Procedure”, page 8). GENERAL: C. Water is chemically out of balance; consult pool professional. NOTICE: DO NOT use solvents to clean the filter. Solvents may damage D.
Need help?
Do you have a question about the pro clean plus and is the answer not in the manual?
Questions and answers
can only pressure gauge itself be replaced on pccf-100