Table of Contents
Advertisement
Quick Links
INSTRUCTIONS
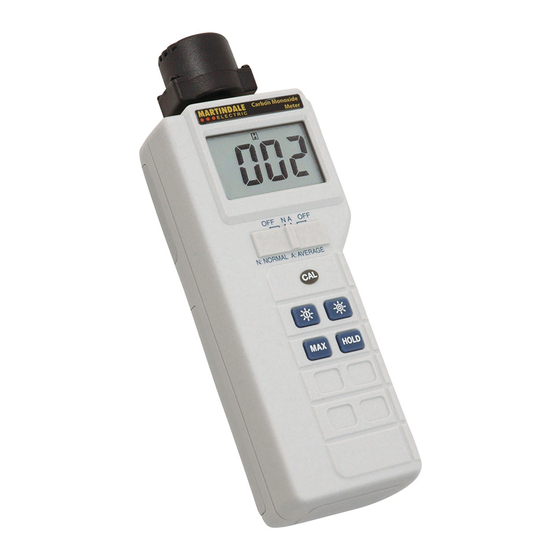
CARBON MONOXIDE METER
MARTINDALE
Trusted by professionals
PRECAUTIONS
1. Do not measure petrol engine exhaust or other high CO or highly
contaminated gases. High levels of CO and other contaminants can ruin the
sensor.
2. Do not take readings directly in the stream of air at register or in a flue.
3. Allow enough time for the accessory head to reach ambient temperature and
RH%. Air being measured must be stable and between 0°C and 40°C(32°F
and 105°F) and 15%RH and 90%RH. Temperature and humidity changes can
cause transient readings. For best results, use a Hand pump to sample the
air, cool it to near room temperature, and raise the relative humidity.
4. Regularly check your CO90 to ensure it is reading correctly. Martindale
recommends an annual recalibration and regular checks, with either test gas
or the simple "coffee cup test."
Coffee cup test
To demonstrate that your CO90 works, turn a ceramic coffee cup upside down
and slide it over the edge of a counter (or desk) to expose about a third of the
mouth of the cup. Burn a cigarette lighter inside the exposed mouth of the cup
- don't burn the counter. When the flame starts to flicker, you've burned up most
of the oxygen in the cup creating carbon dioxide and now you're starting to
produce CO (carbon monoxide). Bring the flame in and out of the mouth of the
coffee cup to just keep the flame alive. The longer you keep the flame flickering,
the more CO you produce. After 10 seconds of flickering, extinguish the flame
and put the CO90 head in the mouth of the cup. You should see readings in the
100s. Take it out if it approaches 1000PPM.
4
CO90
E L E C T R I C
INTRODUCTION
• The carbon monoxide meter is designed to measure low levels of carbon
monoxide (CO) in parts per million(PPM).
• It is intended to measure levels of CO in still ambient air.
• It uses a catalytic chemical sensor that consumes no chemicals.
• Sensor life is primarily determined by the type of exposure.
• The most practical application is to determine if the indoor CO levels are
higher than outdoor levels and to determine the source.
• This instrument detects changes in CO levels very quickly. The faster the
beeper sounds, the higher the concentration of CO.
• Above 200PPM, the beeper sounds continuously, and the frequency of the
tone increases with the concentration of CO.
• This instrument is a portable easy use 3½ digit, compact-sized digital
carbon monoxide meter designed for simple one hand operation, complete
with back light LCD display.
Due to the highly dangerous nature of CO, it is essential that regular testing
is carried out to confirm the continuing correct functioning of your meter. See
next page for precautions.
Do not take measurements directly at a tailpipe, in a boiler flue, or at a
register. See precautions. Do not rely solely on a carbon monoxide measure-
ment to determine if a heat exchanger is bad. See heat exchangers.
How to use
1. Slide the switch to "Average" or "Normal" to measure the concentration of CO.
2. Let stabilise for at least 45 seconds.
3. Take the instrument outside and adjust it to zero. Then bring inside to take
measurements.
4. Expose sensor to a still, stable air sample.(see precautions). The display
reacts to the presence of CO in seconds. Take the final reading when the
display stabilises.
5. For initial test, walk around the building, watching for the readings to go up to
determine where maximum concentrations of CO are. To measure air from a
register, use a pump or measure out of the air stream. Hot blowing air can
adversely affect the reading. The temperature of the sample must be near
ambient.
6. Push "MAX" to read the maximum reading
Push "HOLD" to hold the maximum reading
Push "
" to turn on the back light
Push "
" to turn off the back light
7. Average mode gives a stable reading. The unit takes a measurement every
second and displays an average reading on the screen.
Zeroing the Sensor
Turn on the power and allow the displayed reading to stabilise before
proceeding after approximately 30 seconds. Then with the instrument sampling
fresh air (air that is free of CO), remove cap marked "CAL" and use attached
screwdriver to adjust VR which is in the hole for a reading of 000±2ppm.
If you're not sure about the quality of the surrounding air, you can apply a blend
of Oxygen/Nitrogen gas to the sensor. If rapid temperature changes are
encountered (such as from freezing to room temperatures) during the operation
of the analyser, the operator must allow the analyser to stabilise at the ambient
temperature for at least 2 minutes before taking a measurement.
WARNING
WARNING
3
5
Advertisement
Table of Contents

Subscribe to Our Youtube Channel
Related Manuals for MARTINDALE CO90


Summary of Contents for MARTINDALE CO90
- Page 1 (air that is free of CO), remove cap marked "CAL" and use attached and put the CO90 head in the mouth of the cup. You should see readings in the screwdriver to adjust VR which is in the hole for a reading of 000±2ppm.
- Page 2 SPECIFICATIONS OPERATING INSTRUCTIONS GENERAL BACK-LIGHT Button Press " " button to turn the Back-Light on. Display: 3 1/2 digit liquid crystal display (LCD) with maximum reading of 1999 Press " " button to turn the Back-Light off. Low battery indication: the " "...
- Page 3 Alternatively, a chargeable collection and return service is available. 18th Edition Testers Repair & Service All-In-One Testers There are no user serviceable parts in this unit. Return to Martindale Electric if Calibration Equipment Continuity Testers faulty. Our service department will promptly quote to repair any faults that occur Electrician’s kits...
Need help?
Do you have a question about the CO90 and is the answer not in the manual?
Questions and answers