Table of Contents
Advertisement
Quick Links
DIGITAL THERMOCOUPLE
THERMOMETERS
Please read this manual carefully and thoroughly before using this product.
types "K", "J" and "T" thermocouples
Single input; compatible with
types "K", "J", "T", "R", "S" and "E" thermocouples
types "K", "J", "T", "R", "S" and "E" thermocouples
Visit us at www.TestEquipmentDepot.com
USER'S MANUAL
DT8852
Dual input; compatible with
DT8855
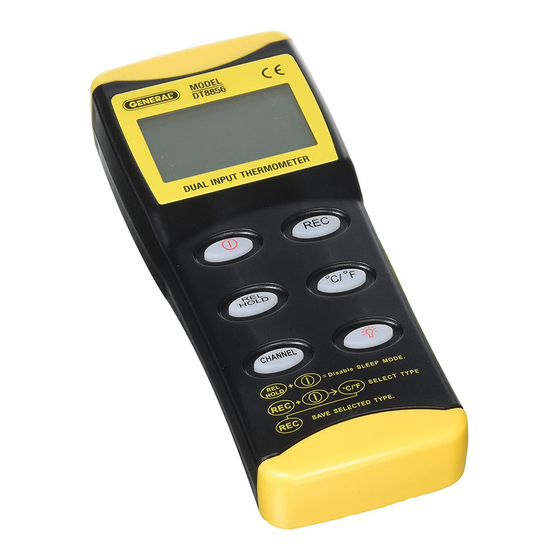
DT8856
Dual input; compatible with
99 Washington Street
Melrose, MA 02176
Phone 781-665-1400
Toll Free 1-800-517-8431
Advertisement
Table of Contents

Related Manuals for General DT8852


Summary of Contents for General DT8852
- Page 1 DIGITAL THERMOCOUPLE THERMOMETERS USER’S MANUAL Please read this manual carefully and thoroughly before using this product. DT8852 Dual input; compatible with types “K”, “J” and “T” thermocouples DT8855 Single input; compatible with types “K”, “J”, “T”, “R”, “S” and “E” thermocouples DT8856 Dual input;...
-
Page 2: Table Of Contents
Manual del Usuario ......25 – 36 INTRODUCTION Thank you for purchasing General Tools & Instruments’ DT8852, DT8855 or DT8856 Digital Thermocouple Thermometer. Please read this user’s manual carefully and thoroughly before using the... -
Page 3: What's In The Case
WHAT’S IN THE CASE All three models come in a custom hard carrying case with a “9V” battery and this user’s manual. The DT8852 and DT8856 each come with two general-purpose “K” type bead thermocouple probes with a measurement range of -58° to 392°F (-50° to 200°C). The DT8855 comes with one “K”... - Page 4 Pressed briefly, turns LCD backlight on for 30 seconds. H. Battery compartment cover (opens from back) I. CHANNEL button (DT8852 and DT8856): • Pressing CHANNEL button once switches primary display to show value of T2 input and secondary display to show value of T1 input.
- Page 5 • Pressed and held, makes T1 input value at that moment the baseline of subsequent T1 readings until REL/HOLD button is pressed again. • Also used with button to disable Auto Power Off function. button: • Pressed briefly, powers thermometer on and off. •...
-
Page 6: Setup Instructions
Before plugging any thermocouples into the jacks on the top of the thermometer, you must ensure that the instrument is configured for the type of thermocouple to be used. DT8852 and DT8856 users: You cannot plug two different types of thermocouple into the jacks. You must use two probes of the same type. -
Page 7: Operating Instructions
DT8852 and DT8856 users: If you insert only one thermocouple into the T1 or T2 port, the readout corresponding to the unused port will show four dashes (see figure below). OPERATING INSTRUCTIONS MONITORING TEMPERATURE(S) IN REAL TIME To measure temperatures sensed by installed thermocouples, press button to power on the unit. -
Page 8: Making Relative Measurements
To enter Record mode, briefly press the REC button. The values on the primary and secondary readouts will not change, and will continue to track the T1 (all three models) and T2 (DT8852 and DT8856 only) temperatures. However, pressing the REC button 1) causes the term... -
Page 9: Pc-Assisted Data Logging
A third press of the REC button releases the primary readout to resume showing the real-time T1 temperature, with the secondary readout continuing to show T2 (DT8852 and DT8856 only). The relative time clock will continue to run and indicate how long it has been since Record mode was entered. -
Page 10: Specifications
data logging package is to renumber the COM ports that represent your PC’s USB jacks; the application can only stream data to COM ports assigned a number between 1 and 4. To enable long-term data logging, you must disable the thermometer’s Auto Power Off (APO) feature. -
Page 11: Operating & Maintenance Tips
The defective unit must be returned to General Tools & Instruments or to a General- authorized service center, freight prepaid and insured. -
Page 12: Return For Repair Policy
RETURN FOR REPAIR POLICY Every effort has been made to provide you with a reliable product of superior quality. However, in the event your instrument requires repair, please contact our Customer Service to obtain an RGA (Return Goods Authorization) number before forwarding the unit via prepaid freight to the attention of our Service Center at this address: Remember to include a copy of your proof of purchase, your return address, and your phone number and/or e-mail address. -
Page 13: Manuel De L'utilisateur
99 Washington Street Melrose, MA 02176 Phone 781-665-1400 Toll Free 1-800-517-8431 Visit us at www.TestEquipmentDepot.com Specifications subject to change without notice ©2013 GENERAL TOOLS & INSTRUMENTS NOTICE - WE ARE NOT RESPONSIBLE FOR TYPOGRAPHICAL ERRORS. MAN# DT8852, DT8855, DT8856-condensed 7/31/13...
Need help?
Do you have a question about the DT8852 and is the answer not in the manual?
Questions and answers