Table of Contents
Advertisement
Quick Links
INSTALLATION INSTRUCTIONS
UNLEASH.
THE SMARTEST PERFORMANCE TUNING TECHNOLOGY
KAWASAKI NINJA 650 | 2012-2015
Q446
1>READ
WARNINGS >
•
We strongly suggest that an experienced technician install this product.
Read through all instructions before beginning installation.
•
•
This document is intended for use by qualified technicians.
•
This is not a replacement for the factory Engine Control Unit (ECU).
•
Refer to a factory service manual for more specific stock component
identification/location information and removal/assembly procedures.
WARNINGS >
Use only in race or other closed-course applications and never on public roads.
•
•
Z-Fi products are not certified by the California Air Resource Board (CARB) for
use on CA highways.
GETTING HELP
Factory support is available in the US at 909-597-8300.
•
•
For fastest support outside of the US, find your local importer at bazzaz.net.
STANDALONE QUICK SHIFT
INSTALLING
USING
R
Advertisement
Table of Contents

Related Manuals for Bazzaz QS4 USB

Summary of Contents for Bazzaz QS4 USB
- Page 1 Z-Fi products are not certified by the California Air Resource Board (CARB) for use on CA highways. GETTING HELP Factory support is available in the US at 909-597-8300. • • For fastest support outside of the US, find your local importer at bazzaz.net.
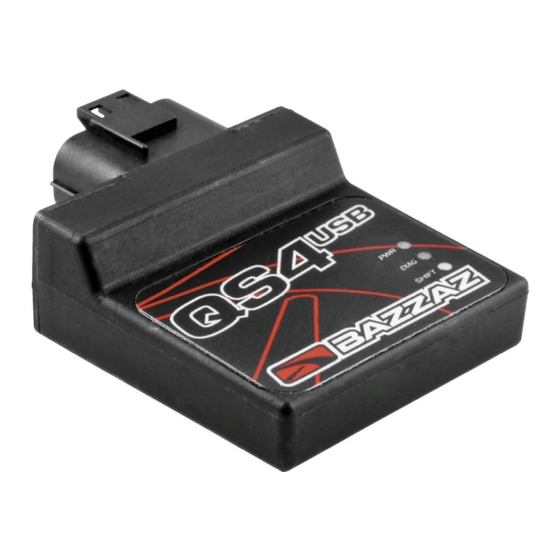
- Page 2 2>IDENTIFY INCLUDED PARTS 1. QS4 USB control unit 2. QS4 harness 3. Shift Switch and mounting hardware 4. Scotchlok (2) 5. USB cable 6. Swingarm stickers 7. Velcro 8. Download Bazzaz software from bazzaz.net/index.php/software-overview QS4 HARNESS 1. Main 2. +12v SW Power 3.
- Page 3 4>SECURE 1. Mount the Bazzaz control unit on top of the tool kit using the tool kit straps. 2. Connect the main connector of the Bazzaz harness to the control unit and begin to route the harness along the left side of the bike, up to the valve cover.
- Page 4 2. Cut back the sheathing of the connector to expose the red wire of the factory tail light connector. 3. Crimp a supplied Scotchlok onto the exposed red wire and insert the Bazzaz + 12V SWITCHED POWER connector into BAZZAZ the Scotchlok.
- Page 5 5>CONNECT (CONT.) 1. Install the Bazzaz ground lug to the negative side of the battery. BAZZAZ 1. Locate and disconnect the factory coil connectors from each coil and plug the Bazzaz coil connectors (right to left) in-line with the factory coil and coil connector.
- Page 6 You can switch from map 1 to map 2 by unplugging the map select jumper on the Bazzaz fuel harness. Map 1 will be pre-programmed; depending on your model, there may be a pre- programmed map in the map 2 slot.
- Page 7 If problem still persists, please contact Bazzaz tech support Factory support is available in the US at 909-597-8300. • For fastest support outside of the US, find your local importer at bazzaz.net • 11>REINSTALL After it is determined that everything is correct, reinstall the components removed in step 3.
- Page 8 THE SMARTEST PERFORMANCE TUNING TECHNOLOGY Q446...
Need help?
Do you have a question about the QS4 USB and is the answer not in the manual?
Questions and answers