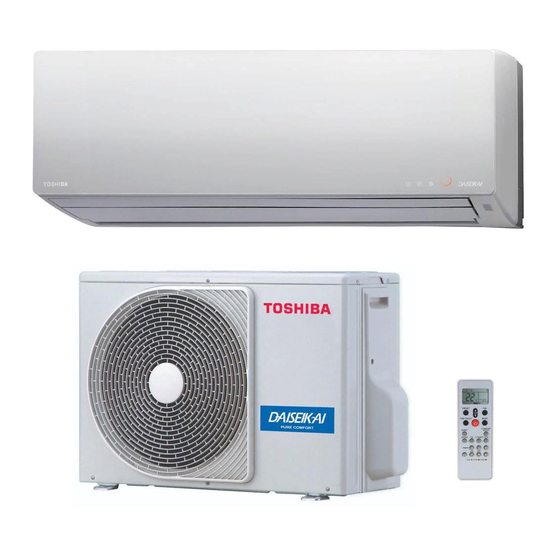
Toshiba RAS-4M23SAV-E Installation Manual
Outdoor unit.
multi-split type
Hide thumbs
Also See for RAS-4M23SAV-E:
- Installation manual (130 pages) ,
- Service manual (121 pages) ,
- Owner's manual (105 pages)
Summary of Contents for Toshiba RAS-4M23SAV-E
- Page 1 OUTDOOR UNIT INSTALLATION MANUAL AIR CONDITIONER (MULTI-SPLIT TYPE) For general public use Outdoor Unit RAS-4M23SAV-E RAS-4M23SACV-E RAS-3M26GAV-E1 RAS-4M27GAV-E1 RAS-4M27GACV-E ENGLISH...
-
Page 2: Table Of Contents
CONTENTS ENGLISH 1 PRECAUTIONS FOR SAFETY ........1 2 OPTIONAL PARTS, ACCESORIES AND TOOLS ..4 3 WHICH MODELS CAN BE COMBINED ......6 4 INSTALLATION OF OUTDOOR UNIT ......7 5 GROUNDING ...............13 6 CHECK AND TEST OPERATION .......13 7 USEFUL FUNCTIONS ..........15 * Please read this installation manual carefully before installing the air conditioner. -
Page 3: Precautions For Safety
*3: Property damage means greater damage which affects assets or resources. For general public use • RAS-4M23SAV-E, RAS-4M23SACV-E Power supply cord of parts of appliance for outdoor use shall be at least polychloroprene sheathed flexible cord (design H07RN-F) or cord designation 60245 IEC66 (1.5 mm or more). - Page 4 • WHEN MOVING THE AIR CONDITIONER FOR INSTALLING IT IN ANOTHER PLACE AGAIN, BE VERY CAREFUL NOT TO GET THE SPECIFIED REFRIGERANT (R410A) WITH ANY OTHER GASEOUS BODY INTO THE REFRIGERATION CYCLE. IF AIR OR ANY OTHER GAS IS MIXED IN THE REFRIGERANT, THE GAS PRESSURE IN THE REFRIGERATION CYCLE BECOMES ABNORMALLY HIGH AND IT RESULTINGLY CAUSES BURST OF THE PIPE AND INJURIES ON PERSONS.
- Page 5 CAUTION • Please read this installation manual carefully before installing the unit. It contains further important instructions for proper installation. • Exposure of unit to water or other moisture before installation could result in electric shock. Do not store it in a wet basement or expose to rain or water.
-
Page 6: Optional Parts, Accesories And Tools
2 OPTIONAL PARTS, ACCESORIES AND TOOLS Optional Installation Parts Part name Specifications Q’ty Indoor unit name Liquid side Gas side (Abbreviation) (Outer diameter) (Outer diameter) 1 ea. Refrigerant piping 07, 10, 13 6.35 mm 9.52 mm 16, 18 6.35 mm 12.7 mm Putty, PVC tapes 1 ea. - Page 7 Installation/Service Tools Changes in the product and components In air conditioners using R410A, in order to prevent any other refrigerant from being accidentally charged, the service port diameter size of the outdoor unit control valve (3 way valve) has been changed. (1/2 UNF 20 threads per inch) •...
-
Page 8: Which Models Can Be Combined
Indoor unit Class 10 13 16 10 13 16 18 10 13 16 18 07 10 13 16 10 13 16 10 13 16 specification Heat pump Model name RAS-4M23SAV-E Outdoor unit RAS-3M26GAV-E1 combination RAS-4M27GAV-E1 4-way Air Slim Duct Discharge... -
Page 9: Installation Of Outdoor Unit
Piping length Item Height difference Maximum for Maximum for Minimum for 1 unit Maximum for 1 unit Outdoor unit total of 3 units total of 4 units RAS-4M23SAV-E — 60 m RAS-4M23SACV-E RAS-3M26GAV-E1 25 m 50 m — 15 m RAS-4M27GAV-E1 —... - Page 10 Precautions about Installation in Regions with Snowfall and Cold Temperatures • Do not use the supplied drain nipple for draining water. Drain the water from all the drain holes directly. Snow protection plate • To protect the outdoor unit from snow accumulation, install a holding frame, and attach a snow protection hood and plate.
- Page 11 When the outdoor unit is to be installed in an area with a snowy or cold climate • Allow the water in the outdoor unit to drip onto the ground. (Do not use a hose to drain off the water.) •...
- Page 12 9.52 6.35 Unit A 9.52 or 12.7 Outdoor unit Indoor unit RAS-4M23SAV-E, RAS-3M26GAV-E1 RAS-4M27GAV-E1 RAS-4M27GACV-E RAS-4M23SACV-E 1 unit: 16 or 13 or 10 1 unit: 18 or 16 or 13 or 10 or 07 1 unit: 18 or 16 or 13 or 10 or 07...
- Page 13 Evacuating After the piping has been connected to the indoor unit, perform the air purge. AIR PURGE Evacuate the air in the connecting pipes and in the indoor unit using a vacuum pump. Do not use the refrigerant in the outdoor unit. For details, see the vacuum pump manual.
- Page 14 Wiring Connection Remove the side panel and cord clamp from the outdoor unit. Connect the connecting cable to the terminal as identified by the matching numbers on the terminal block of indoor and outdoor unit. Insert the power cord and the connecting cable fully into the terminal block and secure it tightly with screws. Use vinyl tape, etc.
-
Page 15: Grounding
5 GROUNDING This air conditioner must be grounded without fail. Grounding is necessary not only to safeguard against the possibility of receiving an electric shock but also to absorb both the static, which is generated by high frequencies and held in the surface of the outdoor unit, and noise since the air conditioner incorporates a frequency conversion device (called an inverter) in the outdoor unit. - Page 16 During checks (Check time 3 to 20 minutes). • When an error described in the table below occurrs, check that operation stops and an error code is displayed on LED. After checks, the check results are displayed on LED. • The compressor stops when a miswiring (mis-pipng) error occurrs. •...
-
Page 17: Useful Functions
7 USEFUL FUNCTIONS Self-Diagnosis by LED Indication • For this outdoor unit, by referring to the 5 LED (1 Yellow + 4 Red) indicator lights, self-diagnosis is possible. • LEDs (D800 to D804) are located on the sub-control board underneath the inverter. LED indication Indoor alarm Contents... - Page 18 EG21808701...


Need help?
Do you have a question about the RAS-4M23SAV-E and is the answer not in the manual?
Questions and answers