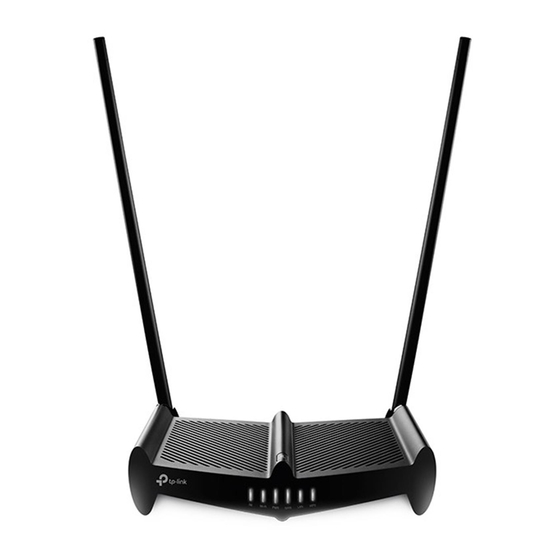
TP-Link TL-WR841HP Quick Installation Manual
Hide thumbs
Also See for TL-WR841HP:
- User manual (178 pages) ,
- Quick installation manual (135 pages) ,
- Easy setup (3 pages)
Advertisement
Range Extender Mode
[This mode boosts your home wireless coverage.]
Configure
1
Using the RE button is an easy way to extend your host network.
We recommend you to use this way if your host router has the
WPS button. The button might look like these:
WPS
Option One: Using RE Button
1. Press the WPS button on the host router.
2. Within 1 minute, press and hold the
(RE) button on the
top panel of router for about 3 seconds. The router will start
to reboot.
3. After rebooted, the RE LED should change from blinking to a
solid state, indicating a successful connection.
If not, please refer to the Option Two.
Option Two: Using Web Browser
1. Connect a computer to the router via an Ethernet cable or
wirelessly by using the SSID (wireless name) and password
printed on the bottom label of the router.
2. Launch a web browser and enter http://tplinkwifi.net. Use
admin for both the username and password to log in.
3. Follow Quick Setup to configure.
Make sure to choose Range Extender and click Survey to choose
your host network and fill in its wireless password.
2
Relocate
Place the router between your host router and the Wi-Fi "dead"
zone. The location you choose must be within the range of
your existing host network.
Host Network
Extended Network
Host Router
High Power Router
Client
The extended network shares the same SSID (wireless name) and
password as your host network.
Access Point Mode
[This mode transforms your existing wired network to a wireless network. ]
Internet
Ethernet1
Ethernet2
Ethernet3
Ethernet4
Internet
Ethernet1 Ethernet2
Ethernet3
Ethernet4
Wired Host Router
High Power Router
Client
1. Connect the router to your wired host router's Ethernet port via
an Ethernet cable as shown above.
2. Connect a computer to the router via an Ethernet cable or
wirelessly by using the SSID (wireless name) and password
printed on the bottom label of the router.
3. Launch a web browser and enter http://tplinkwifi.net or
http://192.168.0.1. Use admin for both the username and
password to log in.
4. Click
on the top-right corner of the Web Management
Mode
Page and choose Access Point and then click Save. The router
will reboot automatically.
Connect to the wireless network by using the SSID (wireless name)
and password of the router.
Tether App
TP-LINK Tether provides the easiest way
to manage your router. Search for
TP-LINK Tether in the Apple App Store or
Google Play, or simply scan the QR code
to download Tether App.
©2016 TP-LINK 7106506186 REV1.0.1
Quick Installation Guide
FASTER
AND
STRONGER
Start Here >>
Advertisement
Table of Contents

Related Manuals for TP-Link TL-WR841HP


Summary of Contents for TP-Link TL-WR841HP
- Page 1 TP-LINK Tether provides the easiest way to manage your router. Search for TP-LINK Tether in the Apple App Store or Google Play, or simply scan the QR code to download Tether App.
- Page 2 (all lowercase) for both username and password to log in. For more information about the configuration, refer to User Guide which can be downloaded in Support page at http://www.tp-link.com. Please note: The Router provides three working modes: Router, If you have customized the SSID (wireless name) and password during the Range Extender and Access Point.
Need help?
Do you have a question about the TL-WR841HP and is the answer not in the manual?
Questions and answers