TP-Link Omada EAP225 Installation Manual
Indoor/outdoor access point
Hide thumbs
Also See for Omada EAP225:
- Installation manual ,
- Quick installation manual (2 pages) ,
- User manual (133 pages)
Advertisement
Quick Links
EAP110-Outdoor
EAP225-Outdoor
Installation Guide
Indoor/Outdoor Access Point
Typical Network Topology
Internet
Router
Switch
EAP Controller
PC
EAP
EAP
EAP
Clients
A DHCP server (typically a router) with DHCP function enabled is required to
assign IP addresses to the EAPs and clients in your local network.
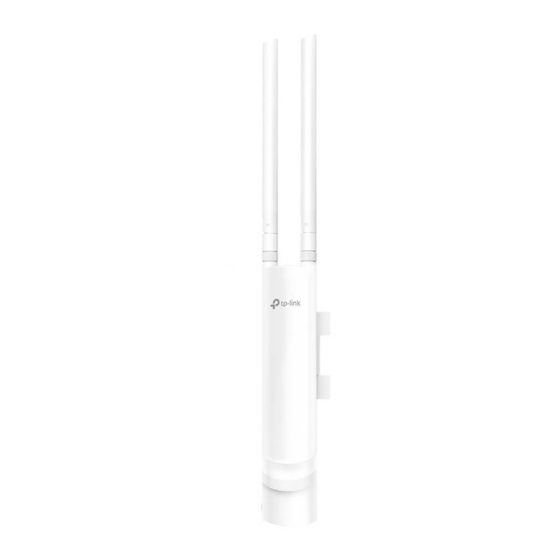
Overview
Package Contents
Mounting Bracket
Passive PoE Adapter
(for EAP)
(Mounting Bracket Included)
EAP
Installation Guide
Indoor/Outdoor Access Point
M3×16 Self-tapping
Screws (Qty.2)
Installation Guide
Antennas (Qty.2)
M3×28 Plastic Wall
M3×20 Self-tapping
Anchors(Qty.4)
Screws (Qty.2)
Power Cord
Waterproof Rubber
Pole Mounting Strap
Insert
Lightning and ESD Protection
Before mounting EAP, you should consider Lightning and ESD
Protection to ensure safety.
Proper grounding is extremely important for outdoor devices. By
using a shielded CAT5e (or above) cable for connection, you can
reduce the damage of ESD attacks.
EAP
Grounded 3-wire
Power Outlet
Shielded CAT5e (or above)
Cable
Grounded PoE Adapter
Panel Layout
The Panel of EAP
Shielded Ethernet
RESET
Port LAN
Hardware Installation
Mount EAP
The EAP can be pole-mounted or wall-mounted when working
independently.
The EAP can be mounted on an external antenna when
working with an external antenna.
Option 1: Pole Mounting
Step 1:
Lead the end of the pole mounting
strap through the back of the EAP.
Step 2:
Position the EAP and wrap the pole
mounting strap around the pole.
Feed the end through the
screw-block and tighten the strap
until the EAP is secure.
Step 3:
Connect the antennas to the EAP.
SYS LED Explanation
LED Status
Indication
Flashes green twice
Initialization is completed.
Solid green
The device is initializing or working properly .
Flashes red
System errors. RAM, Flash, Ethernet, WLAN or
firmware may be malfunctioning.
Flashes yellow
Firmware update is in progress. Do not disconnect
or power off the device.
Double flashes red,
The device is being reset to its factory default
green, yellow
settings.
Passive PoE Adapter
Remote Reset:
Power LED:
On: Power on
Press and hold for 8 seconds
to reset the EAP to its factory
Off: Power off
default settings.
Note: EAP225-Outdoor does not support the Remote Reset feature.
Option 2: Wall Mounting
Step 1:
Place the mounting bracket (for
EAP) in the right position. Mark two
positions for the screw holes .
Drill two 6mm holes for the screws
at the marked positions.
Step 2:
Insert the plastic wall anchors into
the 6mm holes. Align the bracket
(for EAP) to the plastic wall anchors
and drive the self-tapping screws
into the anchors through the
bracket (for EAP).
Step 3:
Align the mounting tabs on the
back of the EAP with the slot of
the mounting bracket (for EAP).
Push and slide the EAP downward
until it locks into place.
Step 4:
Connect the antennas to the EAP.
Advertisement

Related Manuals for TP-Link Omada EAP225


Summary of Contents for TP-Link Omada EAP225
-
Page 1: Hardware Installation
Overview Panel Layout SYS LED Explanation Package Contents The Panel of EAP LED Status Indication Flashes green twice Initialization is completed. Solid green The device is initializing or working properly . Flashes red System errors. RAM, Flash, Ethernet, WLAN or firmware may be malfunctioning. - Page 2 GNU General Public License (“GPL”). As applicable, the terms of the GPL and any information on obtaining access to the respective GPL Code used in TP-Link products are available to you in GPL-Code-Centre under AT BE BG CH CY CZ DE DK...
Need help?
Do you have a question about the Omada EAP225 and is the answer not in the manual?
Questions and answers