Table of Contents
Advertisement
Quick Links
Download this manual
See also:
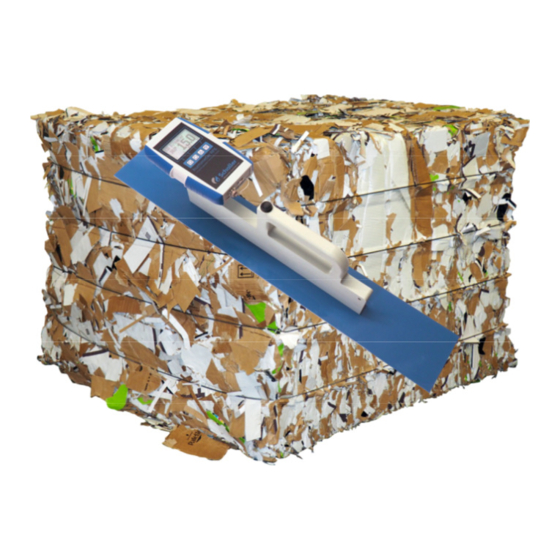
User Manual
Advertisement
Table of Contents

Related Manuals for Humimeter RP6

Summary of Contents for Humimeter RP6
- Page 1 User manual recycling paper moisture meter humimeter RP6 Version 1.1 © Schaller GmbH 2016...
- Page 2 1.) For a correct measurement please ensure that the device has the same temperature (+/-3° ) than the material under test. For that reason, let your humimeter adjust to the surrounding temperature of the material for at least half an hour before measuring (protect from direct sunlight!).
- Page 3 During the startup for a short time the serial number, the software version, the battery state and the free memory space are displayed. After that the humimeter RP6 is ready to use. For switching off the device, press the power button ( ) for 5 seconds.
- Page 4 List of calibration curves Pressing the key in the measuring window for at least 3 seconds, a list of all available calibration curves will appear. Select your desired calibration curve by pressing and confirm by pressing the key. Calibration curves displayed in grey are not available for the actual sensor and cannot be chosen.
-
Page 5: Menu Level Overview
Menu level overview Keypad symbols Measuring window: rolling menu power ON / OFF switch upper Store menu switch lower save Watch or edit saved logs Number of logs hold Enter new log watch saved data enter supplier´s data Type selection menu Next calibration curve Menu: Previous calibration curve... - Page 6 Operating the instrument Switching on: Press for three seconds. Setting date and time: two times -> Options -> date/time Saving: Press the button to save the shown measuring value. To name the saved results press the button. Hold: Select the menu item „Options“, then select „datalog time“.
- Page 7 Absolute moisture Testliner Absolute air humidity Plug the sensor into the material to measure and let it adjust for approx. 15 minutes. Switch on the humimeter RP6 and select the desired calibration curve. The display immediately shows the measuring result.
- Page 8 . This menu item has to be unlocked. For that enter the 4-digit serial number of your humimeter RP6. You can find it on the top right edge of the display a short time after switching on the instrument.
- Page 9 Each device includes a serial number and the guarantee stamp. If those are broken, no claims for guarantee can be made. In case of a faulty device, please contact Schaller GmbH (www.humimeter.com) or your dealer. page9...
- Page 10 Carefully loose the protection cap on your humimeter and plug in the USB mini B connector. The bigger connector has to be connected to a USB slot on your PC. Start the LogMemorizer software on your PC and switch on your humimeter RP6.
- Page 11 To print your saved data, connect the device to the printer using the printer cable that was delivered with your device. Carefully loose the protection cap on the humimeter RP6. At first plug in the side of the connector with the close plastic casing at the humimeter RP6.
-
Page 12: Hardware Reset
Hardware Reset In case that your humimeter device does not respond to any key press or cannot be switched on any more, you can carry out a hardware reset. Please make sure that the accumulator has been charged before starting the following procedure: Remove the blue plastic handle by sliding it off. -
Page 13: Technical Data
620 mm x 100 mm x 147 mm Weight 1 kg (incl. accumulator) Degree of protection IP 64 Scope of supply RP6 with integrated accumulator, user manual, plastic case, USB interface incl. cable and PC software, calibration certificate Optional Bluetooth module, portable printer, proof... -
Page 14: Important! Please Read
• Product temperature out of application range The temperature of the measuring device and the material under test should be approximately the same. Put the humimeter device to the material half an hour before starting the measurement in order to ensure a temperature adjustment.
Need help?
Do you have a question about the RP6 and is the answer not in the manual?
Questions and answers