Advertisement
Table of Contents
Advertisement
Table of Contents

Related Manuals for TECO TR10


Summary of Contents for TECO TR10
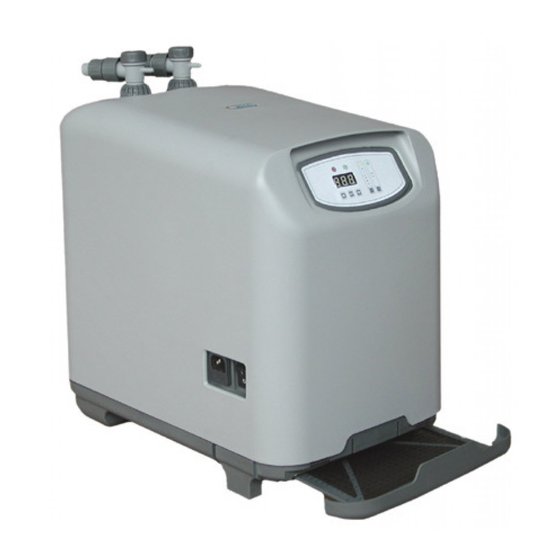
- Page 1 HEATER UPGRADE INSTRUCTIONS – TR5, TR10, TR15, TR20 Heater Upgrade Instructions...
-
Page 2: Important Safety Precautions
Important Safety Precautions It is recommended that you plug the chiller into an To avoid potential electric shock, care should be taken since RCD plug at all times. Do not operate SeaChill chillers aquarium equipment involves use of electricity and water. For or any accessory to SeaChill chillers (heater or UV each of the following situations, do not attempt repairs by sterilizer) without water flow. -
Page 3: Parts And Tools
Contact TradeMark Aquatics Ltd is the UK distributor for SeaChill. For technical support, safety concerns, or sales, contact: Tel: 01509 262330 info@trademarkaquatcs.co.uk or visit us online at: www.trademarkaquatics.co.uk Parts & Tools Parts needed for Heater installation. Cable ties for wiring (6) Tools needed: Tongue and groove pliers or similar... - Page 4 Unscrew the Ring Nuts and remove the shut off valves from the chiller. Use tongue and groove pliers or similar to loosen plastic nuts holding the housing in place. It is not necessary to grip nuts tightly, a loose grip will help prevent scarring of plastic. If desired, a piece of duct tape may be used to cover the teeth of the tongue and groove pliers to prevent scarring of the plastic nuts.
- Page 5 Remove air filter from chiller housing. Pull upwards on rear of chiller housing, loosening it on the frame of the chiller. Insert fingers between housing and frame of the chiller at the front. Once fingers are between frame and housing, lift upwards.
-
Page 6: Installing The Heater
Unscrew and remove ring nut over Heater port. Remove plug and o-ring from ring nut. Place o-ring over the top of the Heater and push down approximately 3/4 inch to 1 inch onto the Heater. Insert Heater into heat exchanger until o-ring seats into outlet lip. - Page 7 Put ring nut over quartz sleeve and o-ring. Tighten to seal. Use tongue and groove pliers or similar to ensure there is no leak. Step 3 Installing The Heater...
- Page 8 Connect two pin adapter on wiring harness to two pin connector mounted on top of support strut. Use cable tie to fasten wiring harness to support strut. Step 4 Connecting the Pin Adapter...
- Page 9 Plug in and turn on the chiller At the top of the control panel, above the display and controls are a series of small metal prongs. Remove the plastic “jumper” from prongs 4 and 5. Place jumper on pins 7&8, this will reset your chiller. Remove jumper from pins 7&8.
-
Page 10: Replacing The Housing
It is important to line up housing with the control panel. If the control panel does not fit the slot designed for the control panel, housing is not seated correctly. Press down firmly an on the rear of the housing. You will feel the housing snap into place.
Need help?
Do you have a question about the TR10 and is the answer not in the manual?
Questions and answers