Table of Contents
Advertisement
Advertisement
Table of Contents

Related Manuals for icklebubba Stomp Travel System


Summary of Contents for icklebubba Stomp Travel System
- Page 1 Stomp Travel System User Guide...
-
Page 2: Table Of Contents
Contents IMPORTANT – Read the instructions carefully before use and keep for future reference Contents Features Components Set Up & Assembly Carrycot Set Up Seat Unit Set Up Carrycot/Seat Unit Attachment Car Seat Installation How To Use The Stroller Accessories Important Safety Information Warranty Published August 2017... -
Page 3: Features
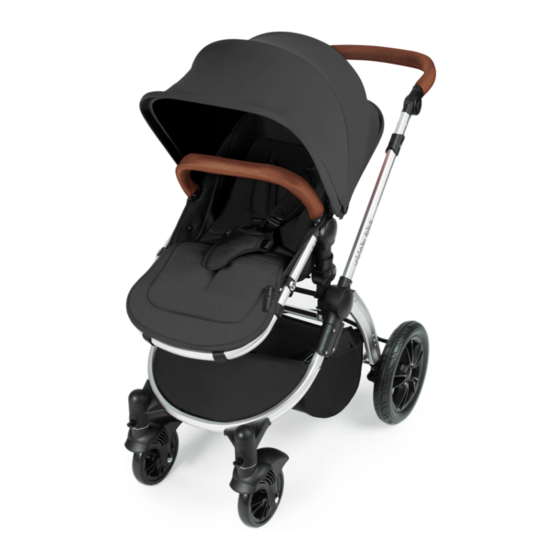
Features Dear Parents Congratulations on the purchase of your Stomp Travel System! Your child’s safety can only be guaranteed if this product is used according to these instructions. Therefore, please take time to read through this instruction manual carefully. Adjustable handle... -
Page 4: Components
Components A. Handlebar Cover Storage Basket R. Seat/Carrycot Frame B. Handlebar Adjuster Rear Wheel S. Carrycot Fabric C. Right Folding Button K. Wheel Disassembly Button T. Seat Unit Fabric D. Left Folding Button L. Canopy U. Chassis E. Seat Unit M. - Page 5 Components...
-
Page 6: Set Up & Assembly
Set Up & Assembly Step 1: Unfolding the Stroller a. Squeeze the stroller frame b. Pull the stroller upwards until you together slightly whilst pulling the hear the frame click into the upright release catch as shown. position. Test the chassis by pushing downwards on the handle bar to make sure it is securely locked in to place at the joint. - Page 7 Set Up & Assembly Step 2: Brake Bar Installation a. Please ensure the chassis is b. Ensure the silver locking clips are unfolded before installing the brake bar visible on each side and test this by and wheels. pulling the brake bar downwards once Attach the brake bar to the rear of the it has been installed.
- Page 8 Set Up & Assembly Step 4: Front Wheel Installation Front Wheel Button a. Keep holding the front wheel button and attach the front wheel onto the chassis. Repeat other side. b. Please ensure you test your installation by pulling the front wheel down a few times before using NOTE: Please ensure that the front wheels are locked when using on...
-
Page 9: Carrycot Set Up
Carrycot Set Up Step 1: Preparing the Carrycot Recline Lever a. The carrycot fabric should already be attached to the carrycot/seat unit frame. PLEASE NOTE: The position of the carrycot may need to be adjusted to make it level. This can be done by firmly pressing on the grey lever which can be found at the top end of the frame. - Page 10 Carrycot Set Up Step 3: Canopy Installation a. Take the longer strip from part A b. Make sure the canopy connectors and thread it through the front are facing inwards. section of the canopy fabric (B). Repeat the same process with the shorter strip from part A by threading it through the rear part of the canopy fabric.
-
Page 11: Seat Unit Set Up
Seat Unit Set Up Step 1: Preparing the Seat Unit a. Strip the carrycot fabric from the b. Attach the seat unit fabric using frame in preparation for seat unit the velcro strips and eyelet hooks. attachment. Ensure the recline button is at the top of the seat unit and accessible. - Page 12 Seat Unit Set Up Step 2: Seat Harness Attachment a. Locate the holes which can be b. Slide the waist strap through the found on either side of the seat holes with the silver buckle end going section of the seat unit fabric. from inside to out.
- Page 13 Carrycot/Stroller Attachment Installation a. Line up the release clips with the chassis and then push down until both sides click into place. Please test this by pulling upwards. Disassembly b. Push the release button forward until you feel it click before lifting upwards to remove.
-
Page 14: Car Seat Installation
Car Seat Installation Step 1: Adapter Attachment a. IMPORTANT: Insert the adpaters into the car seat before attaching to the chassis. Step 2: Car Seat Hood Attachment a. There are two parts to the hood. b. Place the elastic underneath the Put the shorter part on the handlebar car seat adapters to secure the hood. - Page 15 Car Seat Installation Step 2: Car Seat Attachment a. Line up the adapters with each side of the chassis before pushing down on each side. Please be aware that even pressure will need to be placed on both sides at the same time when pushing downwards.
-
Page 16: How To Use The Stroller
How To Use The Stroller Front Wheel Lock Feature To lock the front wheels in place, IMPORTANT: Ensure the wheels are simply press the button downwards. in a locked position when using on Pull upwards to release and enable uneven or rough terraine. 360 degree turn. - Page 17 How To Use The Stroller Reversing the Seat Unit Travel System Brake To reverse the seat unit direction, To apply the brake simply push down. simply follow the same steps as To remove the brake function lift indicated on page 13. upwards.
- Page 18 How To Use The Stroller Folding The Stroller Press and hold down the fold button Whilst holding down the fold button, with your index finger. pull both levers towards you and then fold the chassis down. Follow the arrow direction. Secure the chassis in place using the folding lock.
-
Page 19: Accessories
Accessories Raincover Carrycot Apron Line up the seams on the rain cover Secure the carrycot apron in place by with the seams on the hood. Open fastening the poppers on each side. the window using the velcro to ensure sufficient ventilation. Seat Liner Foot Warmer Thread the harness of the seat unit... -
Page 20: Important Safety Information
Important Safety Information WARNINGS! IMPORTANT: Read these instructions carefully before use and keep them for future reference. Your child’s safety may be affected if you do not follow these instructions. Failure to follow these warnings and the instructions could result in serious injury or death. - Page 21 Important Safety Information Strangulation hazard: • A child can strangle in loose restraint straps. Never leave your child in the carrier when straps are loose or undone. • Strings can cause strangulation! Do not place items with a string around a child’s neck, such as hood strings or pacifier cords.
- Page 22 Important Safety Information Maintenance and care: • Apply a damp cloth to plastic parts of the stroller. Avoid abrasives or bleach. • Regularly check screws, rivets, bolts and fastenings to ensure they are locked tight and secure. Replace any parts in an inferior condition. When using this product during the winter, by the sea or off-road it is important to clean using clean fresh water and dry thoroughly.
-
Page 23: Warranty
Please retain your original receipt of purchase and keep with this instruction booklet. Don’t forget to register online today at: www.icklebubba.com/warranty Standard Warranty Terms Chassis and seat frames – 2 years Wheels – 1 year Seat fabrics, carrycot hood, carrycot apron, handle bar cover, bumper bar and accessories –...
Need help?
Do you have a question about the Stomp Travel System and is the answer not in the manual?
Questions and answers