Advertisement
Quick Links
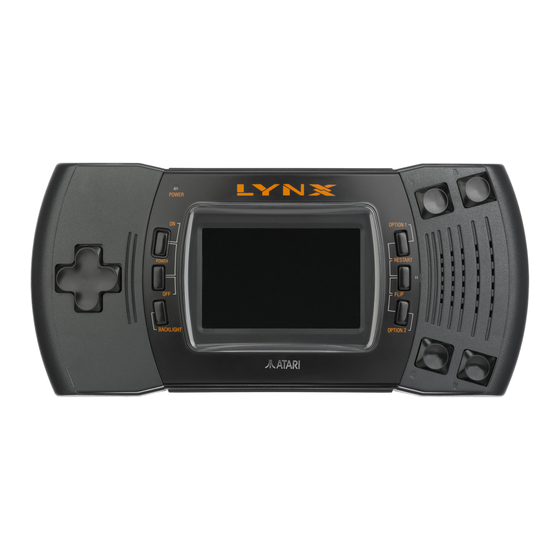
LYNX-II LCD Replacement MOD REV2.0
ATTENTION ! Installing the LCD replacement is on your own risk! Your LYNX-II could be damaged,
if you are not able to do this modification!
Liability impossible!
Required materials:
LYNX-kit, VGA connector with screws, 18 wires round about 20 cm (8 inches) length (IDE cable)
1. Step: Remove not needed Parts and 5 Volt check
2. Step: VGA connector (if needed)
Connect the pins 6, 7 and 8 together.
Solder 6 wires to the pins 1, 2, 3, 13,
14 and (6, 7, 8) to the VGA connector.
!!! Use hot glue for the internal screws of VGA connector. Otherwise the screws may cause short circuit !!!
Quick Guide
ATTENTION ! Make sure that all power is off. Disconnect ALL cables.
1. Remove VR1 trim potentiometer (if VGA connector is needed)
2. Remove L17 coil
3. Remove Q13 and Q14 transistors
4. Remove C55 and C56 capicitors
5. Remove T1 power module
(see picture below)
!!! Now check the 5 Volt with a voltmeter on VCC point (see 3rd step). If the
voltage exceeds 5.45 Volt, repair your LYNX ! Otherwise the LYNX mod will
be damaged !!!
After that you solder the other side of
the wires to the LYNX mod.
Advertisement

Related Manuals for Atari Lynx II


Summary of Contents for Atari Lynx II
- Page 1 LYNX-II LCD Replacement MOD REV2.0 Quick Guide ATTENTION ! Installing the LCD replacement is on your own risk! Your LYNX-II could be damaged, if you are not able to do this modification! Liability impossible! Required materials: LYNX-kit, VGA connector with screws, 18 wires round about 20 cm (8 inches) length (IDE cable) 1.
- Page 2 3. Step: Power and backlight button Now solder one wire to VCC (+5 Volt) and one wire to GND (Ground). The wire of the backlight has to be soldered to U11 (74HC74A) on pin 2. Power (VCC and GND) !!! ATTENTION !!! Don't damage the flexcable (FPC) of the LCD ! You may disconnect the FPC, but don't forget connecting it correct after soldering GND.
Need help?
Do you have a question about the Lynx II and is the answer not in the manual?
Questions and answers