Icom BC-119N Instructions
Desktop charger
Hide thumbs
Also See for BC-119N:
- Service manual (19 pages) ,
- Instructions (2 pages) ,
- Instruction manual (2 pages)
Advertisement
Quick Links
lOOM
INSTRUCTIONS
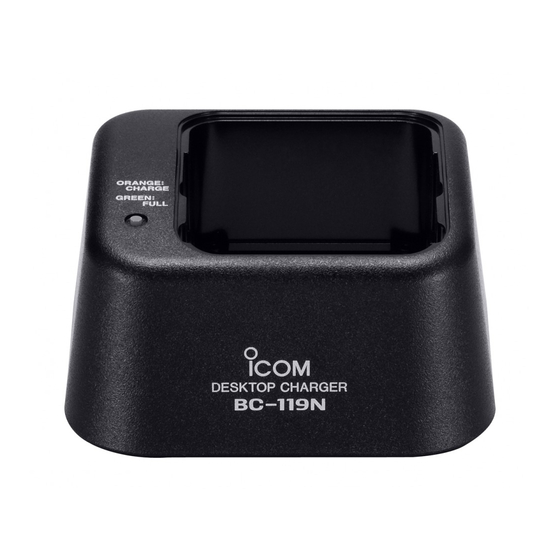
DESKTOP CHARGER
BC-119N
Thank you for purchasing the BC-119N
desktop charger. The BC-119N charges
a Ni-Cd or Ni-MH battery pack in approx.
1-2 hrs., or a Li-Ion battery pack in
approx. 2-3 hrs.
Please read these instructions thoroughly
before operating the BC-119N.
CAUTION
A WARNING! To reduce the risk of injury,
charge only specified Icom Ni-Cd, Ni-MH
or Li-Ion rechargeable battery packs.
Other types of battery packs/cases may
burst, causing damage and personal
injury.
A USE INDOORS ONLY1 NEVER expose
the charger to rain, snow or any liquids.
NEVER let metal, wire, etc. touch any
internal part of the charger.
NEVER incinerate used batteries. This
may cause an explosion.
NEVER use the charger when it is covered
by objects which impede heat dispersal.
Place the charger in a secure place to
avoid inadvertent use by children.
AVOID charging in conditions of extreme
cold (under 10°C; +50°F) or extreme heat
(over +40°C; +104°F). Batteries may not
charge under extreme temperatures.
Keep the charger away from TV sets or
radios to prevent interference.
A NEVER attempt to charge alkaline or
dry cell batteries. They may burst causing
damage and personal injury.
Information (U.S.A. only)
The Ni-Cd battery that you have
purchased is recyclable. At the
end of its life, under various state
and local laws, it may be illegal to
dispose of this battery into the
municipal waste stream. Call 1-800-822-8837 for
battery recycling options in your area or contact
your dealer.
jjgMake sure battery and charger con-
^ tacts are always clean, otherwise bat-
^ teries may not fully charge.
SAVE THESE INSTRUCTIONS! These
instructions contain important safety and
operating details for the BC-119N.
An appropriate desktop charger adapter
must be purchased separately to charge
your Icom battery packs.
In order to get the maximum life out of your
Ni-Cd batteries:
1. Avoid overcharging— batteries must be
removed from the charger to stop
charging. Batteries should not be
charged for more than 15 hours after
the LED indicator turns green.
2. Use the batteries until they become
almost completely exhausted under
normal conditions.
% If your batteries seem to have no
^ capacity even after being fully charged,
% completely discharge them, then fully
%charge them again. If they still do not
% retain a charge (or very little), new bat-
% teries must be purchased.
C€
Some versions of the BC-119N
which display the "CE" symbol on
the serial number comply with the
essential
requirements of
the
89/336/EEC
directive
for
Electromagnetic Compatibility.
This compliance is based upon the harmonised
CENELEC generic standard EN50 081-1: 1992
and EN50 082-1:1991.
ATTACHING A DESKTOP CHARGER ADAPTER
There are 2 desktop charger adapter types
for the BC-119N. One has a PCB, the other
does not. The non-PCB types require an
additional PCB (AD-75 orad-88). For some
versions, the AD-75 or AD-88 is already in
stalled in the BC-119N.
♦
For the PCB types:
Connect the plugs of an appropriate desk
top charger adapter and the BC-119N, then
installed the adapter with the screws (sup
plied withthe adapter). For some versions, the
desktop charger adapter is already installed.
• Installing the PCB type adapter
See NOTE below
'% NOTE: Some of the PCB type desktop
^ charger adapters (incl. AD-75/88) do not
^ need connection of the 3-pin connector.
^The connection is required only for the
%installing adapter that is compatible with
% charging a Li-Ion battery pack.
O For types requiring the AD-75/AD-88:
Install the optional AD-75 or AD-88 to the
BC-119N with 4 screws (supplied with the AD-
75/AD-88), then attach a desktop charger
adapter to the BC-119N. See the trans
ceiver's instruction manual for an approved
desktop charger adapter.
• Installing the AD-75/AD-88
9
Not used
See NOTE below
Installing the non-PCB type adapter
A CAUTION
About the 3-pln connector:
When you replace the desktop charger adapter
from the Li-Ion compatible type to non-compatible type, fix
the 3-pin connector to the bottom of the charger with adhe
sive tape, etc., to prevent catching or touching the 3-pin con
nector's terminals with the adapter's leads, etc.
Fix the connector with
adhesive tape, etc
Icom, Icom Inc. and ?com are registered trademarks of Icom Incorporated (Japan) in the United States, United
Kingdom, Germany, France, Spain, Russiaand/orother countries.
Icom Inc.
1-1-32Kamiminami, Hirano-ku, Osaka 547-0003 Japan
Count on us!
A-6099D-1EX-®
Printed in Japan
© 2001 Icom Inc.
Advertisement


Need help?
Do you have a question about the BC-119N and is the answer not in the manual?
Questions and answers