Sign In
Upload
Download
Table of Contents
Contents
Add to my manuals
Delete from my manuals
Share
URL of this page:
HTML Link:
Bookmark this page
Add
Manual will be automatically added to "My Manuals"
Print this page
×
Bookmark added
×
Added to my manuals
Manuals
Brands
Airwell Manuals
Air Conditioner
CN 9
Service manual
Airwell CN 9 Service Manual
Cn fixed rpm series
Hide thumbs
1
2
3
4
5
6
7
8
9
10
11
12
13
14
15
16
17
18
19
20
21
22
23
24
25
26
27
28
29
30
31
32
33
34
35
36
37
38
39
40
41
42
43
44
45
46
47
48
49
50
51
52
53
54
55
56
57
58
59
60
61
62
63
64
65
66
67
68
69
70
71
72
73
74
75
76
77
78
79
80
81
82
83
84
85
86
87
88
89
90
91
92
93
94
95
96
97
98
99
100
101
102
103
104
105
106
107
108
109
110
111
112
113
114
115
116
117
118
119
120
121
122
123
124
125
126
127
page
of
127
Go
/
127
Contents
Table of Contents
Troubleshooting
Bookmarks
Table of Contents
Table of Contents
Introduction
Introduction-----------------------------------------------------------------------------------------1-1
Indoor Unit
Outdoor Unit
Product Data Sheet
Rating Conditions
Operating Limits
Outline Dimensions
Performance Data
Pressure Curves
Sound Level Characterstics
Electrical Data
Wiring Diagrams
Refrigeration Diagrams
Tubing Connections
Control System
Cooling Mode
Heating Mode
Dry Mode
Data
Air Flow Direction Control
Alpha(
Forced Operation
Reserved 0
Troubleshooting
Exploded Views and Spare Parts Lists
Air Conditioner
Installation Manual Air Conditioner
Safety Precautions
Optional Accessories
Installation of the Indoor Unit
Cooling Only
Refrigerant Tubing
Panel Installing
Special Settings
Final Tasks
Advertisement
Quick Links
1
Introduction
2
Outdoor Unit
3
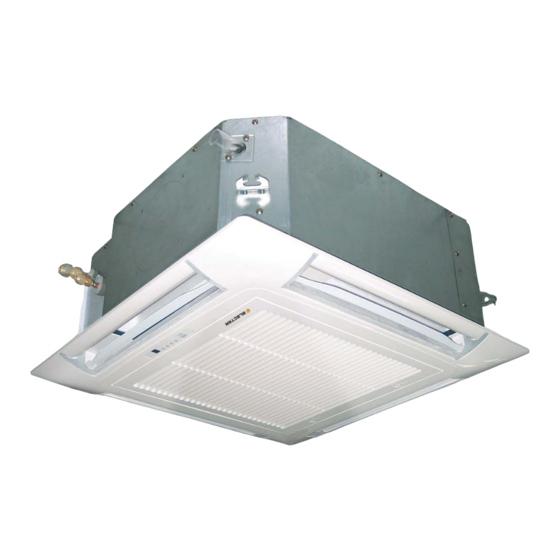
Indoor Unit
4
Product Data Sheet
5
Performance Data
Download this manual
CN Fixed RPM Series
REFRIGERANT
HEATPUMP
R410A
REV: 01
Oct 2008
Table of
Contents
Previous
Page
Next
Page
1
2
3
4
5
Advertisement
Chapters
Table of Contents
3
Installation Manual Air Conditioner
96
Table of Contents
Need help?
Do you have a question about the CN 9 and is the answer not in the manual?
Ask a question
Questions and answers
Related Manuals for Airwell CN 9
Air Conditioner Airwell YBD018 DCI Service Manual
(67 pages)
Air Conditioner Airwell CADE024 Service Manual
Yude series (72 pages)
Air Conditioner Airwell CX 25 Installation Instructions Manual
Packaged air conditioner free standing water cooled (14 pages)
Air Conditioner Airwell CD 35 Installation And Maintenance Manual
Split system ductable centrifugal condenseur (44 pages)
Air Conditioner Airwell GCD 036 DCR Service Manual
Dc inverter (211 pages)
Air Conditioner Airwell PNX009 Service Manual
(103 pages)
Air Conditioner Airwell CAO 230 User Manual
(14 pages)
Air Conditioner Airwell CCD Installation Manual
Cassette (144 pages)
Air Conditioner Airwell Comfort Series Installation Instructions Manual
Dc inverter split system for wall / ceiling mounting (128 pages)
Air Conditioner Airwell DS 18 RCG Installation Manual
Split ducted systems (21 pages)
Air Conditioner Airwell DUO 18 User Manual
Multi dci (54 pages)
Air Conditioner Airwell CDMX-022N-09M25 User & Installation Manual
4-ways cassette type cdmx r32 ( multi splits only) (264 pages)
Air Conditioner Airwell CDMX-035N-09M25 User & Installation Manual
4-ways cassette type cdmx r32 (262 pages)
Air Conditioner Airwell CDMX-035N-09M25 Technical Manual
Four-way cassette type air conditioner (144 pages)
Air Conditioner Airwell CFMD-035N-01M25 User & Installation Manual
Four-way cassette type air conditioner (86 pages)
Air Conditioner Airwell CVQA Series Service Manual
New mini 4 ways cassette indoor unit (31 pages)
This manual is also suitable for:
Cn 12
Cn 18
Ong3-17 r410a
Gcn 9 r410a
Gcn 12 r410a
Table of Contents
Print
Rename the bookmark
Delete bookmark?
Delete from my manuals?
Login
Sign In
OR
Sign in with Facebook
Sign in with Google
Upload manual
Upload from disk
Upload from URL


Need help?
Do you have a question about the CN 9 and is the answer not in the manual?
Questions and answers