Advertisement
Advertisement
Table of Contents

Related Manuals for Intel NUC6i7KYK


Summary of Contents for Intel NUC6i7KYK
-
Page 1: User Guide
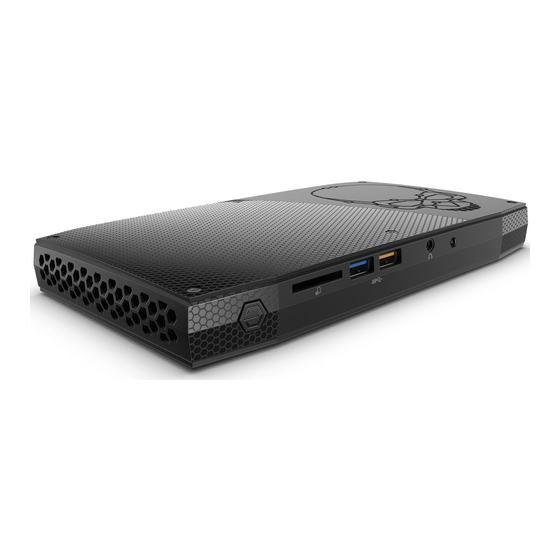
Intel NUC Kit NUC6i7KYK User Guide Intel® NUC Kit NUC6i7KYK User Guide... -
Page 2: Before You Begin
If such a station is not available, you can provide some ESD protection by wearing an antistatic wrist strap and attaching it to a metal part of the computer chassis. Installation Precautions When you install and test the Intel NUC, observe all warnings and cautions in the installation instructions. To avoid injury, be careful of: ... -
Page 3: Installing And Removing Memory
To open the Intel NUC chassis, follow these steps: 1. Unscrew the four corner screws on the bottom cover of the chassis and lift the cover. Installing and Removing Memory Intel NUC Kit NUC6i7KYK has two 260-pin DDR4 SO-DIMM sockets. Memory requirements: 1.2V/1.35V low voltage memory ... -
Page 4: Install So-Dimms
Intel NUC Kit NUC6i7KYK User Guide Install SO-DIMMs If you plan to install just one SO-DIMM, install it in the lower memory socket. To install the SO-DIMMs, follow these steps: 1. Observe the precautions in "Before You Begin" on page 2. -
Page 5: Install An M.2 Ssd
Intel NUC Kit NUC6i7KYK User Guide Install an M.2 SSD Intel NUC Kit NUC6i7KYK has two M.2 slots, supporting 80mm and 42mm SSDs. For a list of tested M.2 SSDs, go to the Tested Peripherals page on the Support site. -
Page 6: Close The Chassis
5. Secure the card to the standoff with the small silver screw (D). Close the Chassis After all components have been installed, close the Intel NUC chassis. Intel recommends this be done by hand with a screwdriver to avoid over-tightening and possibly damaging the screws. - Page 7 Intel NUC Kit NUC6i7KYK User Guide Change the Intel NUC Lid (Optional) Follow these instructions to replace the factory-installed skull lid with the one included in the box. Remove the six screws on the top cover of the chassis using the 2mm hex key (Allen wrench) included in the box and lift the cover.
- Page 8 1. Using the four small black screws that were included in the box, attach the VESA bracket to the back of the monitor or TV. 2. Attach the two slightly larger black screws to the bottom chassis cover of the Intel NUC.
-
Page 9: Connect Power
Intel NUC Kit NUC6i7KYK User Guide 3. Slide the Intel NUC onto the VESA mount bracket. Connect Power Region-specific power cords are included in the Intel NUC Kit box. 1. Choose the power cord with plug type for your region. Plug Type Region US –... -
Page 10: Install An Operating System
Intel NUC Kit NUC6i7KYK User Guide 3. Connect the adapter to the 19V power jack on the back of the Intel NUC. 4. Connect to AC power. Install an Operating System Refer to Supported Operating Systems for a list of Intel-validated Windows* operating systems, as well as versions of Linux that have been reported as compatible by Intel NUC owners.
Need help?
Do you have a question about the NUC6i7KYK and is the answer not in the manual?
Questions and answers