Advertisement
Quick Links
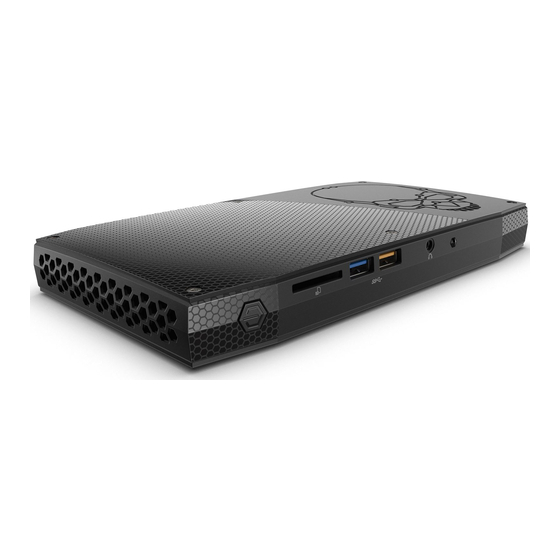
Intel® NUC Kit NUC6i7KYK Fan Replacement Steps
Perform the following fan replacement steps at an ESD safe workstation with the Intel NUC disconnected
from AC power.
To remove the existing fan:
1. Unscrew the four corner screws on the bottom cover of the chassis and lift the cover.
2.
Disconnect the fan connector from the motherboard fan header.
3. Peel back the black tape from the top of the fan assembly towards the memory slots. Do not
completely remove the tape.
Advertisement

Related Manuals for Intel NUC6i7KYK


Summary of Contents for Intel NUC6i7KYK
- Page 1 Intel® NUC Kit NUC6i7KYK Fan Replacement Steps Perform the following fan replacement steps at an ESD safe workstation with the Intel NUC disconnected from AC power. To remove the existing fan: 1. Unscrew the four corner screws on the bottom cover of the chassis and lift the cover.
- Page 2 4. Remove the two screws that secure the fan assembly to the heatsink. 5. To remove the fan, lift the circular fan hub while pulling the fan towards you. There may be some resistance from the black tape on the underside of the fan - this is normal - a little wiggling from side to side may help.
- Page 3 To install the new fan: 1. Remove the tape guard from new fan. 2. Place the new fan into position over the heatsink. 3. Secure the fan to the heatsink with the two screws. 4. Place the black tape back down onto the fan assembly.
- Page 4 5. Reconnect the fan cable connector to the fan header on the motherboard. 6. Close the chassis. Intel recommends this be done by hand with a screwdriver to avoid over- tightening and possibly damaging the screws.
Need help?
Do you have a question about the NUC6i7KYK and is the answer not in the manual?
Questions and answers