Sign In
Upload
Download
Table of Contents
Contents
Add to my manuals
Delete from my manuals
Share
URL of this page:
HTML Link:
Bookmark this page
Add
Manual will be automatically added to "My Manuals"
Print this page
×
Bookmark added
×
Added to my manuals
Manuals
Brands
ALLEN & HEATH Manuals
DJ Equipment
Olive S3000
Getting started manual
ALLEN & HEATH Olive S3000 Getting Started Manual
Hide thumbs
1
2
3
Table Of Contents
4
5
6
7
8
9
10
11
12
13
14
15
16
17
18
19
20
page
of
20
Go
/
20
Contents
Table of Contents
Bookmarks
Table of Contents
General Precautions
IMPORTANT - Read before Starting
Safety Instructions
Table of Contents
Packed Items
Contents
1 Introduction
Dlive Surfaces
2 Rear Panel
3 Front Panel
Channel Processing
Harmony UI - Processing Screen
Harmony UI - System Screen
Fader Strip
Working with the MIX
4 Connect and Power up
Mixrack Connection
Recall a Template Show
Expander Connection
Connect a Laptop or Wireless Router
5 Dimensions
6 Technical Specs
Advertisement
Quick Links
1
Dlive Surfaces
2
Introduction
3
Rear Panel
4
Channel Processing
5
Front Panel
6
Working with the MIX
7
Mixrack Connection
8
Technical Specs
Download this manual
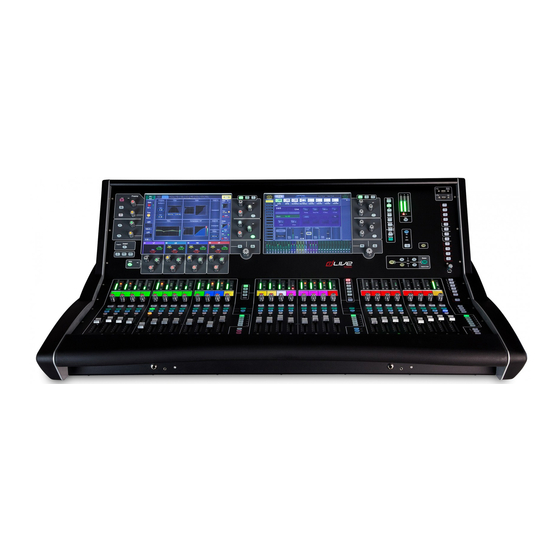
Surface Getting Started Guide
S3000, S5000, S7000
Before starting please check www.allen-heath.com for the latest dLive
firmware and documentation.
AP9899
Table of
Contents
Previous
Page
Next
Page
1
2
3
4
5
Advertisement
Table of Contents
Need help?
Do you have a question about the Olive S3000 and is the answer not in the manual?
Ask a question
Questions and answers
Related Manuals for ALLEN & HEATH Olive S3000
ALLEN & HEATH DLive S3000, S5000, S7000 - MixRack Manual
(article)
DJ Equipment ALLEN & HEATH Olive S5000 Getting Started Manual
(20 pages)
DJ Equipment ALLEN & HEATH Olive S7000 Getting Started Manual
(20 pages)
DJ Equipment ALLEN & HEATH XONE:92 Service Manual
Professional (55 pages)
DJ Equipment ALLEN & HEATH MixWizard WZ3 16:2 Service Information
(50 pages)
ALLEN & HEATH XONE:PX5 - DJ Mixer Manual
(article)
DJ Equipment ALLEN & HEATH ICON DP1000 User Manual
Icon series (60 pages)
DJ Equipment ALLEN & HEATH ML3000 User Manual
Dual function live sound console (48 pages)
DJ Equipment ALLEN & HEATH ML5000 Service Manual
Dual function live sound console (135 pages)
DJ Equipment ALLEN & HEATH Qu-16 Technical Notes
+48v phantom power hot plugging (6 pages)
DJ Equipment ALLEN & HEATH XONE:K2 Firmware Update
V2.5.0 operating firmware (5 pages)
DJ Equipment ALLEN & HEATH XONE DX User Manual
Xone:dx professional dj controller (66 pages)
DJ Equipment ALLEN & HEATH XONE:DB2 User Manual
(41 pages)
DJ Equipment ALLEN & HEATH iDR-8 Schematic
Comms1 pcb (3 pages)
DJ Equipment ALLEN & HEATH Xone PX5 Assembly
(20 pages)
DJ Equipment ALLEN & HEATH dLive CTi1500 Getting Started Manual
(17 pages)
This manual is also suitable for:
Olive s5000
Olive s7000
Dlive s5000
Dlive s3000
Dlive s7000
Table of Contents
Print
Rename the bookmark
Delete bookmark?
Delete from my manuals?
Login
Sign In
OR
Sign in with Facebook
Sign in with Google
Upload manual
Upload from disk
Upload from URL


Need help?
Do you have a question about the Olive S3000 and is the answer not in the manual?
Questions and answers