
Summary of Contents for Pet Feedster PF-10 PLUS
-
Page 1: Operating Instructions
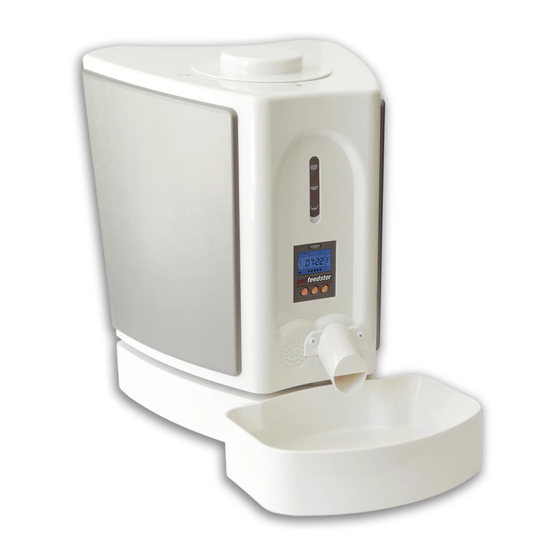
*Shown with kibble theft attachment for cats OPERATING INSTRUCTIONS: PF-10 PLUS PETFEEDSTER.COM... -
Page 2: Table Of Contents
CONTENTS Cautions List............. Power Usage............. Feeder Assembly............Parts Diagram............Adjustable Flex Feeder Instructions......Programming Instructions......... Frequently Asked Questions........Troubleshooting Your Pet Feedster......1 Year Limited Warranty..........Return Policy............. -
Page 3: Cautions List
(See timer display for battery gauge) • If you’re worried about your pet moving or knocking over the Pet Feedster, you can secure the unit by screwing it to a plank or the floor. (2 screw holes are located at the base of the unit under the bowl) •... - Page 4 • Use only new batteries when installing or replacing the batteries. Remove batteries from the unit if you plan on not using the Pet Feedster for a long period of time. • Do not place anything on top of the unit. The unit should be placed on a level surface.
-
Page 5: Power Usage
POWER USAGE Plug the adapter into an AC outlet rated at 110 volts or 220 volts, 60 Hz only (the rating of North America and some others). Do not plug feeder adapter into an out- let controlled by a light switch. We recommend that you use the battery backup option in case of electrical outlet failure. -
Page 6: Parts Diagram
PARTS DIAGRAM Top Cover Flex Feeder Main Body Base Body Cover Ant Water Tray AC Adapter (cord is longer than appears) Base Body Bowl Bowl Screw-down holes... - Page 7 TIMER DISPLAY Feeding Pause Clock MEALS 00:00 MODE NEXT Increase digital number...
-
Page 8: Adjustable Flex Feeder Instructions
ADJUSTABLE FLEX FEEDER INSTRUCTIONS Unit will work with kibble 1/8" to 3/4" only! Hold top sweeper (A) with one hand and bottom of the Flex Feeder (B) with the other hand. Slightly unscrew to the left. Hand tighten only! Do not use tools or over-tighten! - Page 9 Adjust the Flex Feeder to your largest kibble piece by moving part C. The kibble piece should be able to move easily through the triangle- shaped shaft. You can also adjust the Flex Feeder to half sizes. Most cat food will be set to small.
- Page 10 To install the Flex Feeder, hold on to the thin top spin- dle and center it in the hopper with the bottom of the shaft D going into the hole. When installing Flex Feeder, turn slightly clockwise and push in softly. Note: There is a flat spot that has to fit in one way on the motor shaft.
- Page 11 The Flex Feeder should fit flush in hopper as in picture E. It should not be sticking out as in picture F. For video instructions, go to petfeedster.com under Owner’s Resources.
-
Page 12: Programming Instructions
PROGRAMMING INSTRUCTIONS STEP 1 Insert batteries or plug in the AC adapter. STEP 2 Adjust the Flex Feeder to S, M, or L per the size of your biggest piece of kibble. (If you are using kibble that is 3/8” do not set the Flex Feeder to large. For most cat food, the Flex Feeder is set to small) A. - Page 13 STEP 7 Set the master clock Note: You will exit out of setup mode after 60 seconds of inactivity. If you exit setup mode, start again from step 7A. Also, the Pet Feedster uses 24 hour military time (for example, 2:30PM = 14:30).
- Page 14 A. Press down on the MODE button for 3 seconds to get to the “CLOCK” menu on the timer display. B. Press the ADJ button to set the hour. Then press the MODE button when done. C. Press the ADJ button to set the minutes. Then press the MODE button when done.
- Page 15 E. Press the ADJ button to increase the food quantity number. Press the MODE button when done. This will automatically go to the next meal. F. Repeat for meals 2-8 by repeating STEPS 8B-8E. After 60 seconds of inactivity, the Pet Feedster will exit setup mode. Feeding Meal...
- Page 16 TO ADJUST INDIVIDUAL MEALS (TIME OR QTY) A. Press the NEXT button. B. Press the ADJ button to scroll through all programmed meals. Arrive at the meal you would like to change. C. Press down on the MODE button for 3 seconds. The hour will start blinking.
- Page 17 TO PAUSE PROGRAMMING A. Make sure you are in the master clock (not in any setup mode). If you are, wait 60 seconds to revert back to the master clock. B. Press down on the MODE and NEXT button at the same time for 3 seconds.
- Page 18 TO ERASE ALL MEAL PROGRAMMING A. Make sure you are in the master clock (not in any setup mode). If you are, wait 60 seconds to revert back to the master clock. B. Press down on both the NEXT button and the ADJ button at the same time for 3 seconds.
-
Page 19: Frequently Asked Questions
FREQUENTLY ASKED QUESTIONS Still have some questions about the Pet Feedster? Here are some frequently asked questions. Why can’t I see the battery signal on the timer display after I plug in the AC adapter? When you unplug the AC adaptor, the timer display will show that the battery signal is on. - Page 20 The detachable bowl is dishwasher safe on low heat, and we recommend cleaning the hopper and external surfaces of the Pet Feedster with a moist cloth every couple weeks to prevent food particles from building up. How do I know my Pet Feedster served a meal? After each meal is successfully, served, the circle corresponding to the meal will turn into a black dot.
-
Page 21: Troubleshooting Your Pet Feedster
TROUBLESHOOTING YOUR PET FEEDSTER Your Pet Feedster has been carefully designed to give you many years of worry-free service. In the unlikely event that your new Pet Feedster does not operate satisfactorily, please try these steps. There’s no power signal on the timer when I plug in the AC adapter. - Page 22 My Pet Feedster isn’t working. 1. Check that your power is connected. Is the body firmly attached to the base? (One post connects to your AC adapter, so make sure it’s connected firmly to the base) 2. Check your Flex Feeder. Is it set to the right size?
-
Page 23: Year Limited Warranty
God, used for commercial applications or rentals, modified or repaired by anyone other than Pet Feedster. -
Page 24: Return Policy
RETURN POLICY: We believe that the product we sell is of the highest quality. However, if you are not completely satisfied with the product you purchased, we would be happy to issue an exchange or refund within 30 days of the purchase date, provided the product is in its original packaging and working condition, with all parts and packing materials included. - Page 25 Manufactured and Warranted By: Domestic and International Sales Office: sales@winoecorp.com Pet Feedster Distributed by: Winoe Corporation Toll free: (877) 473-8588 Office: (909) 393-7474 Monday-Saturday, 9am-7pm PST info@petfeedster.com petfeedster.com @PetFeedster...
Need help?
Do you have a question about the PF-10 PLUS and is the answer not in the manual?
Questions and answers