
Related Manuals for EDLUND 270


Summary of Contents for EDLUND 270
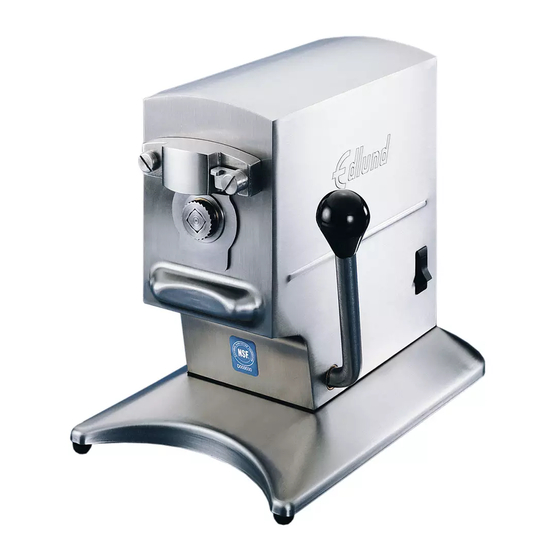
- Page 1 M096 REV. B PRODUCT MANUAL - M096 MODEL 270 ELECTRIC CAN OPENER Please read thoroughly before operation and keep for future reference...
- Page 2 The Model 270 operates at two speeds. The high speed is used for most can opening operations. The low speed is intended for difficult to open cans. The operating speed can be selected by positioning the rocker switch on the side of the opener to the speed desired.
- Page 3 UNPLUGGING THE UNIT FROM ELECTRICAL POWER SOURCE. THE CAN OPENER MUST BE KEPT CLEAN. The Model 270 can opener must be kept clean, not only for the obvious reasons of sanitation, but more important, for operational reasons as well. The rotary knife of an electric can opener must rotate freely for the can opener to operate properly.
- Page 4 M096 REV. B Reassembly of knife holder, knife, gear and shield. Place the shield over the output shaft in the position shown and press the shield. Press firmly against the front of the opener. (Fig.6) 2. Place the gear over the square output shaft and push the gear against the shaft shoulder. (Fig.6) 3.
- Page 5 M096 REV. B CAUTION: MAKE SURE THAT THE KNIFEHOLDER IS LATCHED AND THE GEAR IS PROPERLY LOCKED IN PLACE BEFORE OPERATING THE CAN OPENER. DO NOT OPERATE THE CAN OPENER WITHOUT INSERTING A CAN. 1. The knife should be removed often so that the knife, knife stud and knife holder can be properly cleaned.
- Page 6 M096 REV. B WARRANTY: The Edlund Company warrants these products to be free from defects in material and workmanship for a period of three years from date of purchase. The company's obligation under this warranty is limited to repairing or replacing without charge any part or parts found to be defective under normal use.
- Page 7 M096 REV. B III. Drive gear won't 1. Worn gear (G041). 1. Replace gear. turn can. 2. Clearance between top of gear 2. Remove base and adjust clearance between top and bottom of knifeholder not of gear and bottom of knifeholder to 0.100-0.105 correct.
- Page 8 M096 REV. B A qualified technician should do all internal repairs. 270 Electric Can Opener—Exploded View—(115 V) Please read thoroughly before operation and keep for future reference...
- Page 9 M096 REV. B 270 ASSEMBLY AND PARTS LIST-- 115V PART PART NUMBER DESCRIPTION NUMBER DESCRIPTION A055 ADAPTER, DRIVE GEAR S049 SCREW, #10-32 X 3/8, SS HEX HEAD WELDMENT, HOUSING S059 SCREW, #6-32 X .25, SS HEX HEAD A273C ASSEMBLY SCREW, #8-32 X 1/4 S/S RHM...
- Page 10 M096 REV. B 270 Electric Can Opener—Exploded View—(230 V) Please read thoroughly before operation and keep for future reference...
- Page 11 M096 REV. B 270 ASSEMBLY AND PARTS LIST --230V PART PART NUMBER DESCRIPTION NUMBER DESCRIPTION S049 SCREW, #10-32 X 3/8, SS HEX HEAD A055 ADAPTER, DRIVE GEAR S059 SCREW, #6-32 X .25 HEX HEAD, SS A273C WELDMENT, HOUSING ASSEMBLY SCREW, #8-32 X 1/4 S/S RHM...
-
Page 12: Replacement Parts
M096 REV. B REPLACEMENT PARTS PART DESCRIPTION NUMBER A279 SHIELD A288 KNIFEHOLDER F041 FOOT PADS G041 DRIVE GEAR K031 KNOB K045 KNIFE R090 “O” RING S318 SHIM Please read thoroughly before operation and keep for future reference... - Page 13 M096 REV. B VI. LABELS L087--CAUTION Please read thoroughly before operation and keep for future reference...
Need help?
Do you have a question about the 270 and is the answer not in the manual?
Questions and answers