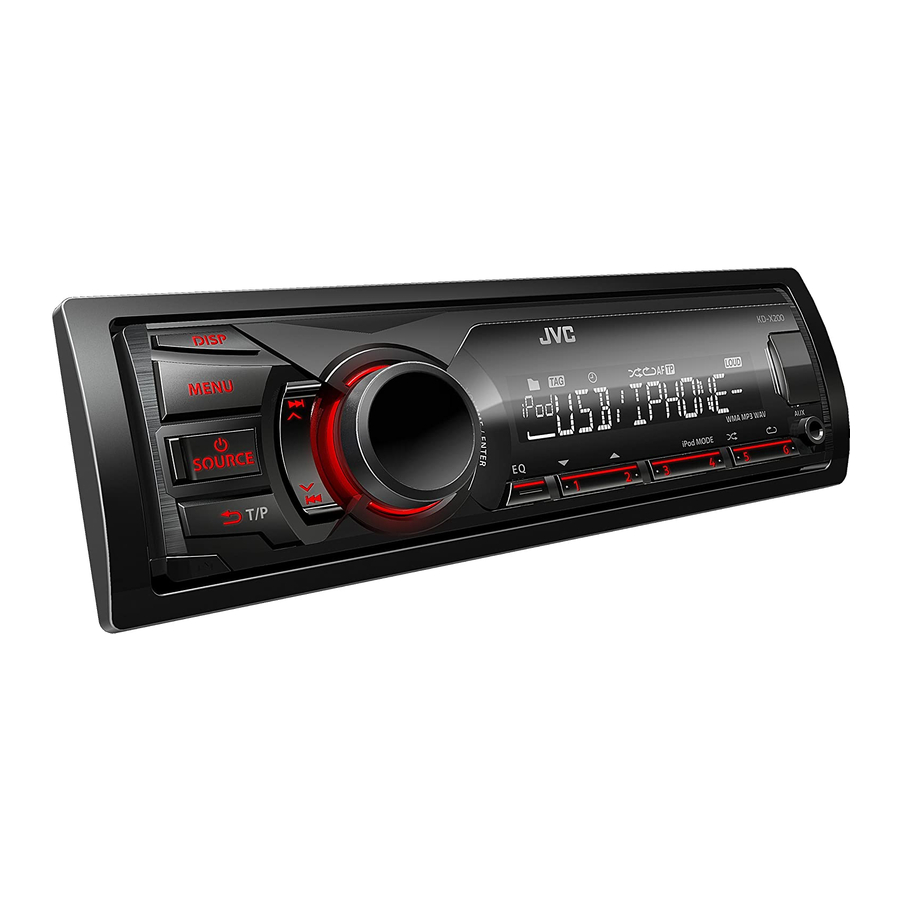
JVC KD-X200 Instruction Manual

JVC KD-X200 Instruction Manual

Digital media receiver
Hide thumbs Also See for KD-X200:

Advertisement

KD-X200/KD-X150/KD-X100
DIGITAL MEDIA RECEIVER

INSTRUCTION MANUAL

Please read all instructions carefully before operation to obtain the best
possible performance from the unit.

Advertisement

Table of Contents
loading

Summary of Contents for JVC KD-X200

  • Page 1: Instruction Manual

    KD-X200/KD-X150/KD-X100 DIGITAL MEDIA RECEIVER INSTRUCTION MANUAL Please read all instructions carefully before operation to obtain the best possible performance from the unit.
  • Page 2: How To Reset Your Unit

    How to attach/detach the Warning Do not operate any function that takes your faceplate attention away from safe driving. Caution Volume setting: Adjust the volume so that you can hear sounds outside the car to prevent accident. Lower the volume before playing digital sources to avoid damaging the speakers by the sudden How to reset your unit increase of the output level.
  • Page 3: Table Of Contents

    Menu operations ..........11 Setting the clock Additional information ........13 Basic operations ........... 4 Troubleshooting ..........15 Remote control ..5 (KD-X200/KD-X100 only) Specifications ............. 16 Radio ................ 6 Installation/Connection ........17 USB ................7 iPod/iPhone ........ 8 (KD-X200 only) External components .........
  • Page 4: Basic Operations

    (KD-X200/KD-X100 only) Detaches the faceplate KD-X200 only AUX input jack USB input terminal Remote sensor (KD-X200/KD-X100 only) Aim the remote control directly at the sensor. DO NOT expose to bright sunlight. When you press or hold the following button(s)... Remote...
  • Page 5: Remote Control (Kd-X200/Kd-X100 Only)

    USB-IPOD (EXT MODE) *1 EXT MODE Day/Clock Day/Clock BT AUDIO BT AUDIO Day/Clock For KD-X200 only. Remote control KD-X200/KD-X100 only Preparing Caution Do not leave the remote control in hot places When you use the remote control for the first such as on the dashboard.
  • Page 6: Radio

    Radio Radio Searching for a station Select <FM>, <AM>, <SW1> or <SW2>. Auto search. (Press) Manual search. (Hold) “M” flashes, then press the button repeatedly. “ST” lights up when receiving an FM stereo broadcast with sufficient signal strength. - - - - - - - - or - - - - - - - - Storing stations in memory Manual presetting You can preset up to 18 stations for FM, 6 stations...
  • Page 7: Usb

    Randomly plays all tracks. 2 Select a folder. (For MP3/WMA/WAV) - - - - - - - - or - - - - - - - - Select the desired list. (For JVC Playlist Creator (JPC) and JVC Music Control (JMC) file) (...
  • Page 8: Ipod/Iphone (Kd-X200 Only)

    KD-X200 only Playing an iPod/iPhone Selecting a track from the list Applicable under <HEAD MODE> only. USB input terminal USB 2.0 cable* (accessory of the iPod/iPhone) 2 Select the desired list. The source changes to “USB” “USB-IPOD” and PLAYLISTS...
  • Page 9: External Components

    External components External components You can connect an external component to the AUX (auxiliary) input jack on the faceplate. For details, refer also to the instructions supplied with the external components. 1 Connect to AUX terminal on the faceplate. Playing an external component 2 Select <AUX>.
  • Page 10: Sound Adjustments

    Sound adjustments Sound adjustments This unit memorizes sound settings adjusted for each individual source. Selecting the preset sound Pro Equalizer You can select a preset sound mode, for each (Hold) individual source, suitable for the music genre. <PRO EQ> <BASS>/<MIDDLE>/ <TREBLE>...
  • Page 11: Menu Operations

    Menu operations Menu operations 3 Repeat step 2 if necessary. (Hold) To return to the previous menu, press To exit from the menu, press DISP or MENU. If no operation is done for about 60 seconds, the operation will be canceled. Menu item Selectable setting (Initial: [XX]) DEMO...
  • Page 12 AUDIOBOOKS NORMAL/FASTER/SLOWER: Selects the playback speed of the Audiobooks sound file in your iPod/iPhone. (Displayed only when the source is “USB-IPOD”.) (KD-X200 only) Initial selection depends on your iPod/iPhone setting. AM *10 [ON]/OFF: Enables or disables “AM” in source selection.
  • Page 13: Additional Information

    Additional information Additional information About audio files About USB device Playable files When connecting a USB cable, use the USB 2.0 cable. File extensions: MP3(.mp3), WMA(.wma), You cannot connect a computer or portable WAV(.wav) HDD to the USB input terminal of the unit. Bit rate: Connect only one USB device to the unit at a MP3: 8 kbps - 320 kbps...
  • Page 14 When operating an iPod/iPhone, some operations may not be performed correctly or as intended. In this case, visit the following JVC website: <http://www3.jvckenwood.com/english/car/ index.html> (English website only). | ENGLISH...
  • Page 15: Troubleshooting

    RESET UNIT”/“WARNING CHK with tape before resetting the unit. ( page 2) WIRING THEN RESET UNIT” If the message does not disappear, consult your JVC car audio appears on the display and no dealer or kits supplying company. operations can be done.
  • Page 16: Specifications

    Specifications Specifications AUDIO AMPLIFIER SECTION Maximum Power Output 50 W per channel Continuous Power Output (RMS) 20 W per channel into 4Ω, 40 Hz to 20 000 Hz at less than 1% total harmonic distortion. Load Impedance 4Ω (4Ω to 8Ω allowance) Frequency Response 40 Hz to 20 000 Hz Signal-to-Noise Ratio...
  • Page 17: Installation/Connection

    Installation/Connection Installation/Connection Warning Part list for installation The unit can only be used with a 12 V DC power Faceplate (x1) supply, negative ground. Disconnect the battery’s negative terminal before wiring and mounting. Do not connect the Battery wire (yellow) and Mounting sleeve (x1) Ignition wire (red) to the car chassis or Ground wire (black) to prevent short circuit.
  • Page 18: Installing The Unit

    Installation/Connection Installing the unit In-dash mounting Do the required wiring. (A page 19) Bend the appropriate tabs to hold the sleeve firmly in place. Make sure the direction of the trim plate. When installing without the mounting sleeve Flat or round head screws (not supplied) M5 ×...
  • Page 19: Wiring Connection

    Installation/Connection Wiring connection Signal cord* KD-X150 JVC Amplifier Rear/subwoofer output 10 A fuse Rear ground terminal Factory wiring harness (vehicle) Antenna terminal Remote Light blue/yellow To the steering wheel wire* remote control adapter KD-X200 Join the same color wires Recommended together.
  • Page 20 Microsoft and Windows Media are either registered trademarks or trademarks of Microsoft Corporation in the United States and/or other countries. “Made for iPod” and “Made for iPhone” mean that an electronic accessory has been designed to connect specifically to iPod, or iPhone, respectively, and has been certified by the developer to meet Apple performance standards.

This manual is also suitable for:

Kd-x150Kd-x100

Table of Contents