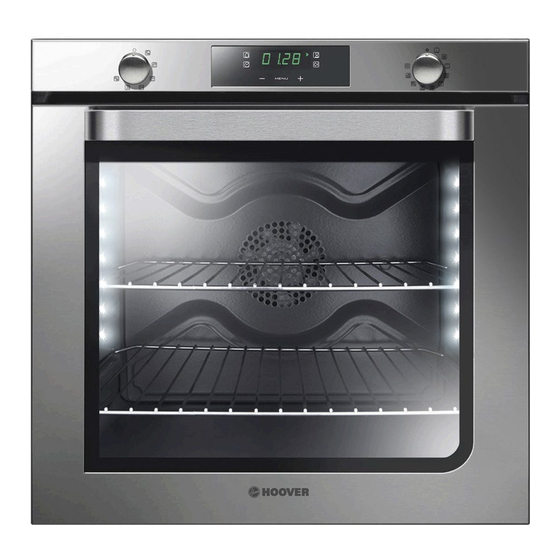
Summary of Contents for Hoover HOA2VX AUS
-
Page 1: User Instructions
OVENS USER INSTRUCTIONS HOA2VX AUS CANDY HOOVER GROUP S.R.L. • Via Privata Eden Fumagalli • 20047 Brugherio Milano Italy... -
Page 2: Table Of Contents
CONTENTS Safety Instructıons ................03 1. General warnings ..............04 1.1 Declaration of compliance ............04 1.2 Safety hints ................04 1.3 Recommendations ..............04 1.4 Installation .................04 1.5 Electrical connection ..............04 2. Accessories ................05 2.1 Oven equipment ...............05 2.2 Rotisserie ..................05 2.3 LED VISION ................05 2.4 Removing and cleaning wire racks ..........05... -
Page 3: Safety Instructıons
SAFETY INSTRUCTIONS • This oven is compliant with the standard AS60335.1:2011 +A1+A2+A3 and AS60335.2.6:2014 +A1. WARNING: The appliance and its accessible parts become hot during use. Care should be taken to avoid touching heating elements. • Children under 8 Year of age must be kept away from the appliance unless they are continuously supervised. -
Page 4: General Warnings
1. GENERAL WARNINGS Read the instructions carefully to make the most of your oven. We recommend you keep the instructions for installation and use for later reference, and before installing the oven, note its serial number in case you need to get help from the after-sales service. When you have unpacked the oven, make sure that it has not been damaged in any way. -
Page 5: Accessories
2. ACCESSORIES (According to model) 2.1 OVEN EQUIPMENT Is an illumination system which replaces the traditional « light bulb ». It is necessary to do an initial cleaning of the equipment before the first 14 LED (for non-pyrolitic versions) or 10 High Power LED (for pyrolitic use of each of them. -
Page 6: Service Centre
• *For Pyrolytic ovens, please remove also 2 and 3 glasses . Picture 6) Picture 6 • After cleaning the glass re- assemble the parts in the reverse order of removal. • ON ALL GLASES LOW-E sign must be properly readable and must be positioned on the left corner of the door, close to the left side... -
Page 7: Description Of The Display
5. DESCRIPTION OF THE DISPLAY Display panel : time, programming of cooking mode, indicator lights, cooking temperature function and shelf positioning 00:00 MENU Clock / Programmation / Cooking temperature 00:00 MINUTE MINDER COOKING TIME REGULATION CLOCK END OF COOKING MENU 07 AUS... -
Page 8: Setting The Correct Time
5.1 SETTING THE CORRECT TIME 00:00 WARNING : the first operation to carry out after the oven has been installed or following the 12:00 interruption of power supply (this is recognizable the display pulsating and showing ) is setting the correct time. This is achieved as follows •Push the central button 4 times "... -
Page 9: Operating Instructions
6. OPERATING INSTRUCTIONS Temperature pre-set and setting. Function Thermostat (Model with Function dial dial electronic programmer) (Type A) Turns on the oven light This will automatically activate the cooling fan (on fan cooled models only) Defrosting When the dial is set to this position. The fan circulates air at room temperature around the, frozen food so that it defrosts in a few minutes without the protein content of the food being changed or altered Natural convection... - Page 12 INSTALLATION ATTENTION! Oven in column (dimensions mm) Applying torque more than needed to fix the screws can close the ventilation channels on both sides. Please be sure that, these ventilation channels are 2mm open after installation to furniture. If the furniture is equpped with a bottom at the back part, provide an opening for the power supply cable.


Need help?
Do you have a question about the HOA2VX AUS and is the answer not in the manual?
Questions and answers