Advertisement
Advertisement
Table of Contents

Related Manuals for Celsius C2


Summary of Contents for Celsius C2
- Page 1 ...
- Page 2 CONTENTS page 2 PRECAUTIONS page 2 OPERATING INSTRUCTION page 3 EXPLODED DRAWING page 4 PARTS LIST page 5-7 ASSEMBLY INSTRUCTIONS page 8-11 MONITOR INSTRUCTION MANUAL WARRANTY INFORMATION page 12...
-
Page 3: Operating Instruction
PRECAUTIONS 1) Read all the instructions in this manual and do warm up exercises before using this equipment. 2) This upright bike is home stationary fitness equipment, and also aerobic training equipment that can help you to develop your cardiovascular function. 3) Please make sure all parts are not damaged and fixed well before use. -
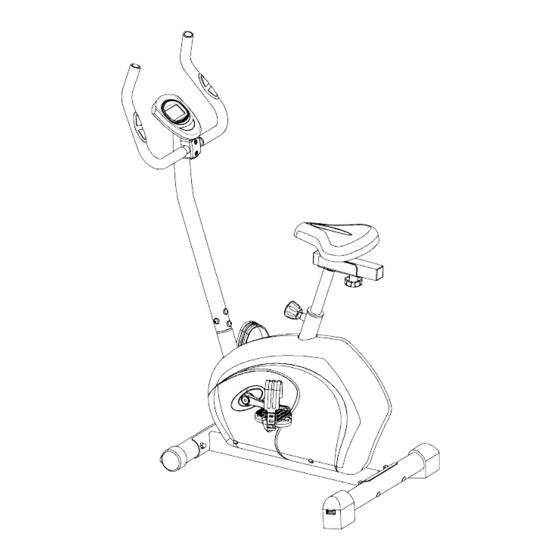
Page 4: Exploded Drawing
EXPLODED DRAWING ... -
Page 5: Parts List
PARTS LIST DESCRIPTION DESCRIPTION Main frame Screw M8×15 Front stabilizer Flat washer D10 Rear stabilizer Plum knob M10 Handlebar post Upper sensor wire Handlebar Flat washer Saddle post Spring washer Saddle Bolt 8L/R Crank End cap Computer Foam grip 10L/R Pedal Pulse sensor wire Front end cap Knob bolt... -
Page 6: Assembly Instructions
ASSEMBLY INSTRUCTIONS Attention: Please follow these assembly instructions step by step to assemble this upright bike. 1. Install the Front and Rear Stabilizers Attach the front stabilizer (2) and rear stabilizer (3) onto the curve plates of main frame (1) with carriage bolt (13), arc washer (14) and cap nut (15). - Page 7 3. Install the Handlebar Put the pulse sensor wires (27) through the hole of the handlebar post (4) then pull the pulse sensor wires (27) out from the top of handlebar post (4).Fix the handlebar (5) on the handle- bar post (4) with the hex bolt (24) the spring washer (23) and flat washer (22), then put the ...
- Page 8 5. Install the Right and Left Pedals Attach the right and left pedals (10L/R) to the crank (8L/R). The right pedal (10R) should be threaded on clockwise direction. The left pedal (10L) should be threaded on counter- clockwise direction. NOTE: The right and left pedals (10L/R) and crank (8L/R) are marked with “R” & “L”. ...
-
Page 9: Monitor Instruction Manual
MONITOR INSTRUCTION MANUAL Function: 1.Program: 11 programs as following A: 1 Manual Program P1 B: 6 Auto Program P2 ~ P7 C: 4 Heart Rate Control Program P8 ~ P11 2. Record the user’s target heart rate value and age setting data even cut off the power. 3. - Page 10 Buttons: 1.ENTER • In “stop” mode(display STOP), press ENTER button to enter into program selection and setting value which flash in related window. A: When you choose the program, press Enter to confirm the one you like. B: When in setting, press ENTER to confirm the value that you would like to preset. •...
-
Page 11: Specifications
B. Press ENTER to confirm the heart rate control program, and enter into time setting window. C. The time will flash, and then press UP, DOWN button to set up the desired time. Press ENTER to confirm the value. D. The distance will flash, and then press UP, DOWN to set up the desired distance value. Press ENTER to confirm the value. - Page 12 TIME: the accumulative exercise time, range: 0:00~99M59S. Preset time range is 5:00~99:00. The computer will start to count down from preset time to 0:00 with average time for each resistance level. When it reaches to zero, the program will stop and computer alarm. If you do not preset the time, it will run with one minute decrement each resistance level.
-
Page 13: Warranty Information
WARRANTY INFORMATION This product is guaranteed to be free from quality and manufacturing defects for a period of one (1) year. If your product becomes defective during this period, Rebel Sport Limited will offer you either a replacement, credit or refund where a product is faulty; wrongly described; different from the sample shown to you or does not do what it is supposed to do.
Need help?
Do you have a question about the C2 and is the answer not in the manual?
Questions and answers