Table of Contents
Advertisement
Quick Links
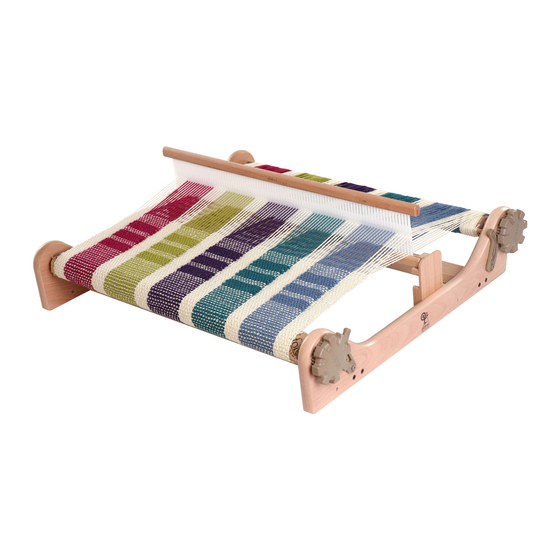
ASHFORD RIGID HEDDLE LOOM
40cm (16"), 60cm (24"), 80cm (32"), 120cm (48")
Ashford Handicrafts Limited
Factory and Showroom: 415 West Street
PO Box 474, Ashburton 7700 New Zealand
Telephone 64 3 308 9087 Facsimile 64 3 308 8664
Email: sales@ashford.co.nz Internet: www.ashford.co.nz
INSTRUCTIONS
Ashford Guarantee
Thank you for purchasing this Ashford product. In the unlikely event there is
any fault in manufacture we will replace the item. To validate our guarantee
please visit our website or write to us.
RH030913V8
Advertisement
Table of Contents

Subscribe to Our Youtube Channel
Related Manuals for Ashford RIGID HEDDLE LOOM


Summary of Contents for Ashford RIGID HEDDLE LOOM
- Page 1 Ashford Guarantee Factory and Showroom: 415 West Street Thank you for purchasing this Ashford product. In the unlikely event there is PO Box 474, Ashburton 7700 New Zealand any fault in manufacture we will replace the item. To validate our guarantee Telephone 64 3 308 9087 Facsimile 64 3 308 8664 please visit our website or write to us.
- Page 2 The Silver Beech tree is a native of New Zealand and has a lovely variety of colour and grain. For a silky smooth matt finish, use the Ashford Wax Polish to enhance the natural colours and character of this timber.
- Page 3 Attach the reed support blocks to the sides with 38mm (1½") screws. Tap the “clicker pins” for the pawls to the bottom of the holes in the right loom side.
- Page 4 Attach the 2 pawls to the loom side from the inside with 30mm (1¼”) bolts. NOTE the “clicker pin” fits into the gap in the pawl. Take care to ensure the “clicker pin” does not damage your table. Rub a little candle wax on the thread to make assembly easier.
- Page 5 Place the cogs onto the ends of the rollers. Check the teeth engage the pawls. THEN secure with washers and 20mm (¾") screws. Locate the 4 pins on the handles into the 4 holes in the cogs. Then give the handles a sharp hit with your fist so they snap down tight onto the cogs.
- Page 6 Locate the reed into the rest position of the reed support blocks. Rest position Down position Assemble the warping peg and clamps. Now follow the easy step-by-step warping instructions in the “Learn to Weave on the Rigid Heddle Loom” booklet. Happy Weaving!
Need help?
Do you have a question about the RIGID HEDDLE LOOM and is the answer not in the manual?
Questions and answers