
Subscribe to Our Youtube Channel
Related Manuals for Dorel OS 2010


Summary of Contents for Dorel OS 2010
- Page 1 Australia Instruction Manual OS 2010 Infant Carrier Illustrations are representative only. Design and style may vary. IMPORTANT: KEEP THIS BOOKLET IN THE PLACE PROVIDED ON THE CHILD RESTRAINT...
- Page 2 Before You Start Table of Contents...
- Page 3 WARNING IMPORTANT: RETAIN FOR FUTURE REFERENCE THA THEY AT ALL ’ GENERAL...
- Page 4 WARNING ’ ’ ’...
- Page 5 WARNING ’ ’...
-
Page 6: Anchorage Fitting Installation
ANCHORAGE FITTING INSTALLATION WARNING ’... - Page 7 IMPORTANT RIGHT WRONG ANCHORAGES L PANEL AT...
- Page 8 ANCHORAGE FITTING INSTALLATION If the car is fitted with a child restraint anchorage point . ’ WARNING If the car is not fitted with a child restraint anchorage point. For sedans only...
- Page 9 WARNING: Fig 2 Fig 3...
-
Page 10: Vehicle Seat Location
VEHICLE SEAT LOCATION WARNING DE TH. ’ ’ Vehicle Seat Location Requirements 460mm 550mm... -
Page 11: Correct Vehicle Position
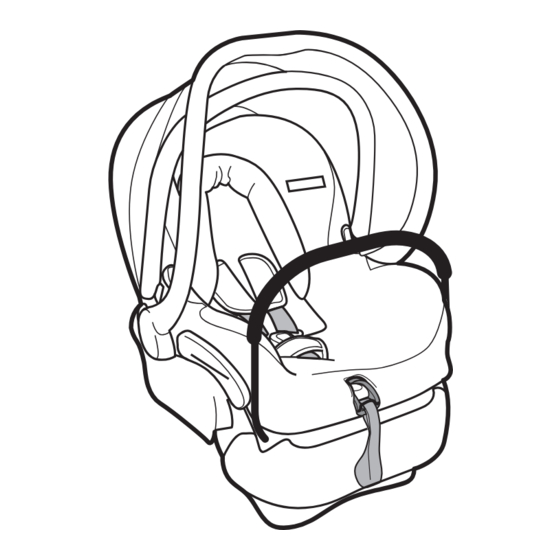
CORRECT VEHICLE POSITION CORRECT USE CORRECT USE INCORRECT USE ANGLE CONFIGURATION FOR SEAT 40˚... - Page 12 INFANT CARRIER PARTS FRONT Lift trim up and place instruction manual between foam and seat. 1. Shell/Seat 2. Carrying handle 3. Instruction manual (Pull trim back and insert instruction manual behind foam headrest) 4.
- Page 13 BACK BASE * DO NOT REMOVE...
- Page 14 Shoulder height marker rearward facing Shoulder strap: The shoulder straps must be in the slots which are nearest to Shoulder the child’s shoulders, strap but not lower than the child’s shoulders. LABEL 1 To be used only in a rearward-facing position until the infant’s shoulders reach the shoulder height ...
- Page 15 Preparing Infant Seat to Fit Your Child You MUST make these adjustments with your child before you install the child restraint in the vehicle. TO ADJUST HARNESS: To loosen: Press Press To tighten: Configuring the harness belt for shoulder height.
- Page 16 Splitter plate Do not use shoulder straps of unequal heights. Straps must be threaded through the same slot level for the trim and seat. Make sure harness is completely on splitter plate and is not twisted.
- Page 17 ’ ’ Adjusting the carrying Handle...
- Page 18 Installation of the REWARD FACING BELT PATH base Note: Note: DO NOTE REMOVE CABLE TIES ...
- Page 19 Removing Infant Press button seat from the base WARNING Storage of webbing loop...
- Page 20 The next seat for your child To be used only in a rearward facing position until the infant’s shoulders reach the shoulder height marker (approximately 6 months of age). NOTE: If the baby’s neck muscles are unable to support their head, then the child should remain rear facing.
- Page 21 Fitting footcover velcro velcro Removing sunshade for cleaning ...
- Page 22 Removing trim from the seat Splitter plate...
- Page 23 Pull buckle Push buckle inside trim Elastic...
-
Page 24: Very Important
Pull buckle pad VERY IMPORTANT: Only use this child restraint with the cover supplied or a manufacturer-authorized replacement cover with identical shoulder height markers. - Page 25 Removing buckle for cleaning ’ Assembling buckle after cleaning ’...
- Page 26 Accessory (optional) Attach Locking Clip NOTE: NOTE: d on ck I h ocking...
-
Page 27: Care And Maintenance
CARE AND MAINTENANCE ’ If buckles requires cleaning GENERAL MAINTENANCE... - Page 28 the goods or services to which the warranty relates. Dorel A ustralia P ty L td w ill p rovide y ou w ith y our c hoice o f a r efund, ...
Need help?
Do you have a question about the OS 2010 and is the answer not in the manual?
Questions and answers