Table of Contents
Advertisement
Users Manual
i
:
nputS
rCa o
:
utputS
rCa o
i
:
utput
MpedanCe
b
o
:
aLanCed
utput
b
o
i
aLanCed
utput
MpedanCe
V
C
(
oLuMe
ontroL
optionaL
S
f
:
aMpLing
reQuenCy
b
d
:
it
epth
dSd:
Analog DAC
Rev 2 (1/2015)
S
M
L
ign
agnitude
adder
t
i
S
- C
hree
nput
LotS
proi2S
uSb2, Q
and
2.62 V rMS (7 Vpp)
53
ohMS without VoLuMe ControLS
2.62 V rMS (7 Vpp)
:
106
ohMS without VoLuMe ControLS
):
1 db
Stepped attenuator
32
h
384
h
k
z to
k
z
32
bit
64
128
x and
x
daC S
peCifiCationS
: C
, t
hoiCe of
oaxiaL
oSLink
r
dSd uSb2, a
uad
ate
udio
, 38
ohMS with VoLuMe ControLS
, 76
ohMS with VoLuMe ControLS
(78
)
StepS
1
,
aeS/ebu, MSb n
baLanCed
r
enderer
etwork
Advertisement
Table of Contents

Related Manuals for MSB Technology Analog DAC


Summary of Contents for MSB Technology Analog DAC
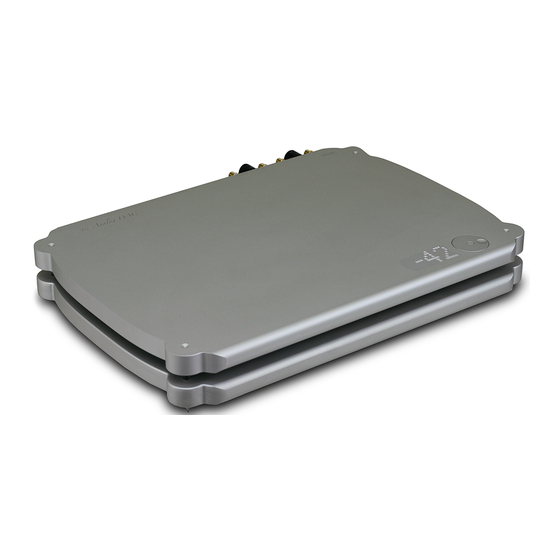
- Page 1 Analog DAC Users Manual Rev 2 (1/2015) daC S agnitude adder peCifiCationS aeS/ebu, MSb n nputS hree nput LotS hoiCe of oaxiaL oSLink baLanCed etwork proi2S uSb2, Q dSd uSb2, a udio enderer rCa o 2.62 V rMS (7 Vpp)
-
Page 2: Setup And Quick Start
That is why we offer a passive preamp within the Analog DAC, to achieve the simplest, shortest possible signal path, with the least possible degradation of the true music. -
Page 3: Remote Control
The Universal Media Transport UMT is a great companion to the Analog DAC. It is shown here with the Signature Transport Power Base in Matte White. Remote Control Control Option One - Standard Remote included. The remote offers the following basic features: •... -
Page 4: Loading New Firmware
Loading New Firmware Loading custom Digital Filter Firmware will permanently change the operation of your DAC. MSB Technology can configure custom software for your DAC to meet virtually any requirement. Playing an audio file containing the new firmware will erase the current software in your DAC and replace it with the contents of the update file. - Page 5 Power Input – This product must be plugged into a Platinum power base with both analog and digital supplies. It will work with both the Analog DAC desktop supply, Analog DAC power base or any of the DAC IV power bases.
- Page 6 USB Input Module and Quad USB The USB Inputs are the most advanced MSB produces. The hardware is able to handle audio data and DSD up to 32 bit, 384 kHz and native DSD up to 256x. Both operate the same. Apple MAC OS On the MAC the USB is plug and play.
- Page 7 MSB Network Connector The MSB PRO I2S Network One of the most powerful features of MSB products is the PRO I2S network. Most new MSB products have a PRO I2S connection available. The MSB PRO I2S has the following capability: •...
- Page 8 Audio Renderer Input The MSB Audio Network Renderer is easy to install but maybe not so easy to get the most out of. Just slide it in the input slot and its installed. Plug in a computer network cable and you are ready for action.
-
Page 9: Front Panel Controls
MSB remote controls can be used to operate several MSB products. The top half is primary for the transport. The center is for the DAC and the lower part for the iLink. The Analog DAC has limited function depending on the interface you select. Features are activated as shown in the table below. -
Page 10: Power Supplies
Power Supplies The Analog DAC can be used with a range of power supplies. We produce a fully linear desktop power supply that ships with the DAC or an upgraded power base. Both are voltage switch-able for 120V and 240V. Each uses a 5 mm x 5 Amp Fuse. -
Page 11: Troubleshooting
Using the Analog DAC to test your source The Analog DAC is unique in that gives you a precise test for bit perfect playback. If you are playing a CD, a copy of a CD or a ripped CD file on your computer the DAC should be receiving the file bit-perfect and it it is not, your sound quality will be compromised. This corruption could be accidental. - Page 12 Upgrades and Modifications Removal of the cover - The cover cannot be removed. The circuits are potted in the chassis. There are no serviceable parts inside. Installing or replacing the Input Modules - The modules are designed to be easily installed or replaced. Turn the DAC over and place on a soft surface like a towel.
- Page 13 When installing a new module, remove the black cover the same way as you would remove a module. It is easy to remove when the two screws are removed. You will not need a removal tool. To install a new module, slide the new module into the track and push firmly into place.
Need help?
Do you have a question about the Analog DAC and is the answer not in the manual?
Questions and answers