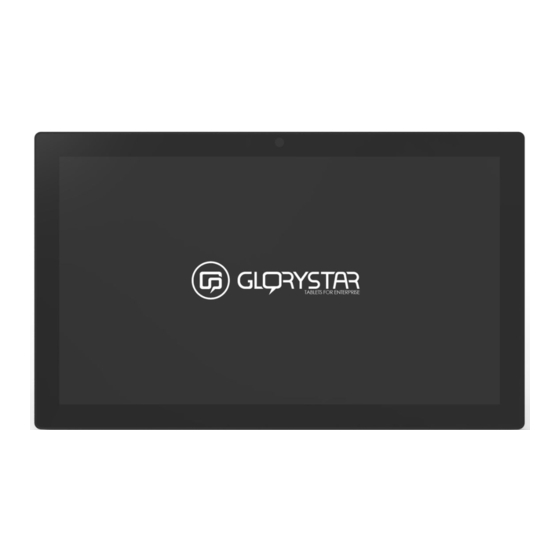
Summary of Contents for Glorystar JAR321
- Page 1 Android Advertising Displayer JAR321 User Manual Please read this instruction before...
- Page 2 Importation Safety Instructions Read this user manual All safety and operating instructions in this user manual should be read before operating the product Keep this user manual This user manual should be retained for future references. Head Warnings Be cautious about warning signals on the product. Follow Instructions Please follow instructions in this user manual Attachments...
- Page 3 Heat Ventilation There is no heat ventilation on the upper and lower part of the product, therefore to avoid overheating, please do not block any ventilation openings with objects (e.g. carpet). Please allow the opening to have 10cm distance for ventilation. Grounding or Polarization This product could be equipped with an alternate plug.
- Page 4 Replacement parts When replacement parts are required, be sure that the technician uses replacement parts specified by the manufacturer or parts with same features. Unauthorized substitution may result in fire, electric shock or other hazards. Safety Check Upon completion of any service or repair to this product, ensure technician for proper operating condition performs safety checks.
- Page 5 Spec. & Package Package included: -Please confirm all the items is included before the setup start. Model JAR321 Sizes 31.5” Resolution 1920x1080 (pixles) Brightness 280 cd/m2 Aspect Ratio 16:9 Quad-core ARM Cortex-A17 at 1.8 Ghz Processor with Mali-T764 GPU Processor...
- Page 6 Introduction of Android 1. Start up and shut down To start your device,put DC plug into DC jack to light up the screen. To shut down your device,pull-out DC plug from DC jack. 2. The App Drawer – right top corner Press the icon in the bottom middle of the screen to open the App Drawer.
- Page 7 To place a app shortcut on the desktop, touch and hold the icon until the App Drawer fades and the desktop appears. Move your finger to the location where you want to place the icon and release your touch to place the icon. When using apps or other parts of the operating system you often will see the “Extra Options”...
-
Page 8: General Operation
General Operation 1. Installation of Applications You can install your own Apps by opening the Apps shop. This button can be found in the screen. Note that not all applications may function properly for your tablet. Some are made especially for small screen devices such as phones. You can also install your own Apps by opening the File Manager with SD card. - Page 9 2. Administer/remove apps The`Apps'item in the`Setting'menu will display an overview of the installed apps. There are four tabs available which filter the displayed app list. Select an app to view its detailed information. In the detailed information you also have the options`Force Stop',`Uninstall', `Clear data'and`Move to SD card'.
- Page 10 3. Add an account The best way to fully make use of your Android tablet is by linking your Google/Gmail account to your device. Open the`Settings'menu and choose the`Accounts & sync' item. Without any added accounts the right pane will display nothing. Instead select the option` Add account'in the top right corner.
- Page 11 You can also add a POP3, IMAP or Exchange email account by selecting`Email'. The pop-up option`Corporate'will setup a`Microsoft Exchange'link. Your system or network administrator can supply you with the server information and login credentials. Follow the steps displayed on-screen to complete the account linking process. After you successfully linked your account(s) with the tablet you can toggle the automatic synchronization on and off by using the switch next to the`Add account'options.
-
Page 12: Basic Setup
Basic Setup 1. Changing Operating Language Press the icon in the bottom middle of the screen to open the App drawer. Select the “Settings” option to open the Android setting menu. When selecting the option “Language & input” the contents will be displayed in the right pane. - Page 13 In the “Wi-Fi” content panel you can view the formerly used Wi-Fi networks and the Wi-Fi networks that have been detected by the tablet. To research for new available networks; please press “scan” located in the right top corner. The option “Add Network” allows you to add a network by manually inputting the SSID network and security method.
- Page 14 Basic System Setting System Settings Click the "Settings" icon to open the system setup interface, as shown below: Select the relevant items corresponding operation, for example: * Wireless and networks: * Sound * Display * Storage * Applications * Date and time and so on.
- Page 15 1. Date and Time In the Settings interface, select "Date and Time" settings option, enter the date and time settings screen: It can be automatically provided by the network to determine the time, can also be adjusted manually, select Set date, select the time zone, set the time, time format, date format and other information.
-
Page 16: Troubleshooting
Trouble shooting • The picture visual effect is too dark or fuzzy -Please inspect brightness, contrast and the color level whether adjusts the optimum condition. -Replaces the file in the SD card. -Check the LCD does not enter water or damage. •... - Page 17 FCC Warning Statement Changes or modifications not expressly approved by the party responsible for compliance could void the user’s authority to operate the equipment. This equipment has been tested and found to comply with the limits for a Class B digital device, pursuant to Part 15 of the FCC Rules.


Need help?
Do you have a question about the JAR321 and is the answer not in the manual?
Questions and answers