Table of Contents
Advertisement
Quick Links
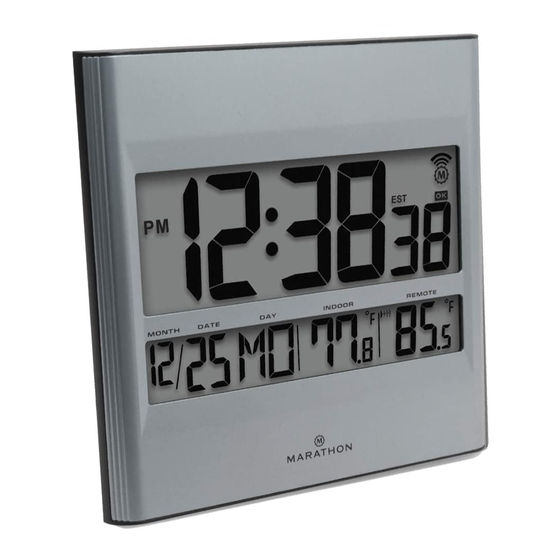
ATOMIC WALL CLOCK with REMOTE TEMPERATURE SENSOR
Congratulations on purchasing your ATOMIC CLOCK with REMOTE TEMPERATURE SENSOR. Please read these
instructions carefully and store them in a safe place for future reference.
FEATURES
Super Accurate Atomic Time using the WWVB
Radio Signal from the Atomic Clock in Colorado,
USA
Alarm/Snooze function
Optional 12 Hour or 24 Hour Time Display
Four Time Zone Settings: Pacific, Mountain,
Central and Eastern
Automatic adjustment for Daylight Savings Time
in the Spring and Fall
Indoor thermometer and 434MHZ wireless
outdoor temperature sensor. No wire installation is required.
Works with up to 3 remote temperature sensors (one remote sensor is included with the clock). Additional wireless
remote sensors available separately.
Displays Indoor/Outdoor Temperature in Celsius or Fahrenheit
Indoor and outdoor temperature trends
Low battery indicator
IMPORTANT: The wireless remote temperature sensor must have batteries installed before installing batteries
in the main unit.
REMOTE WIRELESS TEMPERATURE SENSOR
Inserting batteries
The remote unit uses two "AAA" batteries. To install or replace the batteries, please follow these steps:
1. Remove kickstand base.
2. Unscrew the 4 screws on the back of the compartment and remove the cover.
3. Insert the batteries observing the correct polarity.
4. Replace the battery cover on the unit and seal by re-screwing firmly.
5. When a "Low Battery" symbol
the batteries of the remote unit.
6. In some instances, the LCD display might be abnormal after new batteries are installed. If this happens, remove and
reinstall the batteries until the display is normal.
7. After installation of the new batteries, the setup procedures need to be performed. (See Setting the remote
transmitter(s))
Setting the remote transmitter(s)
1. There are 2 buttons inside the back of the remote sensor unit.
Model CL030027
Instruction Manual
appears on the LCD screen in the Outdoor Temperature section, please replace
1
Advertisement
Table of Contents

Related Manuals for Marathon CL030027


Summary of Contents for Marathon CL030027
- Page 1 ATOMIC WALL CLOCK with REMOTE TEMPERATURE SENSOR Model CL030027 Instruction Manual Congratulations on purchasing your ATOMIC CLOCK with REMOTE TEMPERATURE SENSOR. Please read these instructions carefully and store them in a safe place for future reference. FEATURES Super Accurate Atomic Time using the WWVB Radio Signal from the Atomic Clock in Colorado, ...
- Page 2 F---A multifunction button that is used to either change the house code and channel number of the remote, or change the remote displays between Centigrade or Fahrenheit 2) SET---To confirm the change of house code 2. After inserting the batteries, House Code will be flashing with “01”. Press F button to change the House Code.
- Page 3 time. 6) During the search for the WWVB signal, the wave will keep flashing. The flashing icon indicates that the radio control circuit is working; the larger the circle, the stronger the signal. Other buttons will not function except WAVE/+/MONTH/HR button at this time. Press WAVE/+/MONTH/HR button to stop reception manually. Radio control feature The National Institute of Standards and Technology (NIST) is located in Fort Collins, Colorado.
- Page 4 1) The clock receives the time signals via its built-in antenna and adjusts automatically. Once the correct time is set, the alarm clock continues running on with an internal quartz-controlled mechanism. 2) The internal quartz-mechanism is very accurate; therefore it does not matter if the clock is occasionally unable to receive the time signals.
- Page 5 Press WAVE/+/MONTH/HR button or ALM/-/DATE/MINUTE button to choose 12H or 24H. Press MODE/ALM SET button once to confirm and enter the setting temperature format mode. Setting temperature format In the setting temperature format mode, press WAVE/+/MONTH/HR button or ALM/-/DATE/MINUTE button to choose C or ...
- Page 6 Specifications Main Unit Power Requirements: 2 X AA Batteries Operating Frequency: 434 MHz Operating /Detected Temperature: -9.5 C to +50 C (-14 F) to + 122 Remote Temperature Display: C to + 70 C (-57 F) to +158 ...
Need help?
Do you have a question about the CL030027 and is the answer not in the manual?
Questions and answers