Advertisement
Table of Contents
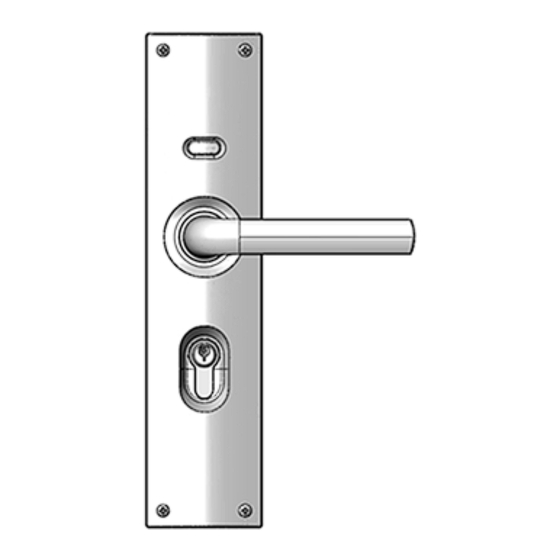
G+ LOCKSET: ELECTriC
installation instructions for
the Apex and Volt Electric Locksets
WhaT'S IN yOUr G+ LOCKSET BOX?
1 X G+ LOCKSET
NOTE:
• Carefully follow these instructions when installing as the process differs from other Gainsborough products.
• Do not overtighten screws.
• Use of power driver is not recommended.
• Screws to be tightened to a recommended 2.5Nm torque.
• Fully remove the G+ Lockset prior to painting the door to avoid harming the product's finish.
G+ ACCESS SYSTEM
G+ LOCKSET APEX
Installation Template for Door Face
Please refer to G+
Please refer to G+
Use for Battery and Electric Locksets
Lockset Installation
Lockset Installation
Manual for
Manual for
Instructions on how
Instructions on how
to use this template
to use this template
Paper size A3.
Paper size A3.
These dimensions
These dimensions
10mm
10mm
are for reference
are for reference
only to ensure that
only to ensure that
scale is correct.
scale is correct.
Power transfer
54mm
unit heights
Power transfer
BACKSET 60MM
unit heights
54mm
FIT HERE ON
DOOR EDGE
FIT HERE ON
DOOR EDGE
10mm
10mm
LATCH
CENTRELINE
Latch height
Latch height
54mm
BACKSET 60MM
CAUTION
Hole drilling sequence
as per instructions
10mm
10mm
10mm
APEX DOOR TEMPLATE
Or
VOLT DOOR TEMPLATE
G+ ACCESS SYSTEM
Power Transfer Unit height
G+ LOCKSET ELECTRIC
Installation Template for Door Frame
Please refer to G+ Lockset
Installation Manual for Instructions
on how to use this template
G+ LOCKSET ELECTRIC
Paper size A4. These dimensions
Installation Template for Door Frame
are for reference only to ensure that
scale is correct.
Lever height
Strike height
FRAME TEMPLATE:
ELECTRIC
G+ ACCESS SYSTEM
G+ LOCKSET VOLT
Installation Template for Door Face
A
Use for Battery and Electric Locksets
10mm
10mm
54mm
BACKSET 60MM
54mm
SCREW KIT A
10mm
10mm
LATCH
CENTRELINE
54mm
C
BACKSET 60MM
CAUTION
Hole drilling sequence
as per instructions
10mm
10mm
10mm
SCREW KIT C
G+ ACCESS SYSTEM
B
SCREW KIT B
D
SCREW KIT D
Advertisement
Table of Contents

Related Manuals for Gainsborough G+ LOCKSET


Summary of Contents for Gainsborough G+ LOCKSET
- Page 1 • Carefully follow these instructions when installing as the process differs from other Gainsborough products. • Do not overtighten screws. • Use of power driver is not recommended. • Screws to be tightened to a recommended 2.5Nm torque. • Fully remove the G+ Lockset prior to painting the door to avoid harming the product’s finish.
- Page 2 NOTE: If the Door Frame has previously been prepared, then go straight to Step 4. (i.e. if there are 2 holes in the door frame) • Position and hold the inside G+ Lockset onto the door face to determine the most suitable height of the lock (this height will vary depending on the door style).
- Page 3 • Mark and chisel a recess of 4mm for the Power Transfer Unit faceplate. (So that the Power Transfer Unit faceplate is flush with frame edge face). Use the Power Transfer Unit as a template. • Mark and chisel a recess of 1.5mm for the Strike. (So that the Strike is flush with frame edge face).
- Page 4 Task 2 CaUTION: The door drilling templates are different for the G+ Volt and the G+ apex style locksets. Please ensure that the correct template is used. The template is clearly marked “VOLT” or “aPEX”. • Fold template where indicated (make sure the correct template is used).
- Page 5 • Refer to G+ Lockset user guide before changing these switches. • If there is more than 1 G+ Lockset in the house, switch A might need to be changed. Switch A Shift selection Switch B Revert to privacy • Insert 4 rechargeable NiMH AAA batteries making sure correct polarity (+ and -) orientation.
- Page 6 Task 3 NOTE: The mounting plate must first be removed from the inside faceplate. • Insert key and turn clockwise. • Remove the mounting plate. • The key can now be turned back to the vertical position and removed. Turn key clockwise • The rotor is pre-installed onto the mounting plate.
- Page 7 Task 4 • Installing the batteries into the G+ Keys. • Remove the battery compartment cover by twisting anti-clockwise and lifting off. • Insert two batteries + side up (as per diagram above). • Replace the battery compartment cover and twist clockwise to lock.
- Page 8 F +64 9 525 6982 This document contains general information only and is in no way to be regarded as a complete and comprehensive guide. Gainsborough Hardware Industries Limited ACN 004 792 269 (Gainsborough Hardware) makes no representation about the content and suitability of this information for any purpose. You should exercise your own independent skill and judgement before you rely on this document and obtain appropriate advice relevant to your particular circumstances.
Need help?
Do you have a question about the G+ LOCKSET and is the answer not in the manual?
Questions and answers