Table of Contents
Advertisement
Quick Links
Advertisement
Table of Contents

Subscribe to Our Youtube Channel
Related Manuals for Radenso Pro M-Edition


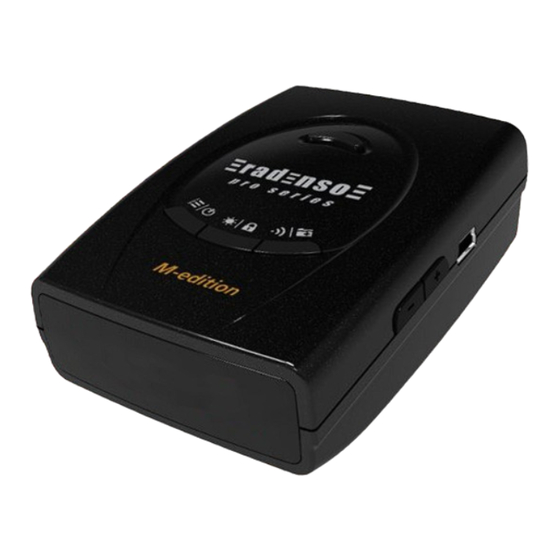
Summary of Contents for Radenso Pro M-Edition
- Page 2 Congratulations on your new investment. You chose one of the best high-tech, GPS enabled, mobile radar and laser detector available on the market today. The Radenso Pro M-Edition is the evolution of the Radenso equipped with an additional circuit designed to detect the newest Multaradar and Gatos RT 3 delivering astonishing detection range on all radar bands.
- Page 3 1. Slide the windshield mounting bracket into the QuickMount slot at the front of the radar detector. 2. Plug the small end of the power cable into the power jack on the Radenso Pro-M on the left side and connect the large plug with the 12V power socket in your car.
- Page 4 Volume Buttons [+ -] Short press: Select display bright- ness (bright, dim, smart dark, full Short press: Changing volume of dark). the Radenso Pro-M or change Long press: Lockout alert loca- program options in the Menu tion. Mode. USB Port Connect USB data cable to update database and/or firm-...
- Page 5 4. Plug the small end of the power cable into the detector (located on the left side) and the large end into your vehicle’s 12V ACC socket. 5. To remove Radenso Pro-M from the windshield press the release button on top of the unit and slide the unit off the mount.
- Page 6 You can reactivate the location again by holding the button when approaching the marked loca- tion. During start up: Pressing and holding the button during startup will reset the Radenso Pro-M to factory reset settings and will display the uploaded Firmware version.
- Page 7 Press left button to enter Menu Mode. Press left button again to go from one menu option to the next. Press VOLUME + or – button (on the right side of detector) to change your setting within the category. To save the changed selection simply wait a few seconds without pressing any button. The unit will display “Setting Completed”...
- Page 10 The AutoCity driving mode allows the setting of minimum alert detection speed for signal suppression and signal filtering resulting in significantly reduced false alerts. Select AutoCity in Setting Mode. Setting AutoCity speed: (feature selectable only if Setting Mode is set to AutoCity): Tapping the Middle button lets you select the speed for editing Left speed setting indicates the speed below which the radar reception of the detector will be complete- ly disabled (in example above 20 mph).
- Page 11 The detector lets you mark known false alert areas so that you will not receive audio alerts in the future at the marked location. The detector stores the GPS coordinates as well as radar band, radar frequency and signal strength and compares it each time with the actual signal received. If the received signal at the lockout location is different from the saved signal in terms of frequency and/or signal strength the detector automatically unmutes and you will be alerted by audio again.
- Page 13 DATABASE & FIRMWARE UPDATES: Radenso Pro-M is web ready and equipped with a Mini USB data port. It is recommended to check for GPS Database updates every three months. To download updates of the GPS database or to update the firmware follow the instructions described in the “UPDATE”...
- Page 14 ONE (1) YEAR LIMITED WARRANTY RADENSO warrants, for two years, to the original retail owner, this RADENSO product to be free from defects in materials and craftsmanship with only the limitations or exclusions set out below. WARRANTY DURATION: This warranty to the original user is valid for 12 months after the date of original retail sale.
Need help?
Do you have a question about the Pro M-Edition and is the answer not in the manual?
Questions and answers