Table of Contents
Advertisement
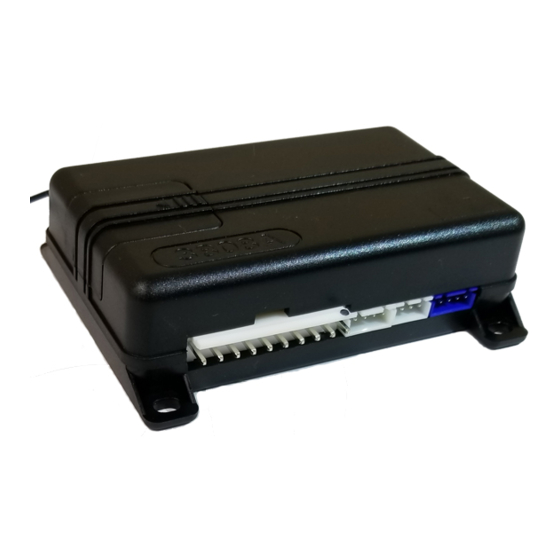
Security System 3808A
Installation Guide
This product is intended for installation by a professional
installer only! Attempts to install this product by a per-
son other than a trained professional may result in severe
damage to a vehicle's electrical system and components.
© 2012 Directed Electronics, Vista, CA
N3808A 2012-01
Advertisement
Table of Contents

Related Manuals for Directed Electronics 3808A


Summary of Contents for Directed Electronics 3808A
-
Page 1: Installation Guide
This product is intended for installation by a professional installer only! Attempts to install this product by a per- son other than a trained professional may result in severe damage to a vehicle’s electrical system and components. © 2012 Directed Electronics, Vista, CA N3808A 2012-01... - Page 2 Safe®, Ghost Switch™, Learn Routine™, Nite-Lite®, Nui- sance Prevention® Circuitry, Revenger®, Silent Mode™, Soft Chirp®, Stinger®, Valet®, Vehicle Recovery System®, VRS®, and Warn Away® are all Trademarks or Registered Trademarks of Directed Electronics. The Bitwriter (p/n 998U) ® requires chip version 2.8 or newer to program this unit.
-
Page 3: Table Of Contents
Contents Wiring Diagram ..........................5 10 Pin Main Harness ......................... 5 4 pin Auxiliary/Pin switch Monitor Harness .................. 8 3 pin Door Lock Harness ......................9 5 pin RKE (Remote Keyless Entry) Harness ..................9 Light flash Polarity Setting ......................10 Programming System Features ...................... - Page 4 © 2012 Directed. All rights reserved.
-
Page 5: Wiring Diagram
Wiring Diagram Sensor Antenna Adjustment (Red Plug) Light Flash Programmer Port Polarity Jumper Detail LIGHT FLASH POLARITY (10A (MAXIMUM) FUSE JUMPER) (Blue Plug) Valet/LED Port 10 Pin Main Harness BLACK (-) CHASSIS GROUND (+) 12V CONSTANT POWER WHITE/BLACK LIGHT FLASH RELAY ISOLATION WIRE (87a) WHITE (+/-) LIGHT FLASH RELAY OUTPUT (30) YELLOW... - Page 6 This system can be configured in two different ways. 1. as an add-on security system to the vehicles factory keyless entry system. 2. as a full security system added to the vehicle. This guide covers the installations of both configurations and is labeled respectively. BLACK (-) CHASSIS GROUND This wire is the main unit’s source of ground.
- Page 7 WHITE PARKING LIGHT OUTPUT This wire should be connected to the parking light wire in the vehicle. See setting the light flash polarity sec- tion of this guide for polarity settings. Note: For parking light circuits that draw 10 amps or more, the internal jumper must be switched to a (-) light flash output.
-
Page 8: Pin Auxiliary/Pin Switch Monitor Harness
Connect to a wire that goes to ground (-) when the trunk is opened or to the pre-trigger and full trigger outputs of an optional Directed Electronics dual zone sensor. This wire is also used for sensor shunt when adding an optional remote start. See diagram below for sensor shunt wiring information. -
Page 9: Pin Door Lock Harness
3 pin Door Lock Harness GREEN (-) 200mA LOCK OUTPUT EMPTY NOT USED BLUE (-) 200mA UNLOCK OUTPUT GREEN (-) LOCK OUTPUT Connect to a wire that pulses ground to activate the vehicle door lock relay. (Usually at the door lock switch or BCM). -
Page 10: Light Flash Polarity Setting
RED/BLACK (+/-) DISARM DEFEAT INPUT Connect to a wire that pulses (+) 12V OR ground when ALL doors unlock (usually the passenger door motor or driver door unlock switch). Disarming will be defeated if this wire receives a pulse simultaneously with the Disarm input. -
Page 11: Programming System Features
Programming System Features The System Features Learn Routine dictates how the unit operates. It is possible to access and change any of the feature settings using the Valet button. However, this process can be simplified by using the Bitwriter. Note : The Bitwriter requires chip version 2.8 or newer to program this unit. To program features: 1. -
Page 12: Feature Descriptions (Consumer Factory Default Settings Are In Bold)
Table Notes: 1. Items 1-5 • * indicates default Consumer mode options when changed to a Consumer mode of operation. Any changes must be made after the system is set to Consumer mode. • BOLD type indicates Dealer Security mode default settings when a Dealer Master Remote has been programmed to the system. - Page 13 Door Trigger Error Chirp: • On: if the door trigger is active when arming, the horn/siren will emit an additional sound as an alert notification • Off: an active door trigger when arming will not create an alert output Door Lock Output: 0.8 seconds: the door lock output pulses will be 800ms in duration •...
-
Page 14: Remote Control Programming And Deletion
OEM Alarm Arming (for add-on security system setting) • Instant: When Armed by a pulse on the Arm input, the arming operation will be same as using a TX to arm. • Delay: When Armed by a pulse on the Arm input, the arming operation will have a 30 second Igni- tion Override timer before fully arming. -
Page 15: System Testing And Impact Sensor Adjusting
System Testing and Impact Sensor Adjusting RF Security Setting Arming 1. Press the button on the remote 2. Doors lock, Lights flash and the horn/siren sounds once • For silent arming; press the AUX button prior to pressing the button. 3. -
Page 16: Oem Security Setting
OEM Security Setting Arming 1. Press the Lock button on the OEM remote 2. Doors lock, lights flash and the horn/siren sounds once, starter kill becomes active, and the status LED begins flashing. 3. While arming, the system tests the trigger inputs for status. If any trigger inputs are active when arming the horn/siren sounds a second time as a notification, both the onboard impact sensor and the active input are bypassed. -
Page 17: Nuisance Prevention Circuitry (Npc)
Disarming 1. Press the button. 2. Doors unlock, Lights flash twice, dome light turns on, starter kill becomes inactive, and the status LED turns off. 3. Passive arming begins (see previously described Arming Passive). A U X Car Finder 1. Press and release the AUX button prior to pressing the button 2. -
Page 18: Troubleshooting: Alarm
Troubleshooting: Alarm Shock sensor doesn’t trigger the alarm: • Was the onboard shock sensor adjusted before the brain was mounted? If so re-adjust the sensor. • Has the onboard shock sensor been turned down all the way? If so re-adjust the sensor •...
Need help?
Do you have a question about the 3808A and is the answer not in the manual?
Questions and answers