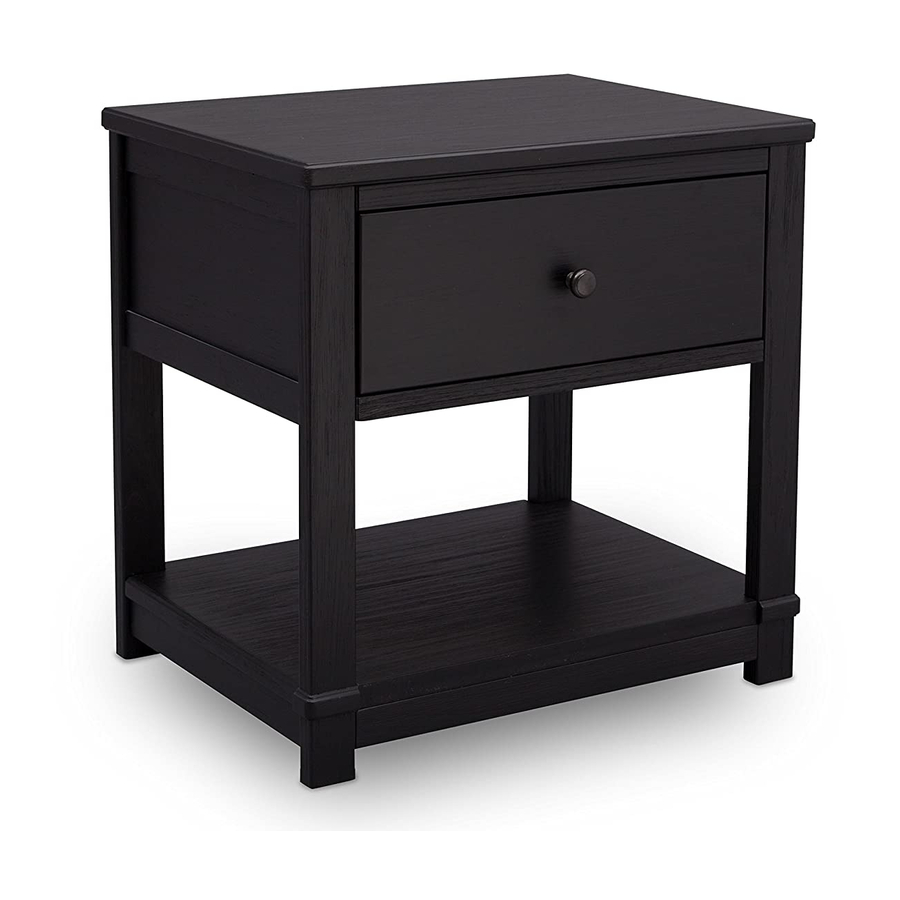
Summary of Contents for Delta Childrens Products Cali Nightstand
- Page 2 WARNING Serious or fatal crushing injuries can occur from furniture tip-over. To help prevent tip-over: . Install tipover restraint provided. . Place heaviest items in the lowest drawers. . Unless specifically designed to accommodate, do not set TV’s or other heavy objects on the top of this product. .
-
Page 3: Información Sobre El Uso
NOTES ON ASSEMBLY: -During the assembly process whenever using screws or bolts, check each by placing the screw/bolt on the diagram of the item which is drawn actual size and design. Be sure to use the proper size and shape specified in the instructions. -To assemble this unit you may be required to place the unit on it’s side and face. - Page 4 Parts: MAKE SURE THAT ALL PRE-ASSEMBLED PARTS ARE TIGHT. ASSUREZ-VOUS QUE TOUTES LES PIÈCES PRÉLASSÂMES SONT BIEN AJUSTÉES. Pièces: ASEGÚRESE DE QUE TODAS LAS PIEZAS PRE-ENSAMBLADAS ESTÉN APRETADAS. Piezas: C. Top Panel Panneausupérieur Panel superior # 27526 A. Left Side x1 B.
- Page 5 Parts: Hardware kits Part# 27536 L'ensemble de quincaillerie - pièce n°27536 Pièces: El kit de herramientas - Pieza #27536 Piezas: KK. Crescent Washer x10 BB. 45mm Bolt x16 CC. 30mm Bolt x10 Rondelle en croissant Boulon 45mm Boulon 30mm Arandela de media luna Perno 45mm Perno 30mm EE.
- Page 6 Hardware System - Review Before Assembly Quincaillerie – Lire Avant D’effectuer Le Montage Revise Antes De Armar- Elementos De Fijacion Y Ensamble BB. 45mm Bolt Boulon 45mm Perno 45mm KK. Crescent Washer Rondelle en Croissant Arandela de Media Luna 1. Insert the Dowels in the Rail into the holes in the Post.
- Page 7 Install (1) bolt and (1) crescent washer at a time. Tighten until it looks like the picture. Installez (1) boulon et (1) rondelle en croissant à la fois. Serrez jusqu'à ce que cela ressemble à l'image. Instale (1) perno y (1) Arandela de media luna al mismo tiempo. Apriételos hasta que quede como en la ilustración.
- Page 8 STEP #1 ÉTAPE N°1 PASO #1 BB. 45mm Bolt x4 KK. Crescent Washer x4 Boulon 45mm Rondelle en croissant Perno 45mm Arandela de media luna JJ. Φ6x30mm Dowel x8 CC. 30mm Bolt x2 Cheville Φ6x30mm Boulon 30mm Pasador Φ6x30mm Perno 30mm M4 Allen Wrench M4 Ballend Screwdriver Clé...
- Page 9 JJ x8...
- Page 10 STEP #2 ÉTAPE N°2 PASO #2 BB. 45mm Bolt x5 Boulon 45mm Perno 45mm M4 Ballend Screwdriver tournevis M4 à tête sphérique destornillador M4 con cabeza de bola Loosely attach the Shelf (Part D) to the assembly from Step 1 using (5) 45mm Bolts (Part BB) with the M4 Ballend Screwdriver .
- Page 11 BB x5...
- Page 12 STEP #3 ÉTAPE N°3 PASO #3 BB. 45mm Bolt x5 KK. Crescent Washer x4 Boulon 45mm Rondelle en croissant Perno 45mm Arandela de media luna BB. 45mm Bolt x1 JJ. Φ6x30mm Dowel x8 Boulon 45mm CC. 30mm Bolt x2 Cheville Φ6x30mm Perno 45mm Boulon 30mm Pasador Φ6x30mm...
- Page 13 JJ x8...
- Page 14 STEP #4 ÉTAPE N°4 PASO #4 BB. 45mm Bolt x2 KK. Crescent Washer x2 Boulon 45mm Rondelle en croissant Perno 45mm Arandela de media luna JJ. Φ6x30mm Dowel x2 CC. 30mm Bolt x6 Cheville Φ6x30mm Boulon 30mm Pasador Φ6x30mm Perno 30mm M4 Allen Wrench Clé...
- Page 18 STEP #6 ÉTAPE N°6 PASO #6 FF. 40mm SCREW x5 GG. 25mm SCREW x1 Vis 40mm Vis 25mm Tornillo 40mm Tornillo 25mm JJ. Φ6x30mm Dowel x2 EE. Plastic Barrel Nut x5 Cheville Φ6x30mm Écrou à portée cylindrique Phillips Screwdriver – Not included Pasador Φ6x30mm en plastique Tournevis Phillips - non inclus...
- Page 20 STEP #7 ÉTAPE N°7 PASO #7 XX. Knob / Bouton / Perilla x1 YY. Knob / Bouton / Perilla x1 ZZ. Knob / Bouton / Perilla x1 XX2. 21mm Knob Screw ZZ2. Knob Screw 25mm YY2. 25mm Knob Screw Vis de Bouton 21mm Vis de Bouton 25mm Vis de Bouton 25mm Tornillo para Perilla 21mm...
- Page 21 or, ou, o or, ou, o...
- Page 22 STEP #8 ÉTAPE N°8 PASO #8 OR, OU, O Allen Wrench Clé Allen Llave Allen Left/Gauche/Izquiredo Press lever on right glide down Glisser sur le levier sur la droite glisser vers le bas Empujar la palanca a la derecha se deslizan por Lift lever on left glide up Soulevez le levier à...
- Page 23 The silver portion of the glide must be pulled to the front of the glide when assembling the drawer into the case. La partie argentée du glissement de doit être tirée vers l'avant de la glisse lors du montage du tiroir dans le boîtier.
- Page 24 STEP #9 ÉTAPE N°9 NN.12mm Screw x6 PASO #9 Vis 12mm Tornillo 12mm Attach (2) Drawer Guide outer pieces to each assembled drawer. There are pre-drilled holes in each drawer side. i) Place the end of the Drawer Guide with the tab against the Drawer front, then align the holes in the Guide to the holes in the Side, tab should remain very close to the Drawer Front.
- Page 26 STEP #10 ÉTAPE N°10 PASO #10 Install the drawer in the case body. Carefully align the Drawer Guides on the drawer with the Drawer Guides on the case. Push the drawer STRAIGHT in until it "clicks". Check that each side is fully secure.


Need help?
Do you have a question about the Cali Nightstand and is the answer not in the manual?
Questions and answers