
Subscribe to Our Youtube Channel
Related Manuals for Delta Childrens Products Simmons Juvenile Kingsley 324120-223


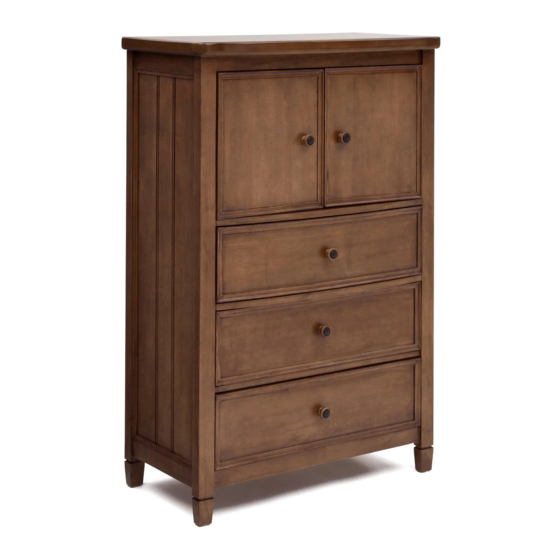
Summary of Contents for Delta Childrens Products Simmons Juvenile Kingsley 324120-223
- Page 2 WARNING: Serious or fatal crushing injuries can occur from furniture tip-over. To help prevent tip-over: . Place heaviest items in the lowest drawers. . Unless specifically designed to accommodate, do not set TV’s or other heavy objects on the top of this product.
-
Page 3: Notes On Assembly
NOTES ON ASSEMBLY: -During the assembly process whenever using screws or bolts, check each by placing the screw/bolt on the diagram of the item which is drawn actual size and design. Be sure to use the proper size and shape specified in the instructions. - Page 4 STEP #1 ÉTAPE N°1 PASO #1 CC. Knob Bouton Perilla # 25454 CC2. Knob Screw x5 CC3. Metal Knob Center x5 CC1. Wood Knob Base x5 Vis de bouton Bouton en métal Bouton en bois Tornillo para perilla Perilla metálica Madera de la perilla Cases shown assembled Casiers présentés montés...
- Page 5 STEP #2 ÉTAPE N°2 BB. Screw x4 PASO #2 Tornillo In each corner of the shelf there is a screw (Part BB) installed for security during shipping. Remove these screws with a Phillips Screwdriver Dans chaque angle de la tablette, une vis (Pièce BB) a été installée à des fins de sécurité pendant le transport.
- Page 6 STEP #3 ÉTAPE N°3 PASO #3 B. Removable Shelf x1 AA. Shelf Support x4 Tablette amovible Taquets d’étagère Estante extraíble Soportes del estante 25468 25468 Lift the Removable Shelf (Part B) up then remove (4) Shelf Supports (Part AA). To adjust the Removable Shelf, go to Step #4. To remove the Removable Shelf, go to Step #5. Soulevez la tablette amovible (Pièce B), puis retirez les (4) taquets d’étagère (Pièce AA).
- Page 7 How to adjust the Removable Shelf STEP #4 Méthode d’ajustement de la tablette amovible ÉTAPE N°4 Cómoajustar el estanteextraíble PASO #4 B. Removable Shelf x1 AA. Shelf Support x4 Tablette amovible Taquets d’étagère Estante extraíble Soportes del estante 25468 25468 Optional Levels Niveaux en option Niveles opcionales...
- Page 8 How to remove the Removable Shelf STEP #5 Méthode de retrait de la tablette amovible ÉTAPE N°5 Cómosacar el estanteextraíble PASO #5 B. Removable Shelf x1 Tablette amovible Estante extraíble 25468 Rotate the front of the shelf UP and BACK and put the back of the Shelf down until the Shelf is rotated from horizontal to vertical.
- Page 9 How to remove the Removable Shelf STEP #6 Méthode de retrait de la tablette amovible ÉTAPE N°6 Cómosacar el estanteextraíble PASO #6 B. Removable Shelf x1 Tablette amovible Estante extraíble 25468 Remove the Removable Shelf by pushing one end in and pulling the other out. Retirez la tablette amovible en poussant une extrémité...
- Page 10 STEP #7 How to remove the door ÉTAPE N°7 Méthode de retrait de la porte PASO #7 Cómosacar la puerta Press Appuyez Presione Hinges Charnières Bisagras Firmly hold one door, with your other hand press the button on the back of each hinge to release Tenez fermement une porte d’une main, puis de l’autre, appuyez sur le bouton situé...
- Page 11 How to reattach and Adjust the doors. STEP #8 Méthode de refixation et d’ajustement des portes. ÉTAPE N°8 Cómovolver a colocar y ajustarlaspuertas. PASO #8 Screw to adjust the left/right position Screw to adjust the door in/out Vissez pour ajuster la position gauche/droite Vissez pour ajuster le mouvement Atornille para ajustar la posiciónizquierda/derecha entrant/sortant de la porte...
- Page 12 How To Operate The Drawer Glide Comment faire fonctionner le tiroir Glide Como la función de deslizamiento del cajón Right Side Push Lever Down Droit levier poussoir Side Down Presione lado de la palanca derecha hacia abajo Left Side Push Lever Up Côté...
- Page 13 The silver portion of the glide must be pulled to the front of the glide when assembling the drawer into the case. La partie argentée du glissement de doit être tirée vers l'avant de la glisse lors du montage du tiroir dans le boîtier.
Need help?
Do you have a question about the Simmons Juvenile Kingsley 324120-223 and is the answer not in the manual?
Questions and answers