
Related Manuals for Hanover X56WMEF1BLK


Summary of Contents for Hanover X56WMEF1BLK
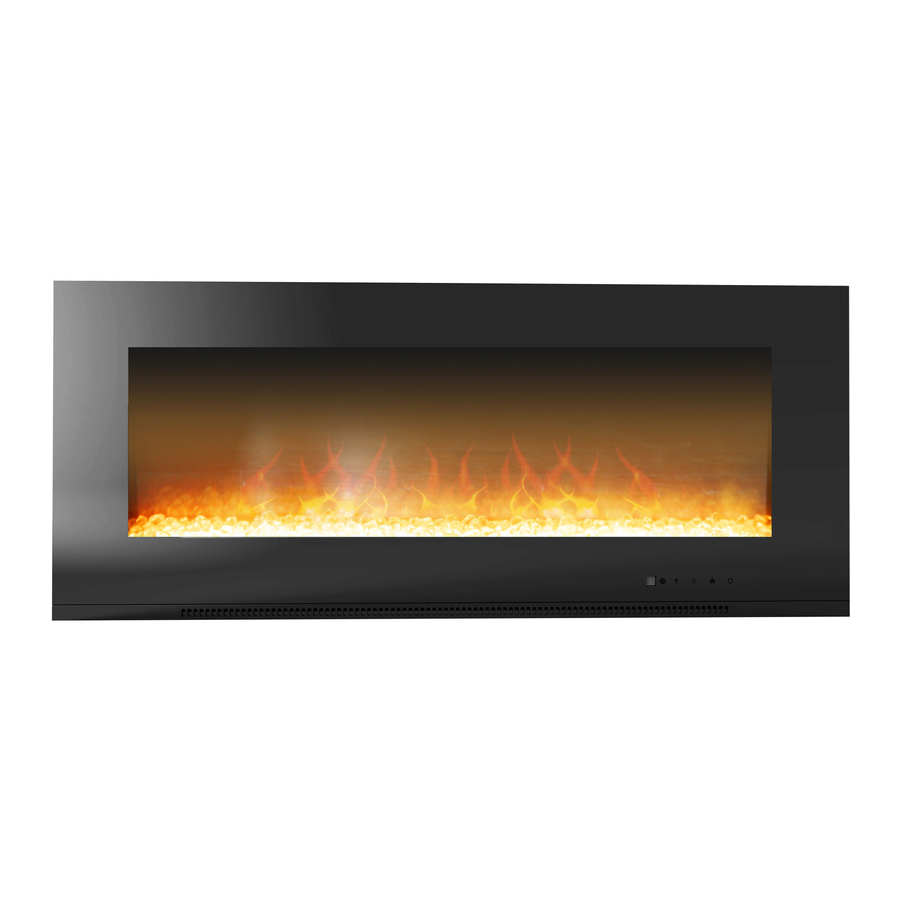
- Page 1 Installation and Operation Instructions ELECTRIC FIREPLACE X56WMEF1BLK X56WMEF1WHT...
-
Page 2: Table Of Contents
Tool list Assembly Instructions Important Safety Instructions Listing Approvals Glass Particles Installation Instructions Product Dimensions 9-10 Installation Operating Instructions Remote Control Instructions Temperature Limiting Control Trouble Shooting Cleaning... -
Page 3: Tool List
Remove the glass pane, then replace the faux fire Phillips Screwdriver log set with glass particles. Tool List: drill bit, drill, tape measure and pencil X56WMEF1BLK X56WMEF1WHT Remote Control Electric Wall-Mount Fireplace Assembly Instructions Quick Reference Guide Prior to plugging your heater into a power outlet, first verify that the circuit breaker... -
Page 4: Important Safety Instructions
2. The heater may emit a slight, harmless odour when first used. This odour is normal and it is caused by the initial heating of internal heater parts and will not occur again. 3. If the heater does not emit heat, Consult your User’s Guide for further information. - Page 5 heater is in operation it must not be left unattended. 5. Always unplug the heater when not in use. 6. Do not operate any heater with damaged cord or plug or after the heater has malfunctioned or has been dropped or damaged in any manner. Return heater to an authorised service facility for repair. 7.
-
Page 6: Listing Approvals
LISTING APPROVALS This heater has been tested in accordance with the CSA Standards. X56WMEF1BLK Model Number: X56WMEF1WHT Description: Wall Mount Electric Fireplace Voltage: 120V AC, 60Hz Watts: MAX 1300W Length: 56.0 20.2 Height: Depth:... -
Page 7: Glass Particles Installation Instructions
GLASS PARTICLES INSTALLATION INSTRUCTIONS 1.To remove the outer glass around the bracket, undo the mounting screws (red arrows)(①) 2.Remove the outer glass ( ② ) 3.Carefully take out the log set, adjust the screws (red arrows) (③、④) 4.Gently put the glass crystals into place ( ⑤、⑥ ) 5.Be cautious about the outer glass bracket screws(⑦)... -
Page 8: Product Dimensions
PRODUCT DIMENSIONS DO NOT COVER 56.0... - Page 9 Mounting Bar BACK VIEW PRODUCT DIMENSIONS WARNING: Due to high temperatures, this electric fireplace should be located out of traffic. Keep combustible materials such as furniture, pillows, bedding, papers, clothes and curtains at least 0.9m / 36 inches the top of the heater.
-
Page 10: Installation
UNPACKING AND TESTING FIREPLACE Carefully remove the unit from the box. Prior to installing the unit, test to make sure the unit operates properly. To do this, plug the unit's power supply cord into a conveniently located 120 Volt grounded outlet. INSTALLATION WARNING: RISK OF FIRE! The power cord must not be pinched or against a sharp edge. - Page 11 INSTALLATION Model 1: screws Front view of wall back view of fireplace Model 2: Trim Piece Remove the glass panel first, set the fire box into the wall. Secure the side trim pieces on the wall with screws. Reinstall the glass panel onto the firebox with screws.
-
Page 12: Operating Instructions
OPERATING INSTRUCTIONS The manual controls are located on the left side of the fireplace. LOCATION The master power switch is located on the right side of the appliance. The control panel is on the right corner of the glass. MASTER SWITCH The master switch controls the power supply to the appliance. -
Page 13: Temperature Limiting Control
TEMPERATURE LIMITING CONTROL This heater is equipped with a Temperature Limiting Control. Should the heater reach an unsafe temperature, (115 degrees Celsius) the heater will automatically turn off. To reset: Unplug unit from wall, wait for 5 minutes, plug back in and continue to use. TROUBLE SHOOTING Turn off and unplug the fireplace and let cool completely before servicing.
Need help?
Do you have a question about the X56WMEF1BLK and is the answer not in the manual?
Questions and answers
My fireplace no longer lights up
If the Hanover X56WMEF1BLK fireplace no longer lights up, possible issues include:
- The inner components are overheating.
- The circuit breaker has tripped.
- Wiring may be loose.
- The flame motor may be defective.
To fix the issue, try resetting the unit by turning off the master switch, unplugging the unit, waiting 5 minutes, then plugging it back in and turning it on. If the issue persists, contact customer service.
This answer is automatically generated