
Related Manuals for Hubsan Spy Hawk H301S


Summary of Contents for Hubsan Spy Hawk H301S
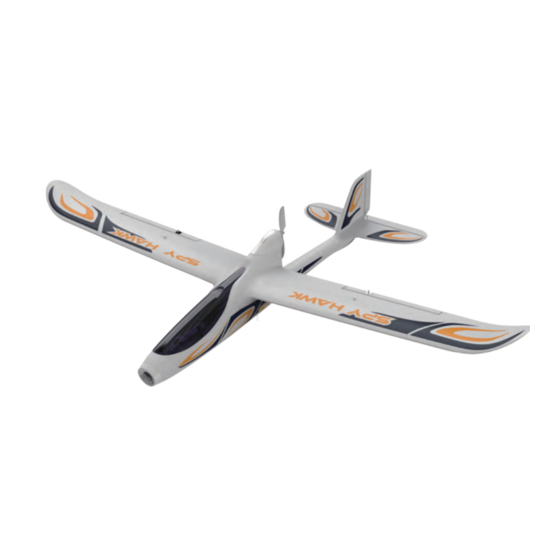
- Page 1 ® www.hubsan.com Ages 14+ Please read the instructions carefully before use. SPY HAWK ...
-
Page 2: Table Of Contents
CATALOG INCLUDED ACCESSORIES EXPLODING VIEW SAFETY NOTES ASSEMBLY INSTRUCTIONS CHARGING THE LI-PO BATTERY 2.4GHz & 5.8GHz TRANSMITTER 5.8GHZ TECHNICAL TIPS HOW TO LAUNCH VIDEO RECORDING ADVANCE PERFORMANCE SET UP H301S TROUBLESHOOTING H301S SPARE PARTS CHART H301S H301S SPY HAWK... -
Page 3: Included Accessories
5.8GHz TX Antenna 1080 Camera module 1 SAFETY NOTES Thanks for buying HUBSAN products. 1.1 Important Notes This RC Spy Hawk is not a toy. Any improper use of this product will result in serious injury. Be aware of your personal safety, safety to others and your surrounding environment. - Page 4 H301S SPARE PARTS CHART LiPo batteries are di erent from conventional batteries in that their chemical contents are encased in a relatively lightweight foil packaging. This has the advantage of signi cantly reducing their weight, but does make them more susceptible to damage if roughly or inappropriately handled.
-
Page 5: Assembly Instructions
2. ASSEMBLY INSTRUCTIONS Do not enter into the transmitter setting status during ight! The controller will not transmit a signal in the setting status. Carefully start the recording function key by just brie y clicking the “ENTER” key. Do not press the “ENTER” key more than 1 second or the controller will stop transmitting! The air plane is already 90% pre-assembled so there is little to do before ight. - Page 6 The parameters of the stabilization system are factory preset, no need for initialization. Question 6: The LCD screen is not viewable outdoors with bright sunshine. Answer: Check the packaging inside the box, there is an anti-glare sticker, it will help you to reduce glare in full sunshine.
-
Page 7: Charging The Li-Po Battery
H301S TROUBLESHOOTING 3. CHARGING THE LI-PO BATTERY Question 1:The Air Plane dives when switching on/o the autopilot button. The Air Plane is equipped with a LiPo battery: Answer: 3.1 7.4V 2 Cell 1300mAh x 1 unit Always check the rudder, aileron and elevator both on stabilization status and non-stabilization status if you would like to switch on/o autopilot mode during ight. - Page 8 8.2 Expert mode TRANSMITTER In expert mode, the sensitivity can be adjusted even further (up to 100) to give the user even more 9 Antenna ability to manoeuver the Air Plane. Follow instructions below to switch this on/o .
- Page 9 8. ADVANCE PERFORMANCE SET UP 4.2 Input Key Function Identi cation Function 8.1 Mode 1 and Mode 2 Reversing setup Forward and backward movement of the stick will make the Air Plane increase or decrease speed respectively.Left and right movement of the Throttle/Rudder Stick stick makes the Air Plane yaw left/right respectively.
- Page 10 7. VIDEO RECORDING 4.3 Battery mounting Notice: >Do not mix old and new batteries Note: >Do not mix di erent types of batteries Always turn OFF the Air Plane's power before inserting or removing the SD card. >Do not charge non-rechargeable battery.
-
Page 11: Ghz Technical Tips
5 5.8GHZ TECHNICAL TIPS While if the GPS value shows NA, indicating the GPS is not connected or broken, need to check the connect wires and the GPS module. The plane can take o without GPS function, only in that way the Return to Home function is useless. -
Page 12: How To Launch
Hold down the ENTER key for 1 second to enter setting status, move the arrow to 5.8G FREQUENCE Level calibration method: with up/down key, press the ENTER key again and select the frequency you need with up/down key, Hold the Throttle stick to the full down position and move the Rudder stick to the lower right position.
Need help?
Do you have a question about the Spy Hawk H301S and is the answer not in the manual?
Questions and answers