Table of Contents
Advertisement
Quick Links
User's Manual
Welcome
Thank you for purchasing this product. Please read this manual thoroughly before use
and retain it for future reference. We are confident you will enjoy this product and its
many functions.
About the product
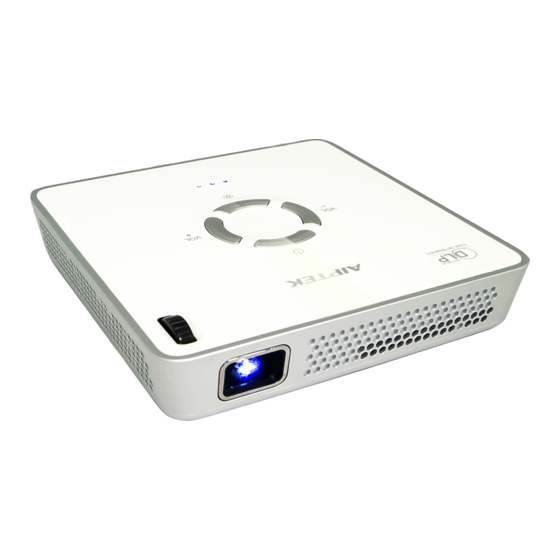
Featuring integrated WLAN, this Pico projector provides cable-free connections from
your notebook, tablet or smartphone and streams content such pictures, videos,
websites, and documents wirelessly and projecting the images up to 120'' (300 cm) in
size. With its powerful wireless functionality and versatile connection options including
HDMI and Audio-Out, this Pico projector is the best solution for mobile use in business
and entertainment.
Safety Notice
1. Keep the device and packaging materials out of the reach of infants and children.
2. Avoid subjecting the power adapter and other contacts to dripping or splashing
water and dry your hands before you use it. Do not place objects filled with liquids
such as vases, etc. on or near the device.
3. Make sure that the used power outlet is always readily available and never hidden.
In case of emergency, use the power adapter to separate the device from the power
network.
4. Keep your device away from all flames such as candles and do not set them up
within the vicinity of the device.
5. Keep the unit at least 10 cm away from other objects. Make sure the ventilation is
not covered by newspapers, tablecloths, curtains, etc.
6. For your own safety, do not use the projector during thunderstorms or lightning.
7. Ensure that the operating environment temperature is within 5 ~ 35°C and relative
humidity is 20% ~ 80%, non-condensing.
8. The battery is integrated with the device. Do not dissemble and modify. The battery
should be replaced by an authorized service center only.
9. Wait before using if the device has been moved from a cold location into a warm one.
Any condensation that has formed may in certain circumstances destroy the device.
As soon as the device has reached room temperature it can be used without risk.
10. Handle the product with care. Avoid contact with sharp objects. Keep device away
from metallic objects.
11. Place the projector on a flat surface. Any collision or falling to the ground is likely to
damage the product.
12. Do not drop or disassemble the product otherwise the warranty will void. Opening or
removing covers may expose you to dangerous voltage or other hazards. Refer all
servicing to an authorized service center.
1
Page 1
FCC ID: 2AHTC-I1200
Advertisement
Table of Contents

Related Manuals for AIPTEK i1200


Summary of Contents for AIPTEK i1200
-
Page 1: About The Product
12. Do not drop or disassemble the product otherwise the warranty will void. Opening or removing covers may expose you to dangerous voltage or other hazards. Refer all servicing to an authorized service center. Page 1 FCC ID: 2AHTC-I1200... - Page 2 User’s Manual 13. Use only the accessories supplied by the manufacturer. 14. Both product and user’s manual are subject to further updates, modifications or supplement without further notice. Care and Safety Information for Pico Projectors 1. Avoid facing directly into the projector’s lens. 2.
- Page 3 The declaration of compliance can be consulted on the site www.aiptek.de. Packaging: The presence of the logo (green dot) means that a contribution is paid to an approved national organization to improve package recovery and recycling infrastructures.
-
Page 4: Fcc Compliance Statement
User’s Manual FCC Compliance Statement: This device complies with Part 15 of the FCC Rules. Operation is subjected to the following two conditions: (1) this device may not cause harmful interference, and (2) this device must accept any interference received, including interference that may cause undesired operation. -
Page 5: Package Contents
User’s Manual Package Contents Mobile Projector User’s Manual Power Adapter Tripod Power Plugs Knowing your Mobile Projector Power Projection Lens Focus Ring Volume Down Volume Up Brightness LED Indicator Adjustment Earphone Jack HDMI Output DC IN Connector HDMI Input Service Use... -
Page 6: Getting Started
User’s Manual Getting Started Charging the product The projector is built with an embedded battery for mobile use. Please charge the projector for 5 hours prior to its first use. Repeat charging will take around 3 hours. The battery will be charged only when the projector is not in use (Power off). -
Page 7: Main Screen
User’s Manual Adjusting the brightness of projector There is a brightness adjustment button on the top of the projector. It allows you to change the brightness. Battery Power Mode Brightness (HDMI mode) Normal High 70 mins 110 mins Main Screen Power on the projector, the following screen appears after the projector boots up. - Page 8 User’s Manual 3. Tap on “AirPlay Mirroring” then choose “ Projector-xxxxxxxx”. 4. After connection, the screen has been mirror-projecting. *iOS device can project via Ezcast APP also, the operation is same as an Android device. 5. During projection, the smartphone can access cloud via 3G/4G network. It also can be done through the projector to link to a wireless network for cloud access.
- Page 9 User’s Manual Projecting from the wireless application software on Android devices EZCast is an application that runs on your Android smartphone or iOS devices and transmits still images or presentations to the projector. The EZCast is only used for a wireless connection.
- Page 10 User’s Manual tap "Settings" and use the keypad displayed the mobile device to connect the projector to an available wireless network. The detail operation can be referred to “ Connect the projector to Wi-Fi network for Internet access”. 5. After connection, tap “Mirror” On to mirror screen to projector. For EZCast user manual, please refer : http://www.iezvu.com/download/EZCast-User-Manual.pdf。...
- Page 11 User’s Manual 3. After Miracast connection, the screen has been mirror-projecting. Currently, the smartphone also can be connected to Internet via WLAN or 3G/4G. Wireless projection from computer 1. Connect the computer to an available network for Internet access. 2. Open the Internet browser on your computer then enter the IP Address http://www.iezvu.com/download in the browser’s address bar.
- Page 12 User’s Manual 7. Double-click EZCast icon on your computer desktop to start the application then click . When the screen displays the sleteion of "Projector-xxxxxxxx" , double-click it to connect to projector. 8. Click “ Mirror ” to select the projection output method from Off (default) to Mirror or Extension to start the wireless projection.
- Page 13 User’s Manual 2. Select the Wi-Fi network (SSID) you would like to connect with and confirm with OK button to open the password dialog and typed the password. 3. If wireless security is enabled on your Wi-Fi network, you should type the password (network key) by using the virtual keyboard on the smartphone or your PC keyboard.
-
Page 14: Hdmi Input
User’s Manual point with a stronger signal or disable internet access to ensure the best experience for wireless projection. HDMI Input The projector has a built-in HDMI input port on the rear side. You can connect your external video Input source to the projector or output the projector’s screen to a LCD monitor or HDTV by using the appropriate cable. -
Page 15: Troubleshooting
User’s Manual Troubleshooting If your projector does not seem to be functioning properly, check the items below before you contact an authorized service center. Symptom Check Point Check if the HDMI is plugged correctly. The projector does not work when connecting to a smartphone, notebook or PC with cable. -
Page 16: Specifications
User’s Manual Specifications Item Description Optical Technology Light Source RGB LED Aspect ratio 16:9 Resolution 854 x 480 Pixels (WVGA) Contrast Ratio 1500:1 51 cm ~305 cm (20 ” ~120 ” ) Projection Image Size 50 cm ~319 cm (20 ” ~125 ” ) Projection Distance Throw Ratio (Diagonal: Distance)
Need help?
Do you have a question about the i1200 and is the answer not in the manual?
Questions and answers