NETGEAR Arlo Pro Quick Start Manual
Hide thumbs
Also See for Arlo Pro:
- User manual (78 pages) ,
- Quick start manual (5 pages) ,
- User manual (87 pages)
Table of Contents
Advertisement
Quick Links
Download this manual
See also:
User Manual
Advertisement
Table of Contents

Related Manuals for NETGEAR Arlo Pro


Summary of Contents for NETGEAR Arlo Pro
- Page 1 Arlo Pro Quick Start Guide...
-
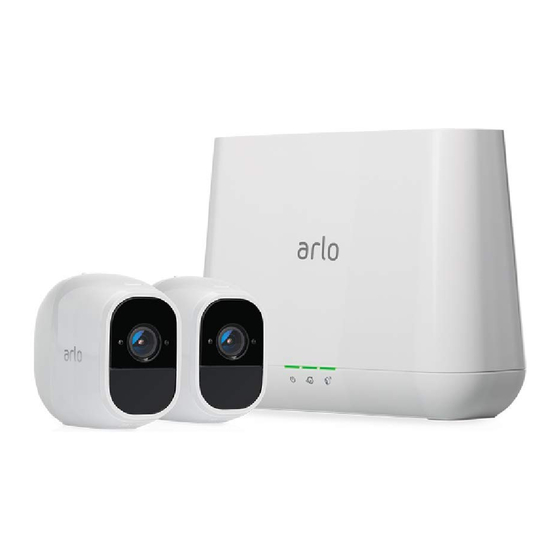
Page 2: What's Included
What’s Included Base station Base station AC Ethernet cable power adapter Arlo Pro Wire-Free camera Rechargeable battery Camera power Camera AC power adapter cable adapter Magnetic wall mount Mounting screws Outdoor Outdoor mount mount plate... -
Page 3: Insert The Battery Into Your Camera
Unlock the battery compartment by pressing and holding the latch. Gently pull the battery door back to open the compartment. Align the battery contacts. Insert the battery. Close the battery door. Note: The Arlo Pro battery is fully charged when it leaves the factory. - Page 4 For the best experience, download the Arlo app for your smartphone by scanning this QR code or searching for Arlo in the app store. https://arlo.netgear.com Note: If you already use the Arlo app, make sure that you are using the latest version.
-
Page 5: Connect Your Base Station To The Internet
Connect Your Base Station to the Internet Connect the base station to your Connect the base station AC router using an Ethernet cable. adapter to your base station and plug it in. - Page 6 Turn the base station on by The Power LED and Internet LED pressing the On-Off button. on the front of the base station light green in about two minutes.
-
Page 7: Get An Account
If you are using a computer, visit Follow the onscreen instructions. ¾ To add an Arlo Pro camera to an existing Arlo account: If you already set up an Arlo account, log in, and tap or click Add Device. -
Page 8: Sync Your Cameras With The Base Station
Sync Your Cameras With the Base Station Bring the camera within 1 to 3 feet (30 to 100 centimeters) of the base station. Note: Cameras must be synced one at a time. - Page 9 Press the Sync button on the top of the base station for about two seconds and then release the button. Wait for the Sync Status LED to blink green. Press the Sync button on top of the camera for about two seconds and then release the button.
- Page 10 A blue LED on the camera blinks slowly when the sync process starts. The blue LED blinks rapidly to confirm syncing. The camera is ready for viewing. The LED blinks amber if the sync is not successful. You must repeat the sync process.
-
Page 11: Place Or Mount Your Cameras
Place or Mount Your Cameras You can place your camera on a shelf or other flat surface, or you can mount it to the wall. Tip: Use the Arlo app in Position mode (found in Camera Settings) to help aim the camera. ¾... - Page 12 ¾ To mount your camera outdoors: Fasten the mounting plate to the wall using the included screws. Attach the mount to the plate. Attach the camera to the mount. Press the camera towards the mount and adjust the camera position.
- Page 13 If you are using the camera outside, bring it inside while charging the battery. Connect the power adapter cable to the camera power adapter. Note: You must use an Arlo Pro power adapter and cable to charge the battery. Connect the other end of the adapter cable to the camera.
-
Page 14: You're Done
You’re Done! Congratulations! Your Arlo System is set up and ready to go. To view useful tutorial videos, find troubleshooting tips, or get support, visit https://www.arlo.com/support/. -
Page 15: Base Station Led Guide
Base Station LED Guide Power Internet Camera Green Green Green Cameras are The base station The base station is powered on. connected to the is connected to base station. the Internet. Blinking green Blinking green Blinking green The base station A firmware update The base station is attempting... - Page 16 ©NETGEAR, Inc., NETGEAR, the NETGEAR Logo, and Arlo are trademarks of NETGEAR, Inc. Any non-NETGEAR trademarks are used for reference purposes only. Compliance For the current EU Declaration of Conformity, visit http://kb.netgear.com/app/answers/detail/a_id/11621/. For regulatory compliance information, visit http://www.netgear.com/about/regulatory/. NETGEAR INTL LTD...
Need help?
Do you have a question about the Arlo Pro and is the answer not in the manual?
Questions and answers