
Related Manuals for PHILIPS Respironics REMstar


Summary of Contents for PHILIPS Respironics REMstar
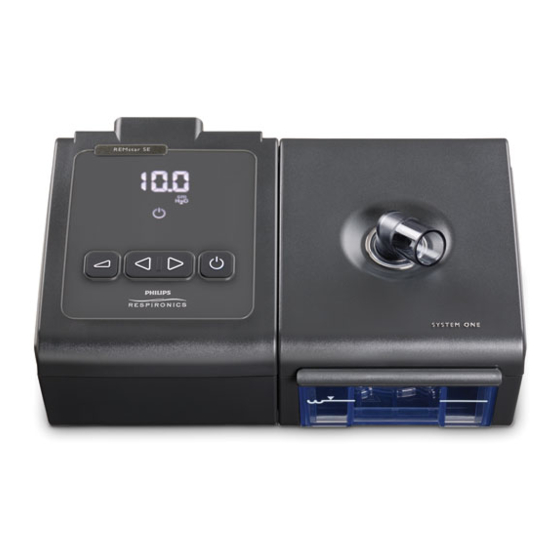
- Page 1 REMstar Set-up guide Getting started Usage statistics Blower hours Settings Pressure adjustments Data reset IMPORTANT! This guide should not be given to the patients. Only medical professionals should adjust pressure settings.
-
Page 2: Getting Started
Getting started Accessing Provider mode – device in standby • Once the device is powered, press and hold both the Ramp button and the Left navigation button on the device for at least 10 seconds. • The Provider menu screen will display ‘P-1’, indicating that you are now in Provider mode. - Page 3 REMstar has an icon based user interface. Select the icon you want to change by using the navigation buttons either left or right. A list of the different icons and their functions can be found here below. Icons and symbols...
- Page 4 Settings Changing the settings Once you highlight the setting that you want to change, press the Select button . Afterwards, you can use the Navigation buttons adjust that setting. Press the Select button again to adjust the selected setting. Humidifier settings Classic mode –...
- Page 5 Adjusting display brightness Brightness levels range from 0 to 3. Manual altitude adjustment There are 3 settings for altitude adjustment. 1 = less than 762m 2 = 762m to 1524m 3 = 1525m to 2286m Note: Elevations over 2286m (7500 ft.) may affect the accuracy of the pressure.
- Page 6 Setting and adjusting the Ramp feature Setting RAMP start pressure. 4 cmH O to CPAP pressure set. H 2 O Setting RAMP duration. 0 - 45 minutes. Not displayed if pressure set to 4 cmH...
- Page 7 Tubing type selection Select ‘22’ while using a Philips Respironics 22mm diameter tubing, and ‘15’ when using a 15mm one. This can be locked by the provider (settings 15L and 22L). FLEX settings FLEX can be set from 0 to 3. The value can be locked by the provider (L0 –...
-
Page 8: Pressure Adjustments
Pressure adjustments Normal pressure adjustment Therapeutic pressure can be set from 4 to 20cmH H 2 O Fine pressure adjustment When needed, the therapeutic pressure can be calibrated with this setting. To calibrate, connect a manometer to the patient tubing. -
Page 9: Usage Statistics
Usage statistics Usage statistics can be displayed. Patients can view their 7 and 30 day average usage, as well as the total therapy hours. - Page 10 Blower hours To view the Blower Hours screen, highlight the Therapy Hours icon while the device is in standby. Then press and hold both the Left navigation button and the Select button for 5 seconds. The device will then scroll the blower hours in 2 screens (see below). It will cycle through these screens five times before returning to standby.
-
Page 11: Data Reset
Data reset Data reset for multiple users While the device is in Provider mode and Therapy Hours icon is selected, press and hold both the Ramp button and the Right navigation button on the device for 5 seconds. The device will count down from 5 to 0 and then erase the therapy hours. - Page 12 This guide contains abstracted information from the user and provider manuals. Please refer to the latest manuals for complete set-up information regarding the REMstar SE device, including warnings, cautions and contraindications. Please visit www.philips.com/respironics © 2012 Koninklijke Philips Electronics N.V. All rights are reserved.
Need help?
Do you have a question about the REMstar and is the answer not in the manual?
Questions and answers